

Tri-tip
The tri-tip roast is also known as the Triangle Roast or Bottom Sirloin Roast. We think of it as the poor man’s brisket because it offers the same combination of excellent flavor and tenderness often at a lower price point.

Tri-tip Origin
The tri-tip is cut from the bottom sirloin.

Pros and Cons of the Trip-tip
Pros
The trip-tip offers both great flavor and tenderness, and it is often cheaper than similar cuts like brisket. However, we think its greatest asset is that it is nearly impossible to mess up.
Cons
There are only 2 per cow!
Cooking Tips
The tri-tip is very forgiving and nearly impossible to mess up. One of our favorite ways to prepare it is with our brisket recipe which you can find here.
Here are the ways we recommend cooking your brisket:
Smoke
Broil
Grill
Click the cooking method above to find the recipe.
Nutrition Facts
According to the USDA website, a 6-ounce serving of triple-tip contains 304 calories, 46.2 grams of protein, and 11.82 grams of fat.

How to cook ground beef that tastes amazing every time
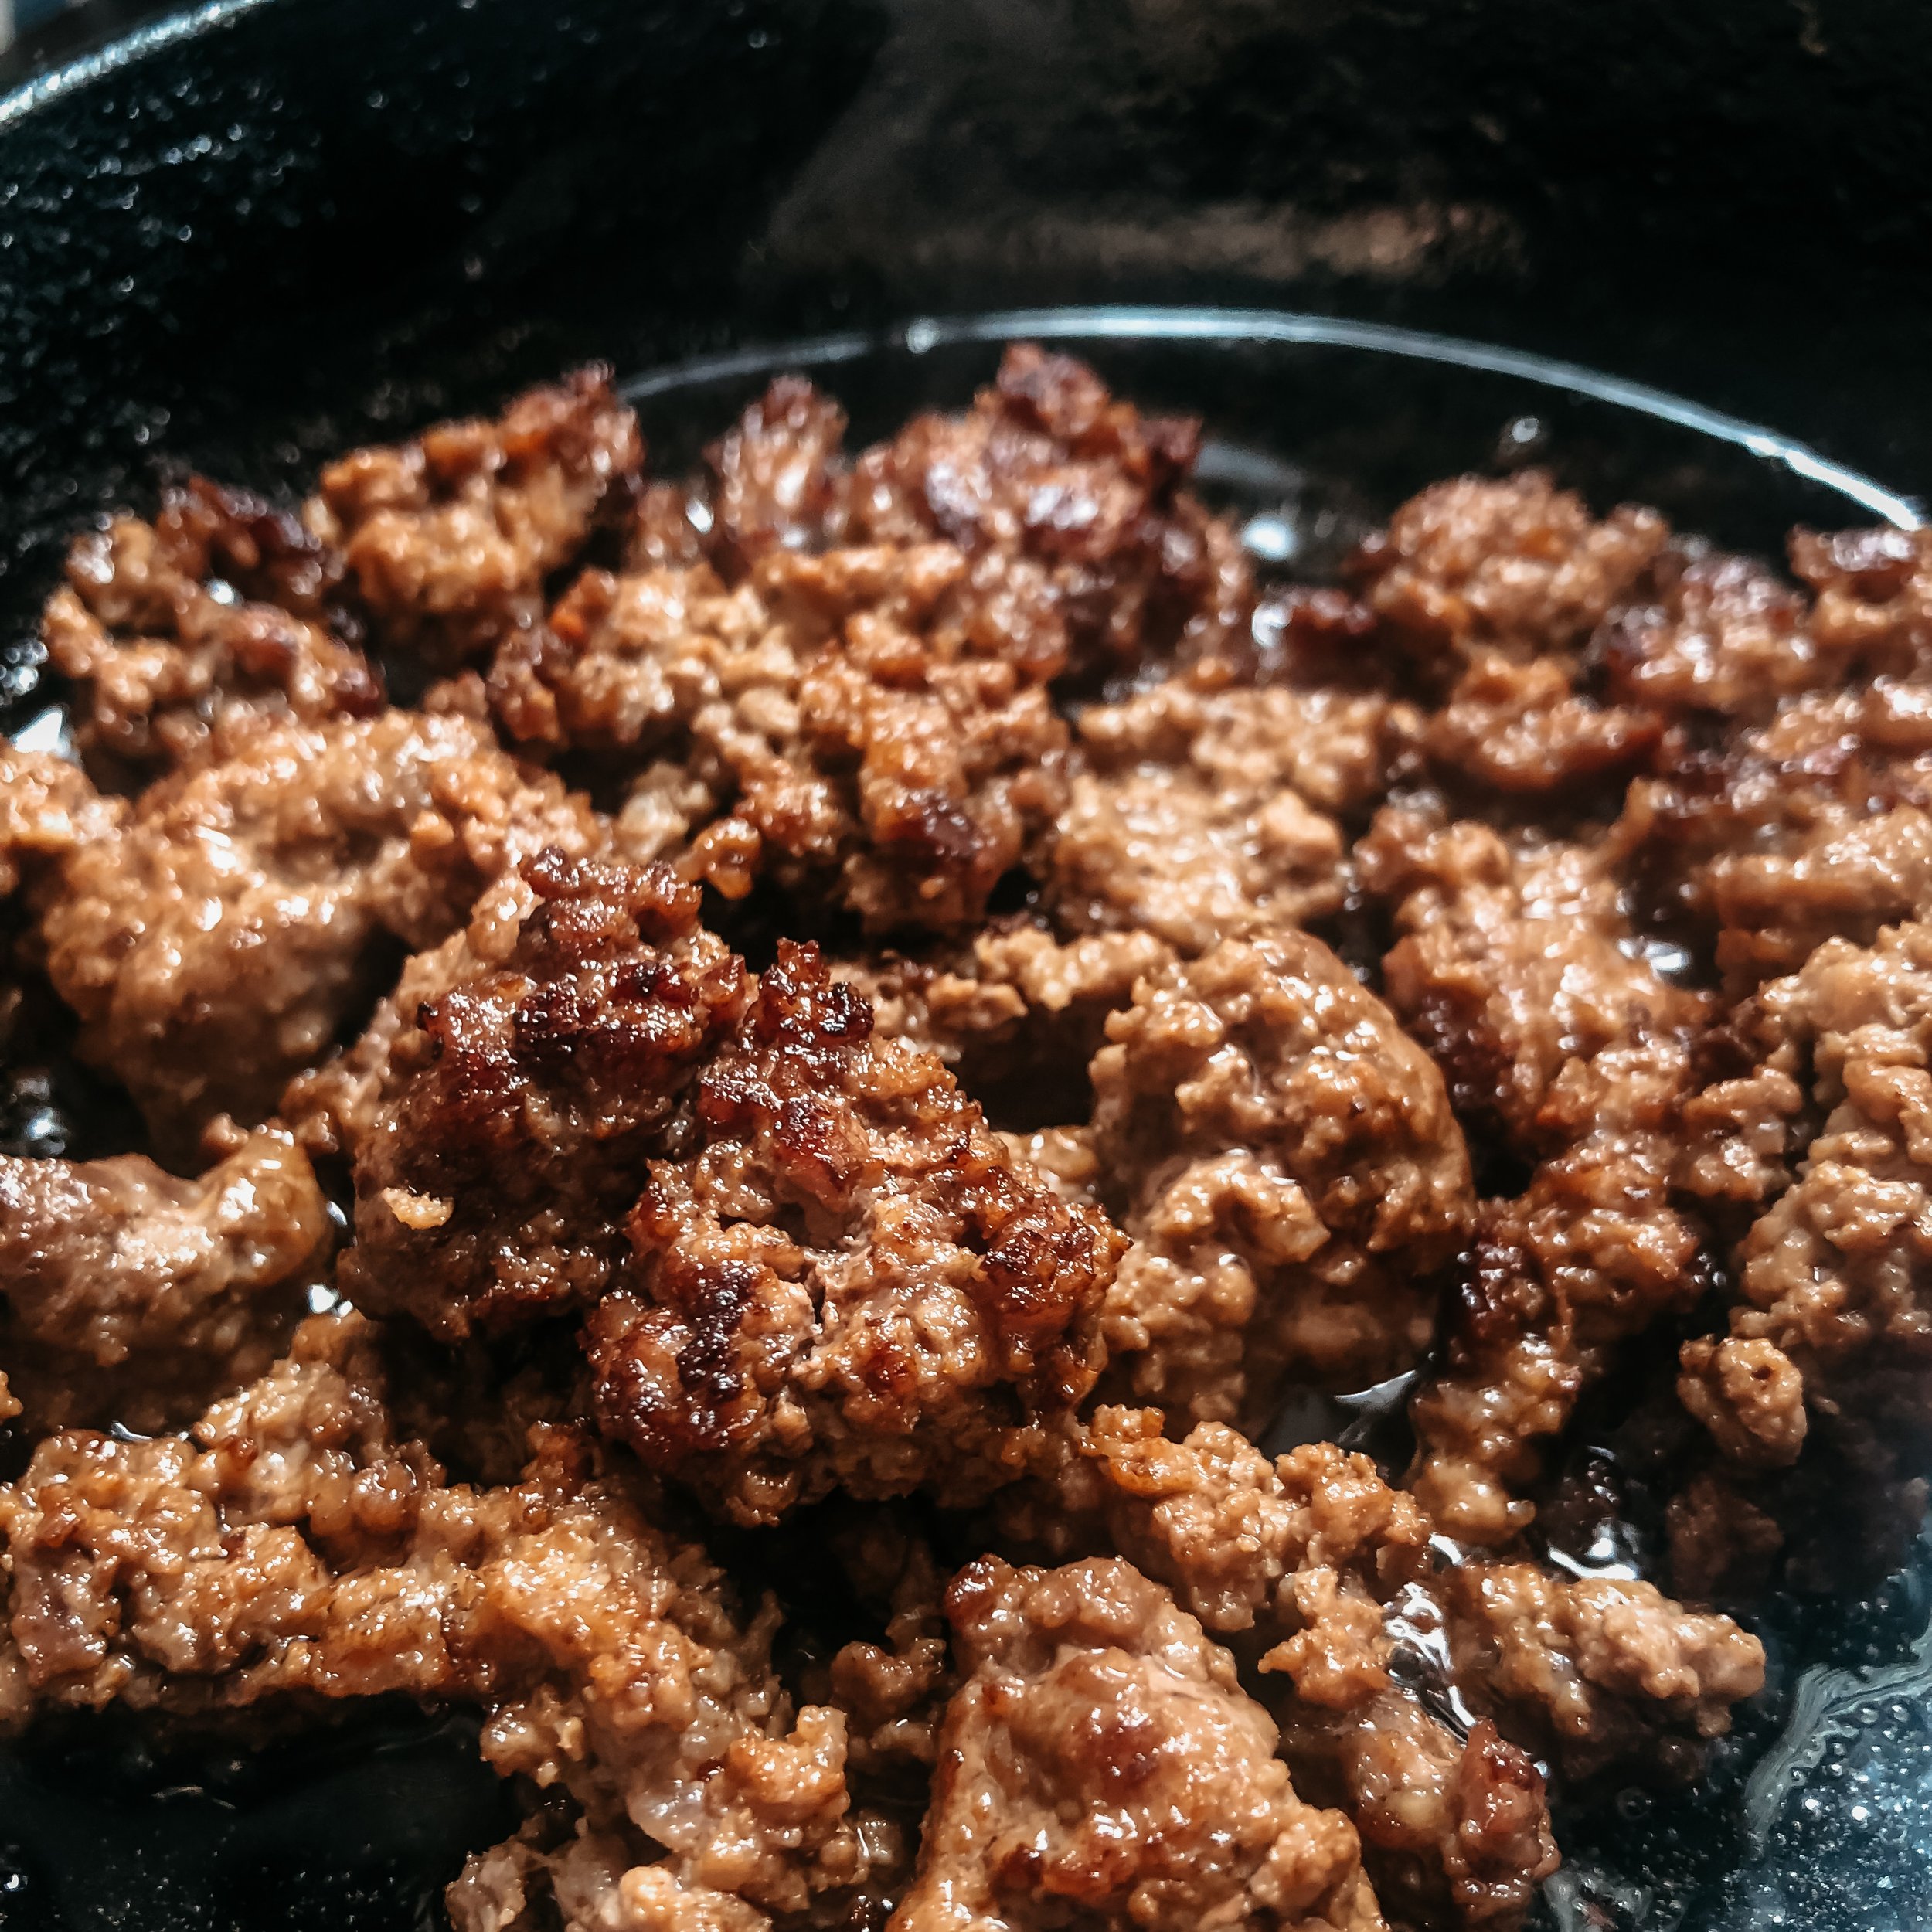
Let’s play a game. Which ground beef looks like it tastes better? Option A or Option B.
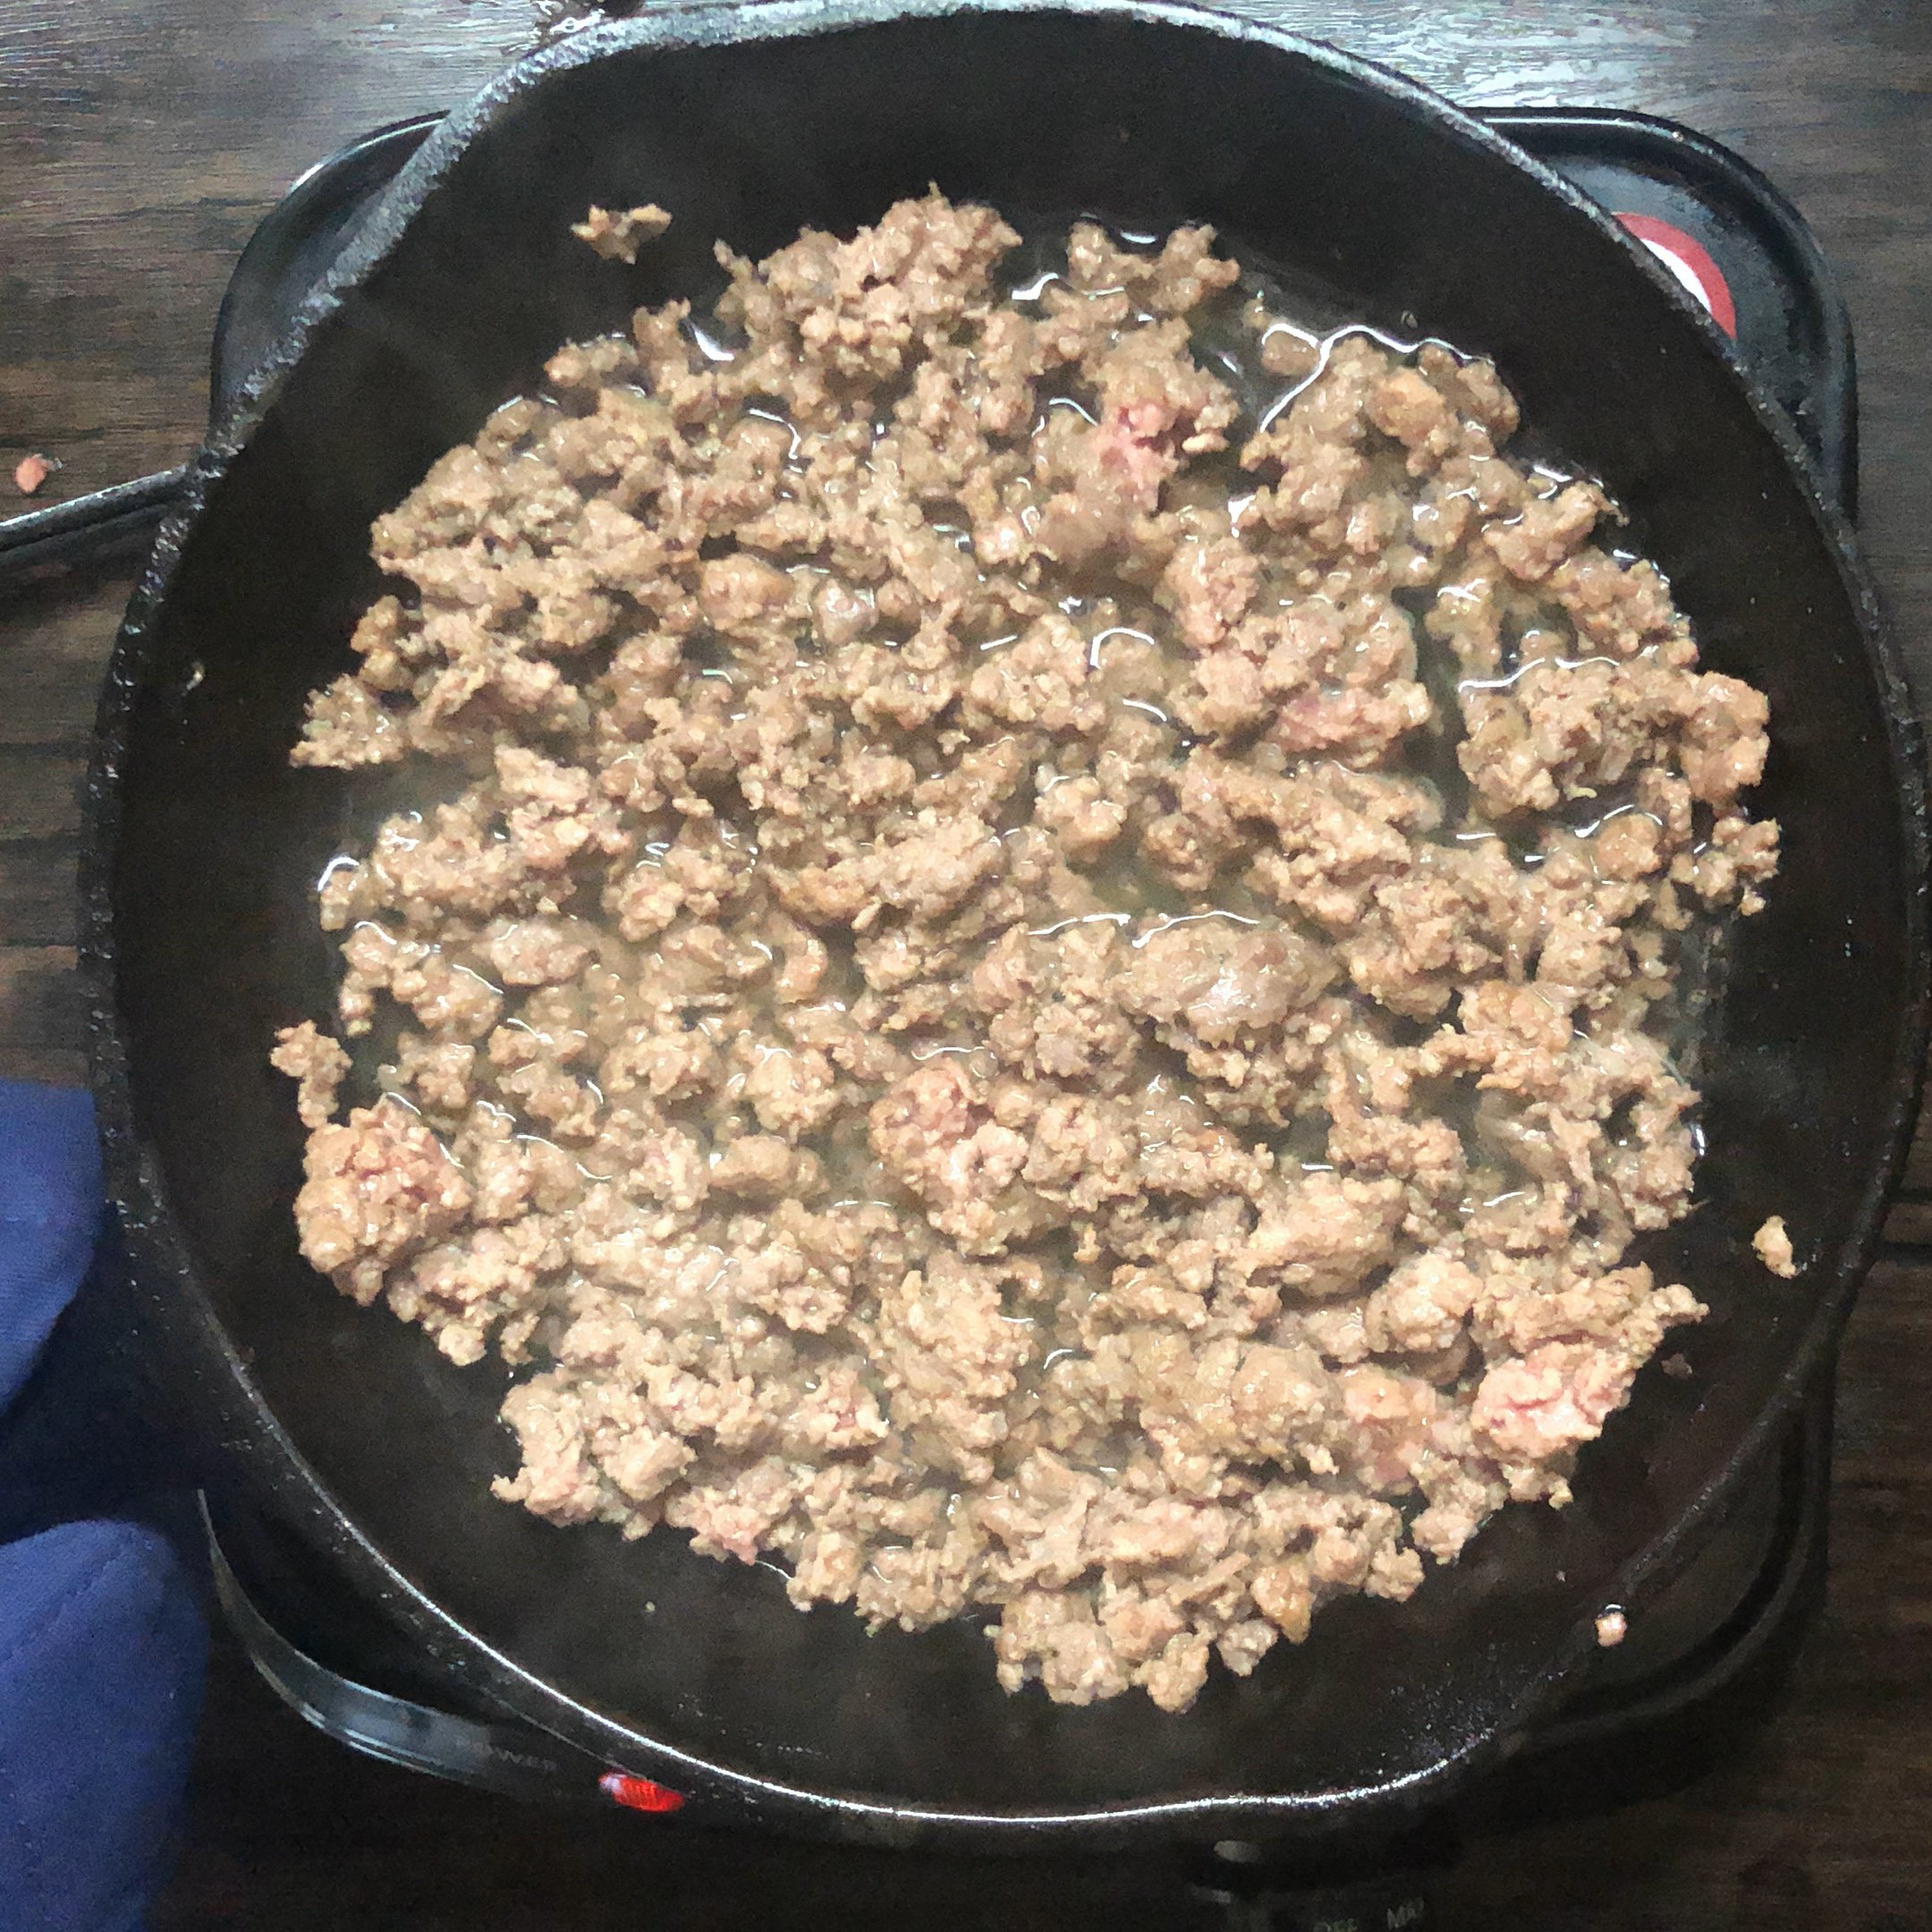
What’s the problem?
The ground beef on the left looks grayish and will taste dry and bland. This is because it was chopped up into tiny pieces and stirred too much while cooking, causing it to lose moisture and dry out.
How to do it right
I don’t know if there is a science to cooking ground beef, but I do know there are a few things you can do to make sure it tastes amazing every time.
Choose high-quality beef
Did you know that retired dairy cows are harvested for beef? Quite a bit of grocery store beef, especially ground beef, comes from dairy cows. This creates a great resource of affordable meat for American consumers. And while it can taste great, we’ve noticed it just doesn’t compare to beef raised by local farmers and ranchers.

If you are looking for a source of local ground beef that is decently priced, you might be interested in Schrader’s Acres ground beef. It is made with trim from our prime cuts. What this means for you is it tastes amazing, and you can feel good about eating it because you know if comes from high-quality cuts!
Choose the right pan
Once you’ve got your ground beef, it’s time to make sure you have the right pan. One of the biggest causes of dry, gray ground beef is using the wrong pan. The wrong size pan to be exact. When the beef can’t touch the surface of the pan, it can’t caramelize and loses its juiciness and flavor.
You know your pan is big enough when the meat fits across the bottom in one flat, even layer. Remember, surface area is king.
Heat pan and fat
Heat your pan over medium heat and add a tablespoon of fat. This could be oil, butter, or ghee.
Add ground beef
When your pan is warm, add ground beef. Push it into an even layer across the bottom of your pan and let it cook for 3-4 minutes.
Leave it alone!
In other words, don’t touch it! You want to let it sit on the pan to create a brown crust on the beef. A reaction occurs between the amino acids and sugars in the beef, creating the delicious flavor you crave.
Break apart the meat
We like big chunks (of beef) and we cannot lie. Big chunks equal lots of juicy flavor getting locked into the beef. Stir occasionally, flipping chunks over so each side can caramelize. It will take about 4 minutes to finish cooking.
Season
Season beef to taste. You can use salt, pepper, Montreal Seasoning, taco seasoning, something else, or nothing at all!
Use as desired and enjoy!

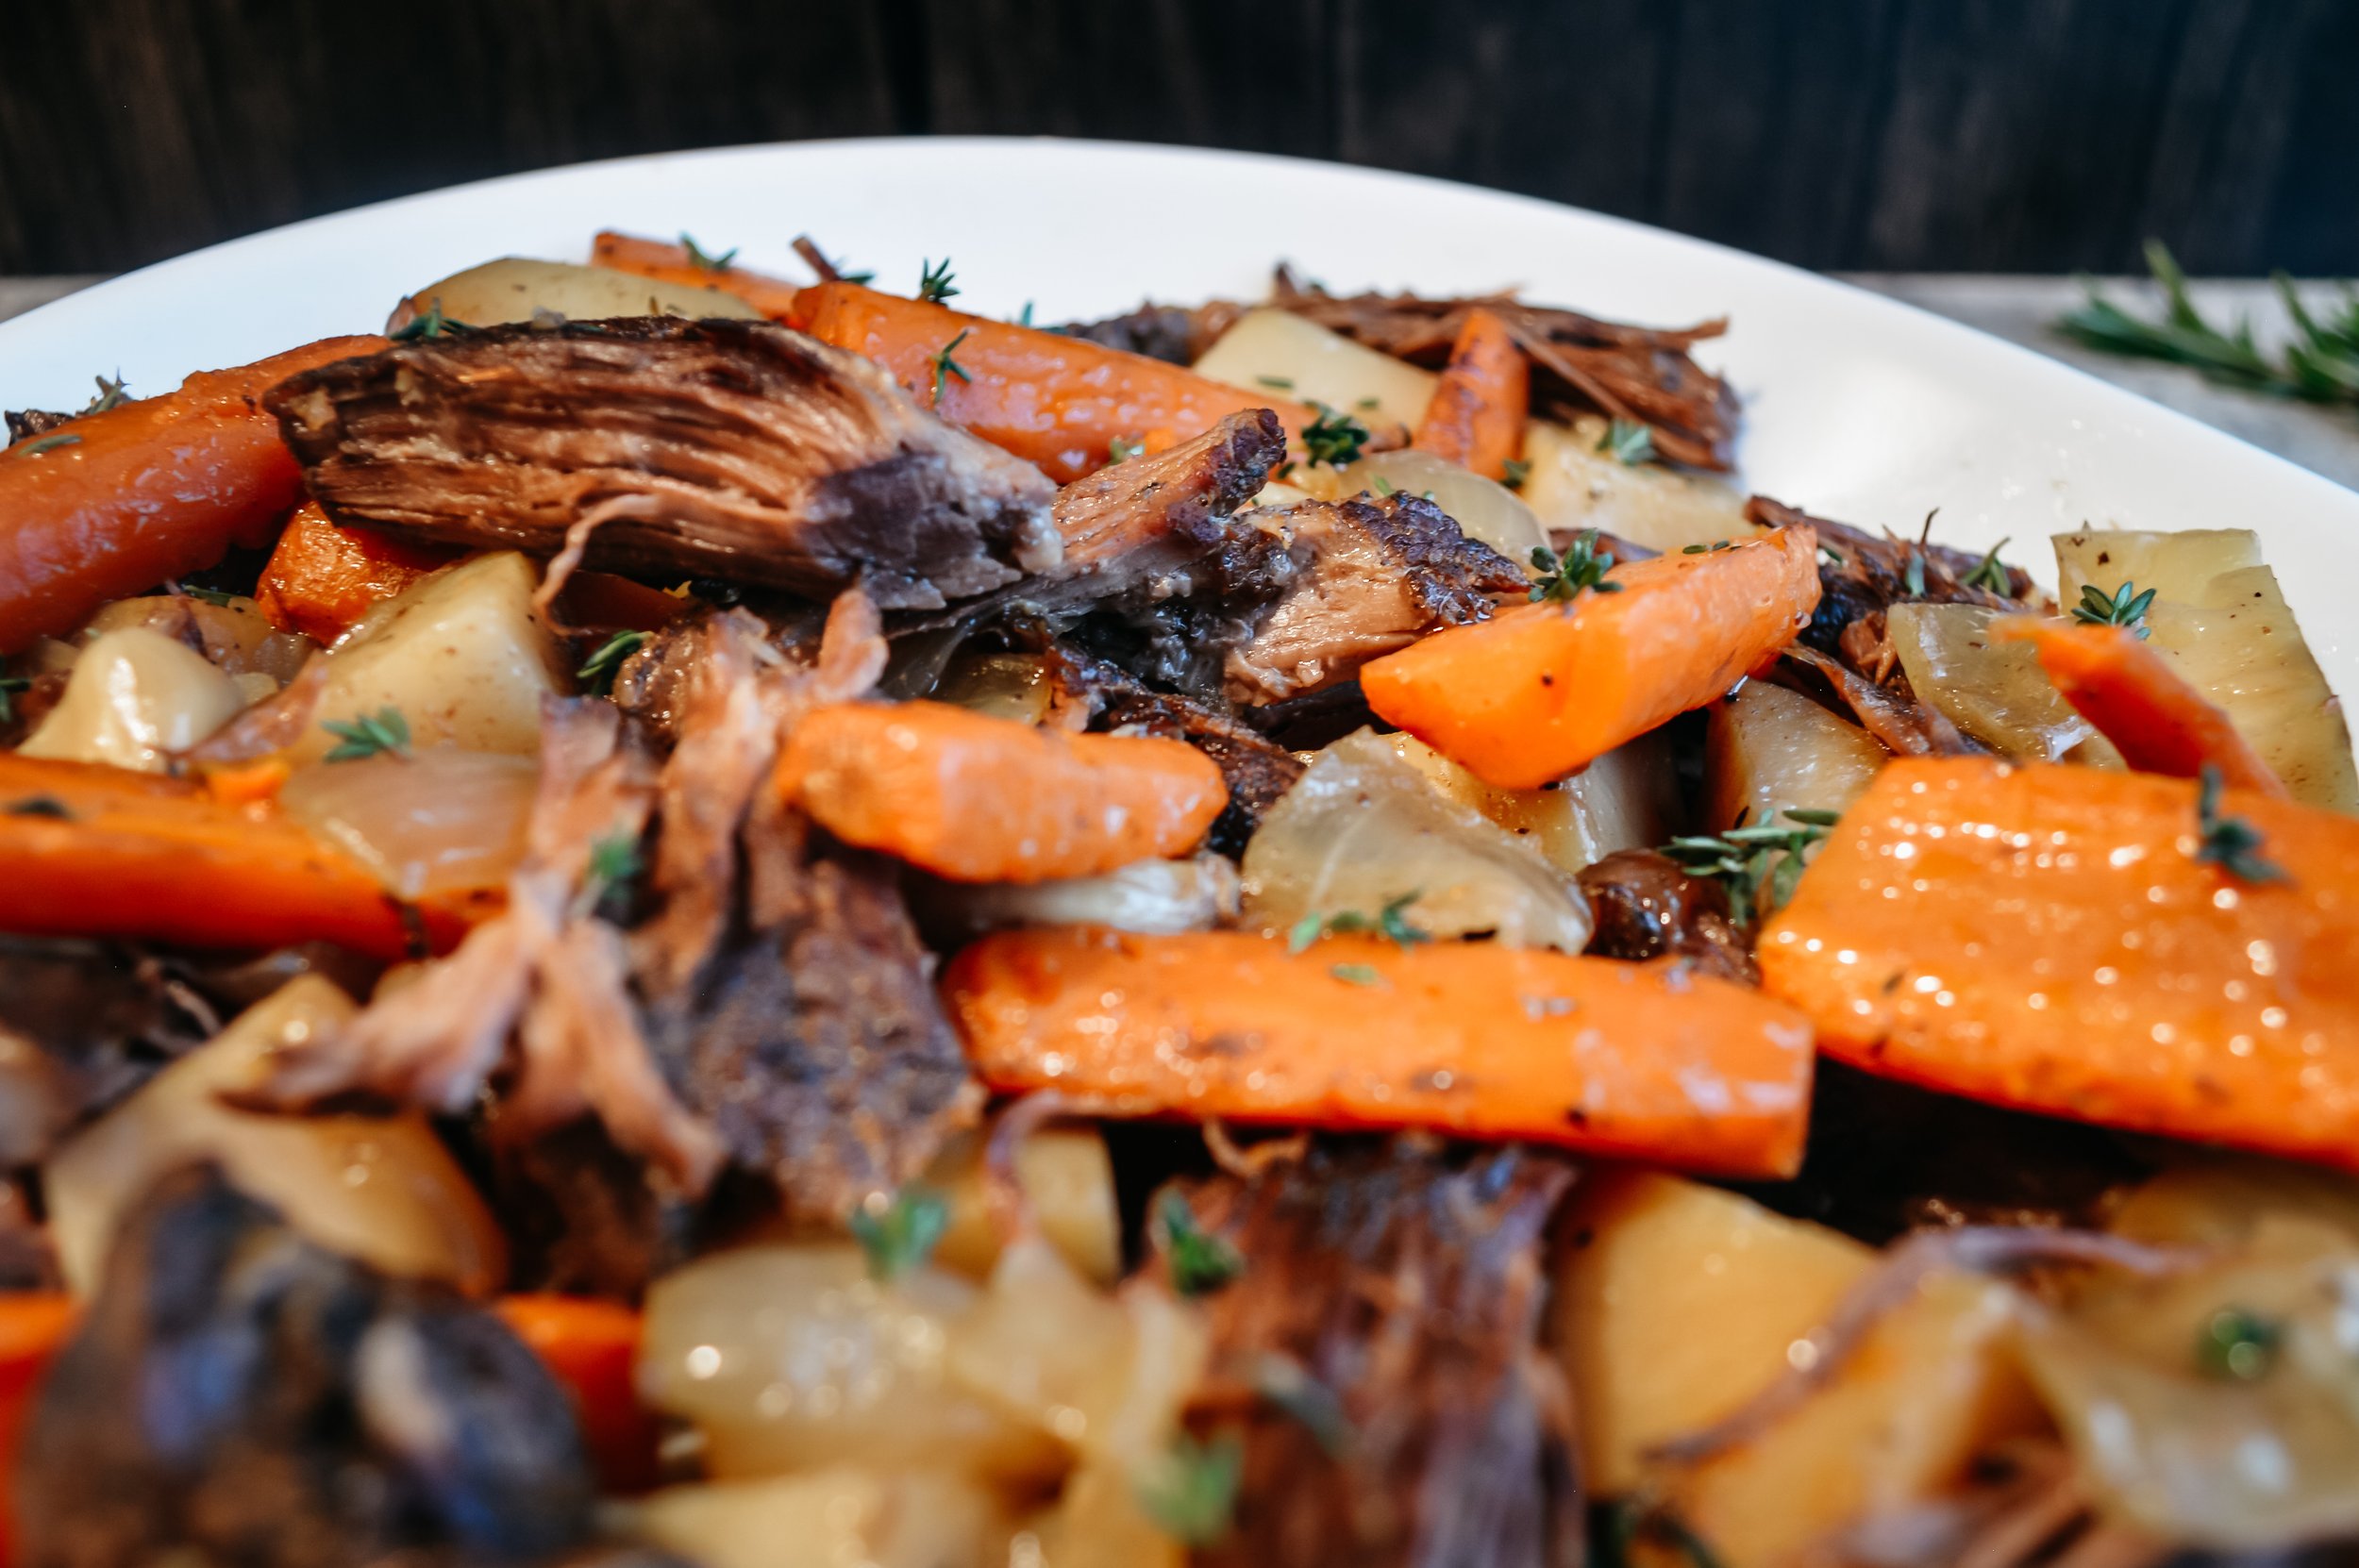
Classic Pot Roast

You want a pot roast that is fork-tender and full of flavor. Picture this, you make a delicious and healthy meal for your family, and your toddler says, “This tastes better than candy!” Those are sweet words coming from a toddler who typically only eats bread and bananas.
Listen, I’ve made a lot of beef roasts, and I never could get them quite right…until I used my MIL’s recipe. Several years ago she made it for a family with a new baby, and their toddler told his mom it tasted better than candy.
Beef and candy may be on opposite ends of the health-food spectrum (and one has zero sugar), but they can both impress your family! Here’s the not-so-secret Schrader family recipe:
Ingredients
4 lb. chuck roast (we usually choose bone-in but boneless is fine)
Kosher salt and black pepper to taste
2 tbsp. olive oil or butter
1 large onion
4 large carrots
3 potatoes
4-5 cloves of garlic, peeled and halved
1 cup of coffee (you could also use broth)
3 sprigs of fresh rosemary and thyme (you can use a sprinkle of dried herbs instead)
Choose a good roast
Sourcing meat from a quality source does make a difference! Good cooking won’t make bland or gamey beef taste like premium beef. For consistent, high-quality meat that you can feel good about eating, click here.

Prepare your roast
Season your roast with a light sprinkle of pepper and Kosher salt on both sides.
You may also need to cut your roast in half so it fits flat across the bottom of your pot. Remember, surface area is king! If the roast is too big and the edges don’t touch the bottom of the pan, they won’t caramelize and you’ll miss out on good flavor!

Sear roast
Melt oil or butter in a Dutch oven over high heat on your stovetop.
Sear roast for about 4 minutes per side. This caramelizes the sugars and protein in the meat, creating a delicious brown crust with savory flavor. This is how you turn your beef roast into candy (even though they are on opposite ends of the health-food spectrum and one doesn’t have sugar.)
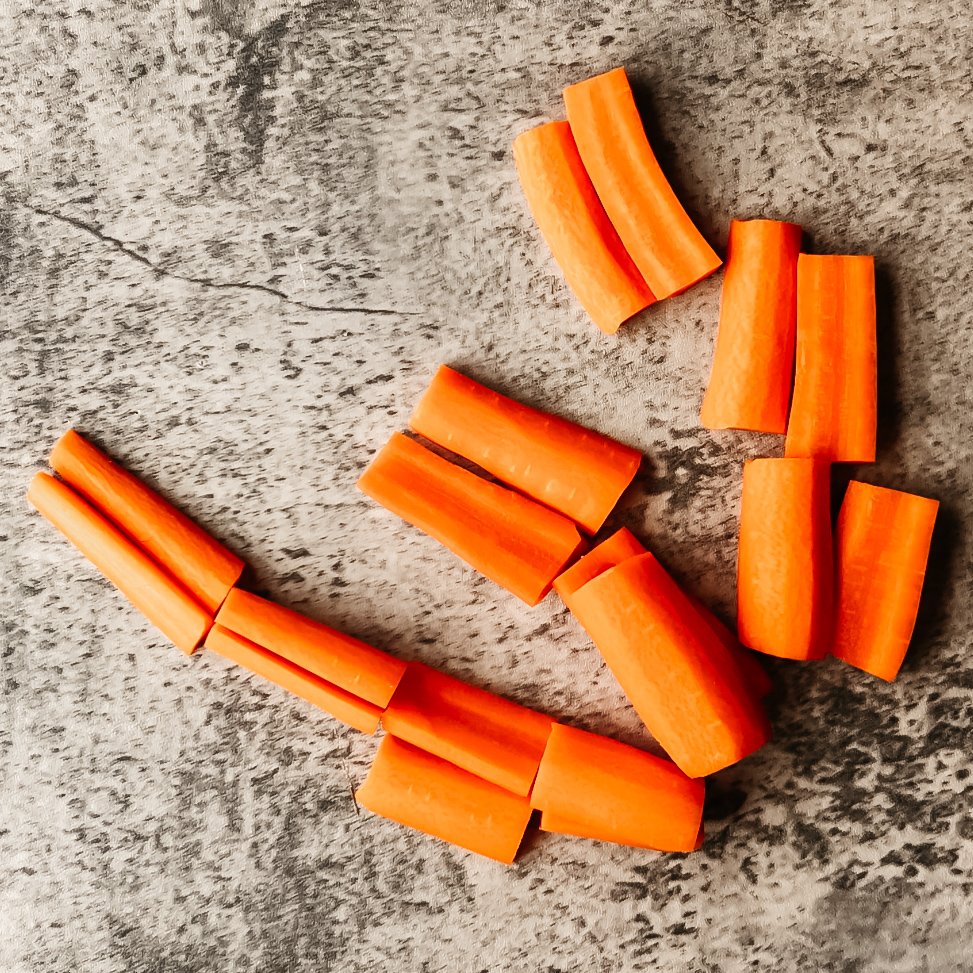
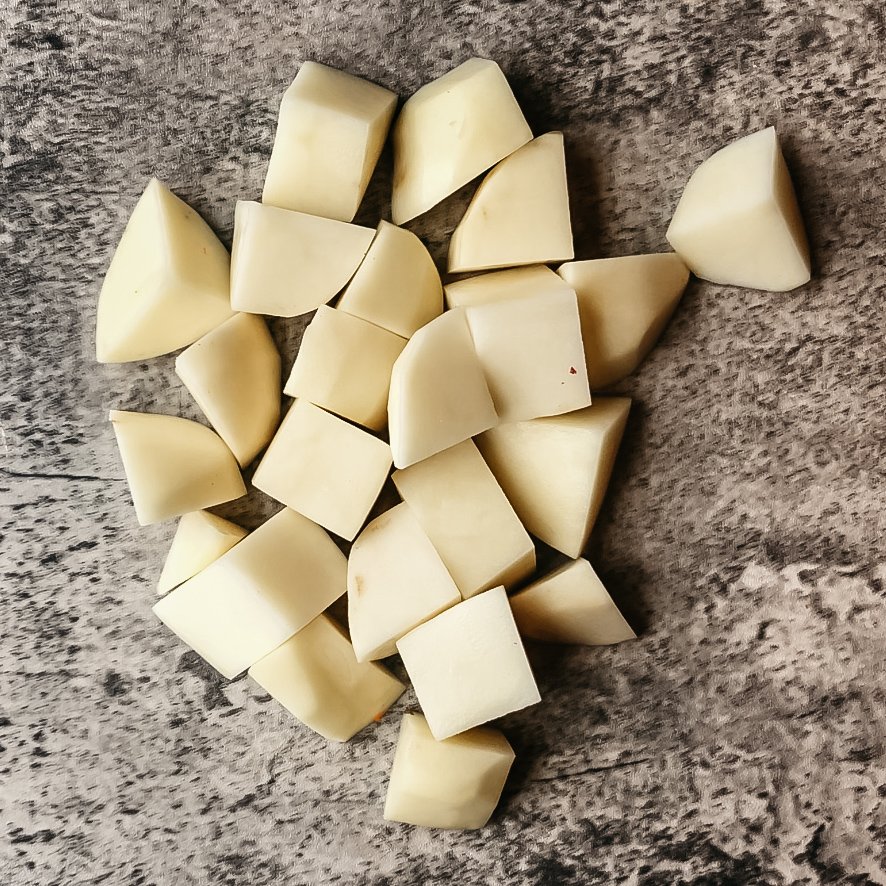
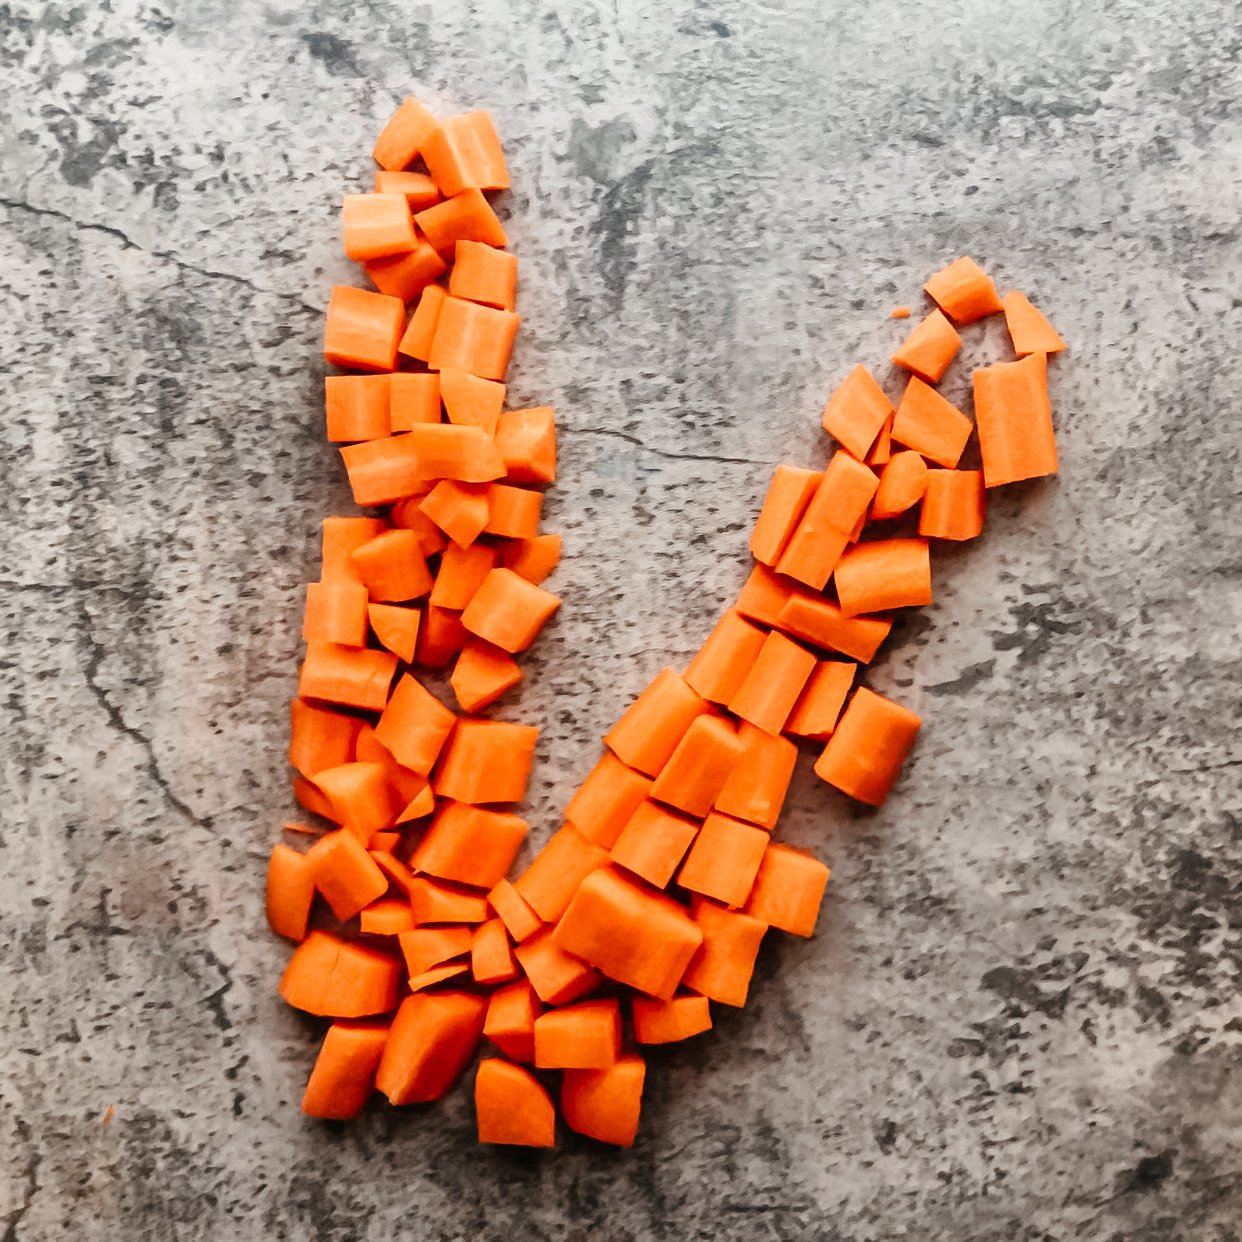
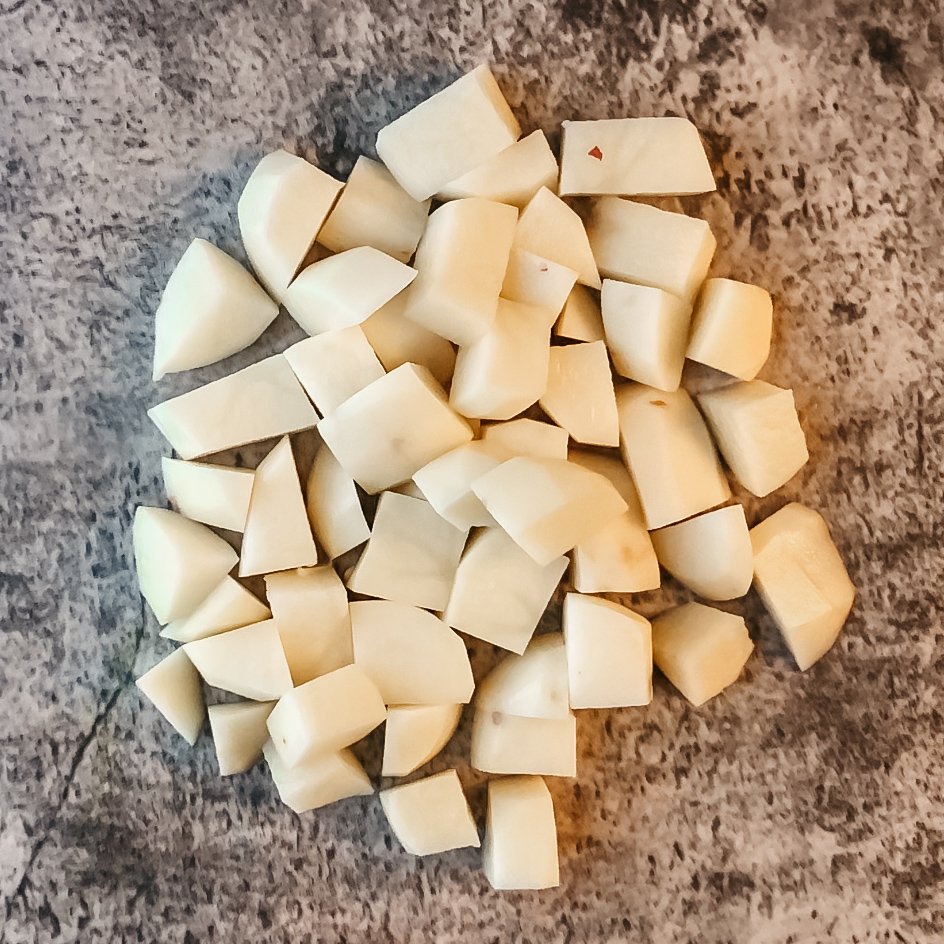
Prepare veggies while meat sears
While the meat sears, peel and chunk your carrots, potatoes, onion, and garlic. Since they are going to cook with your roast for a long time, cut them in rather large chunks. They will take longer to cook, so they finish at the same time as your roast.
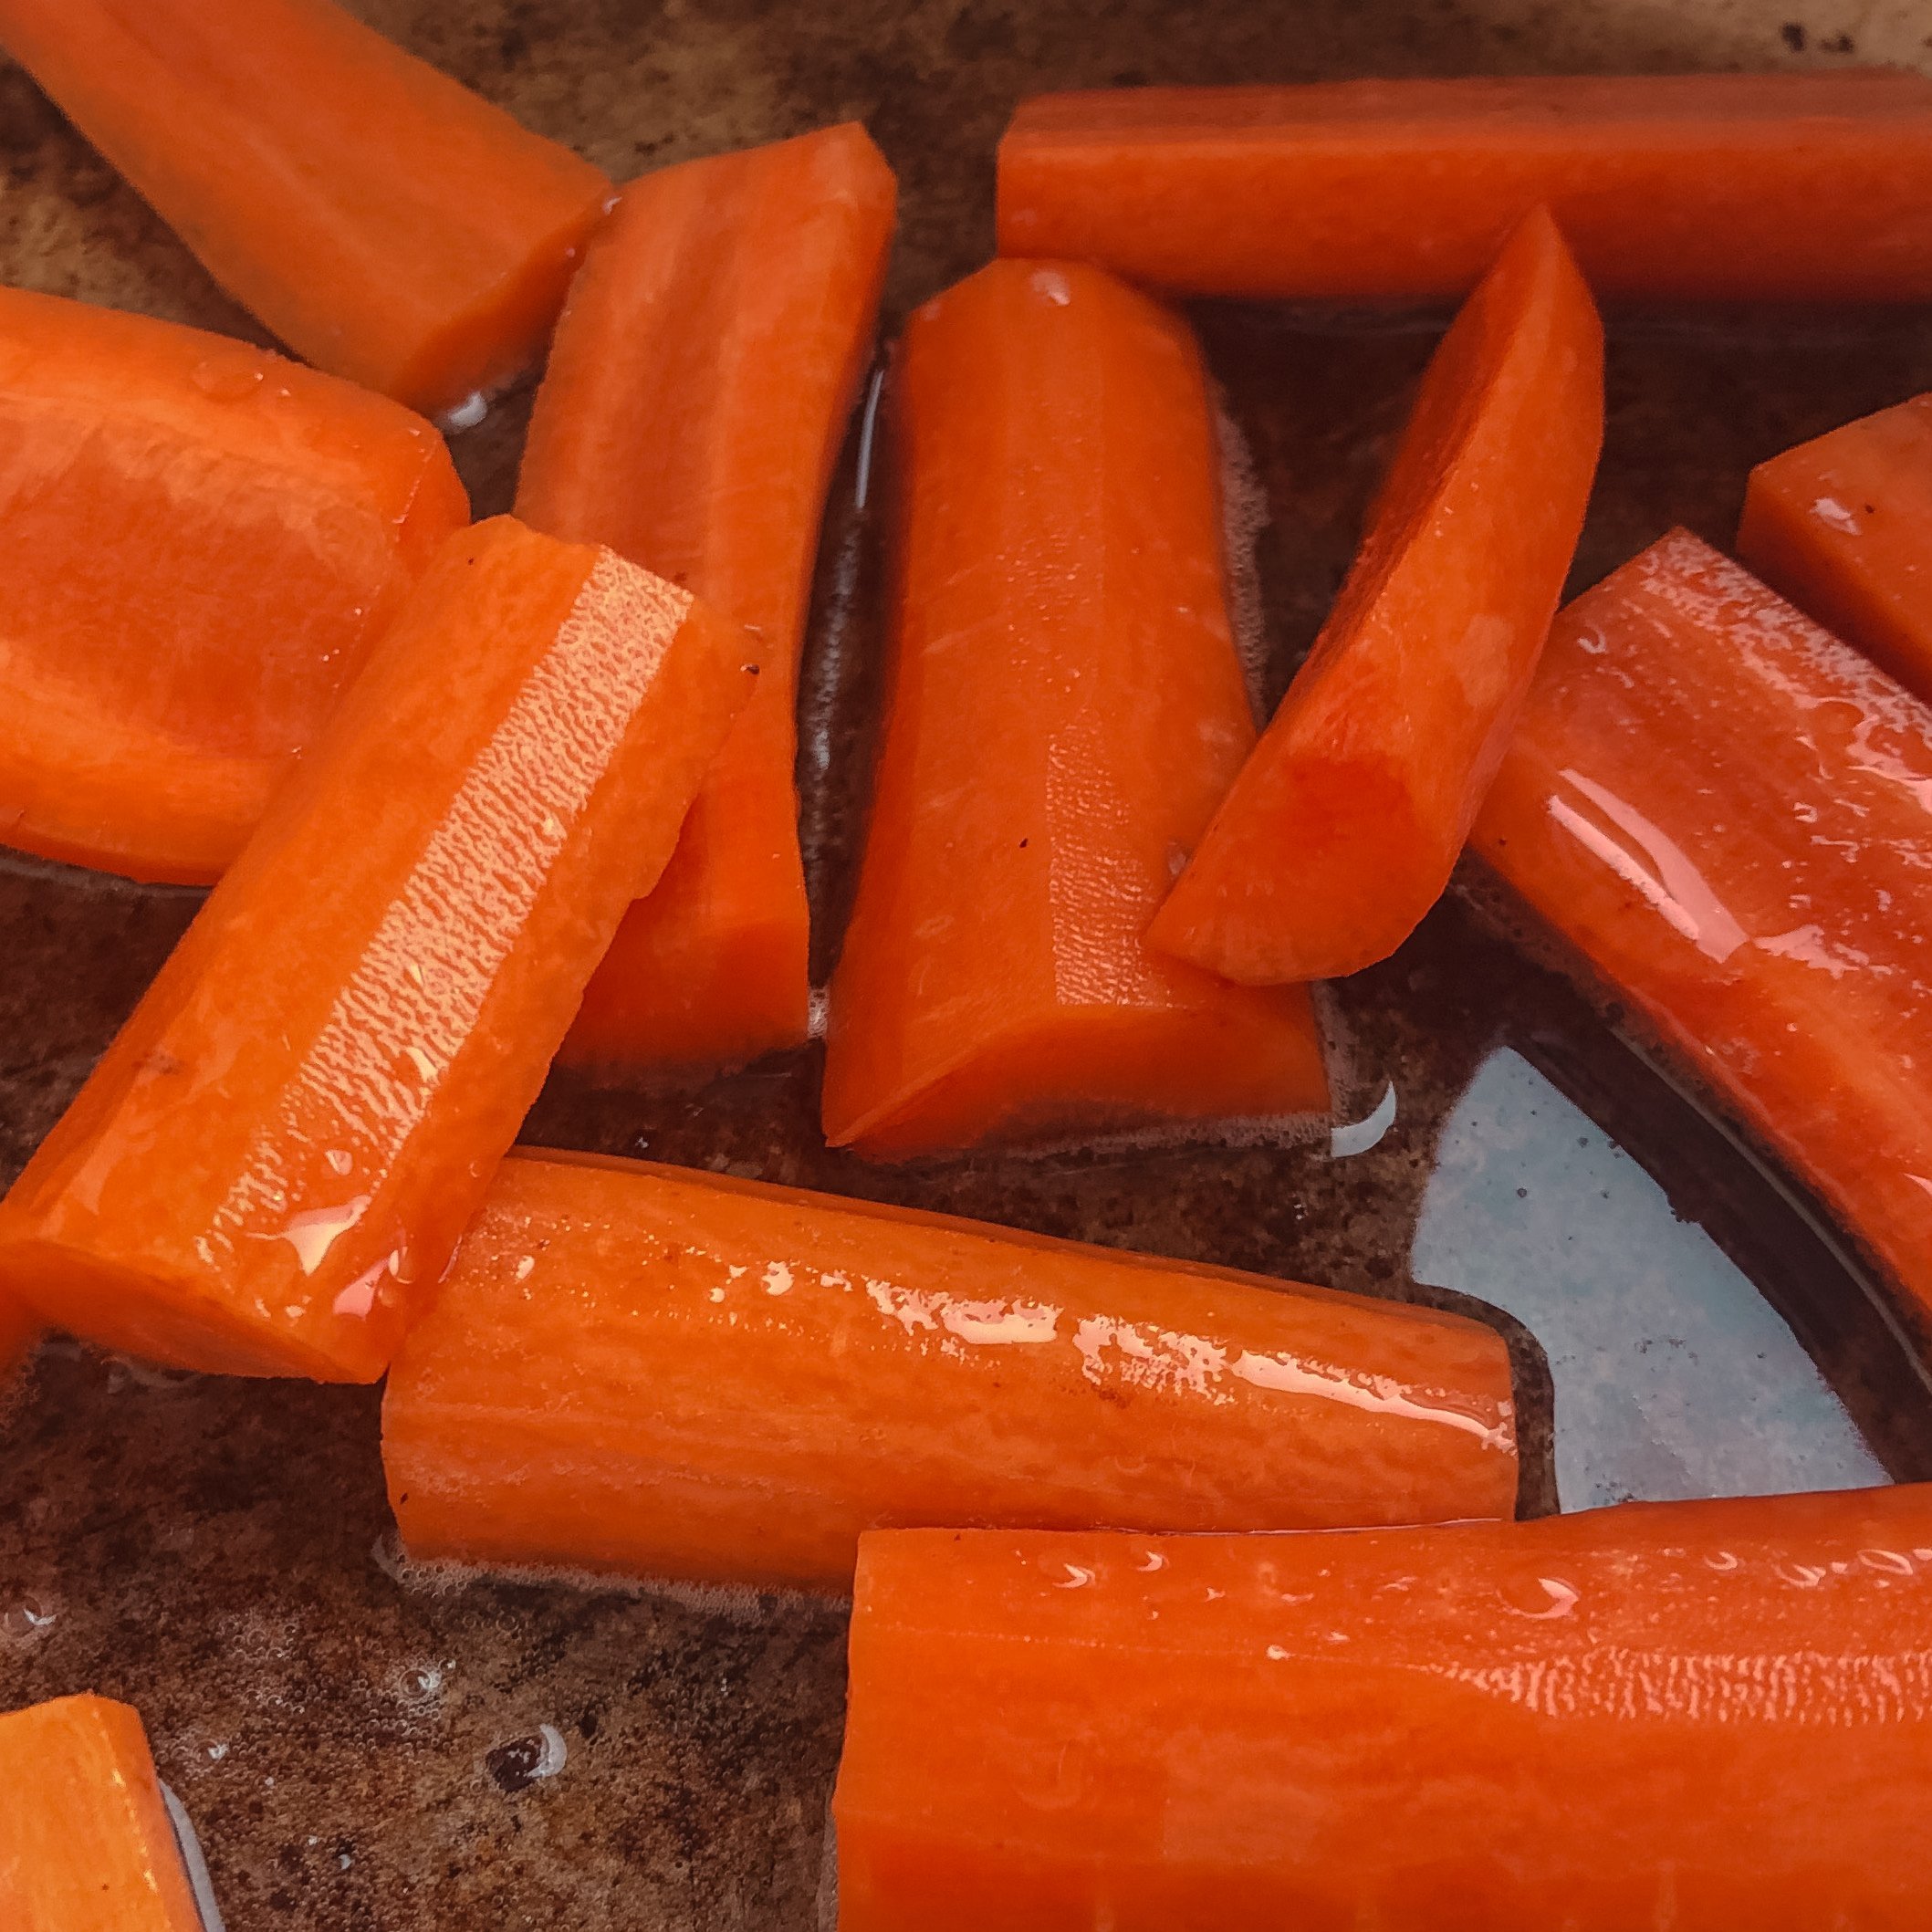
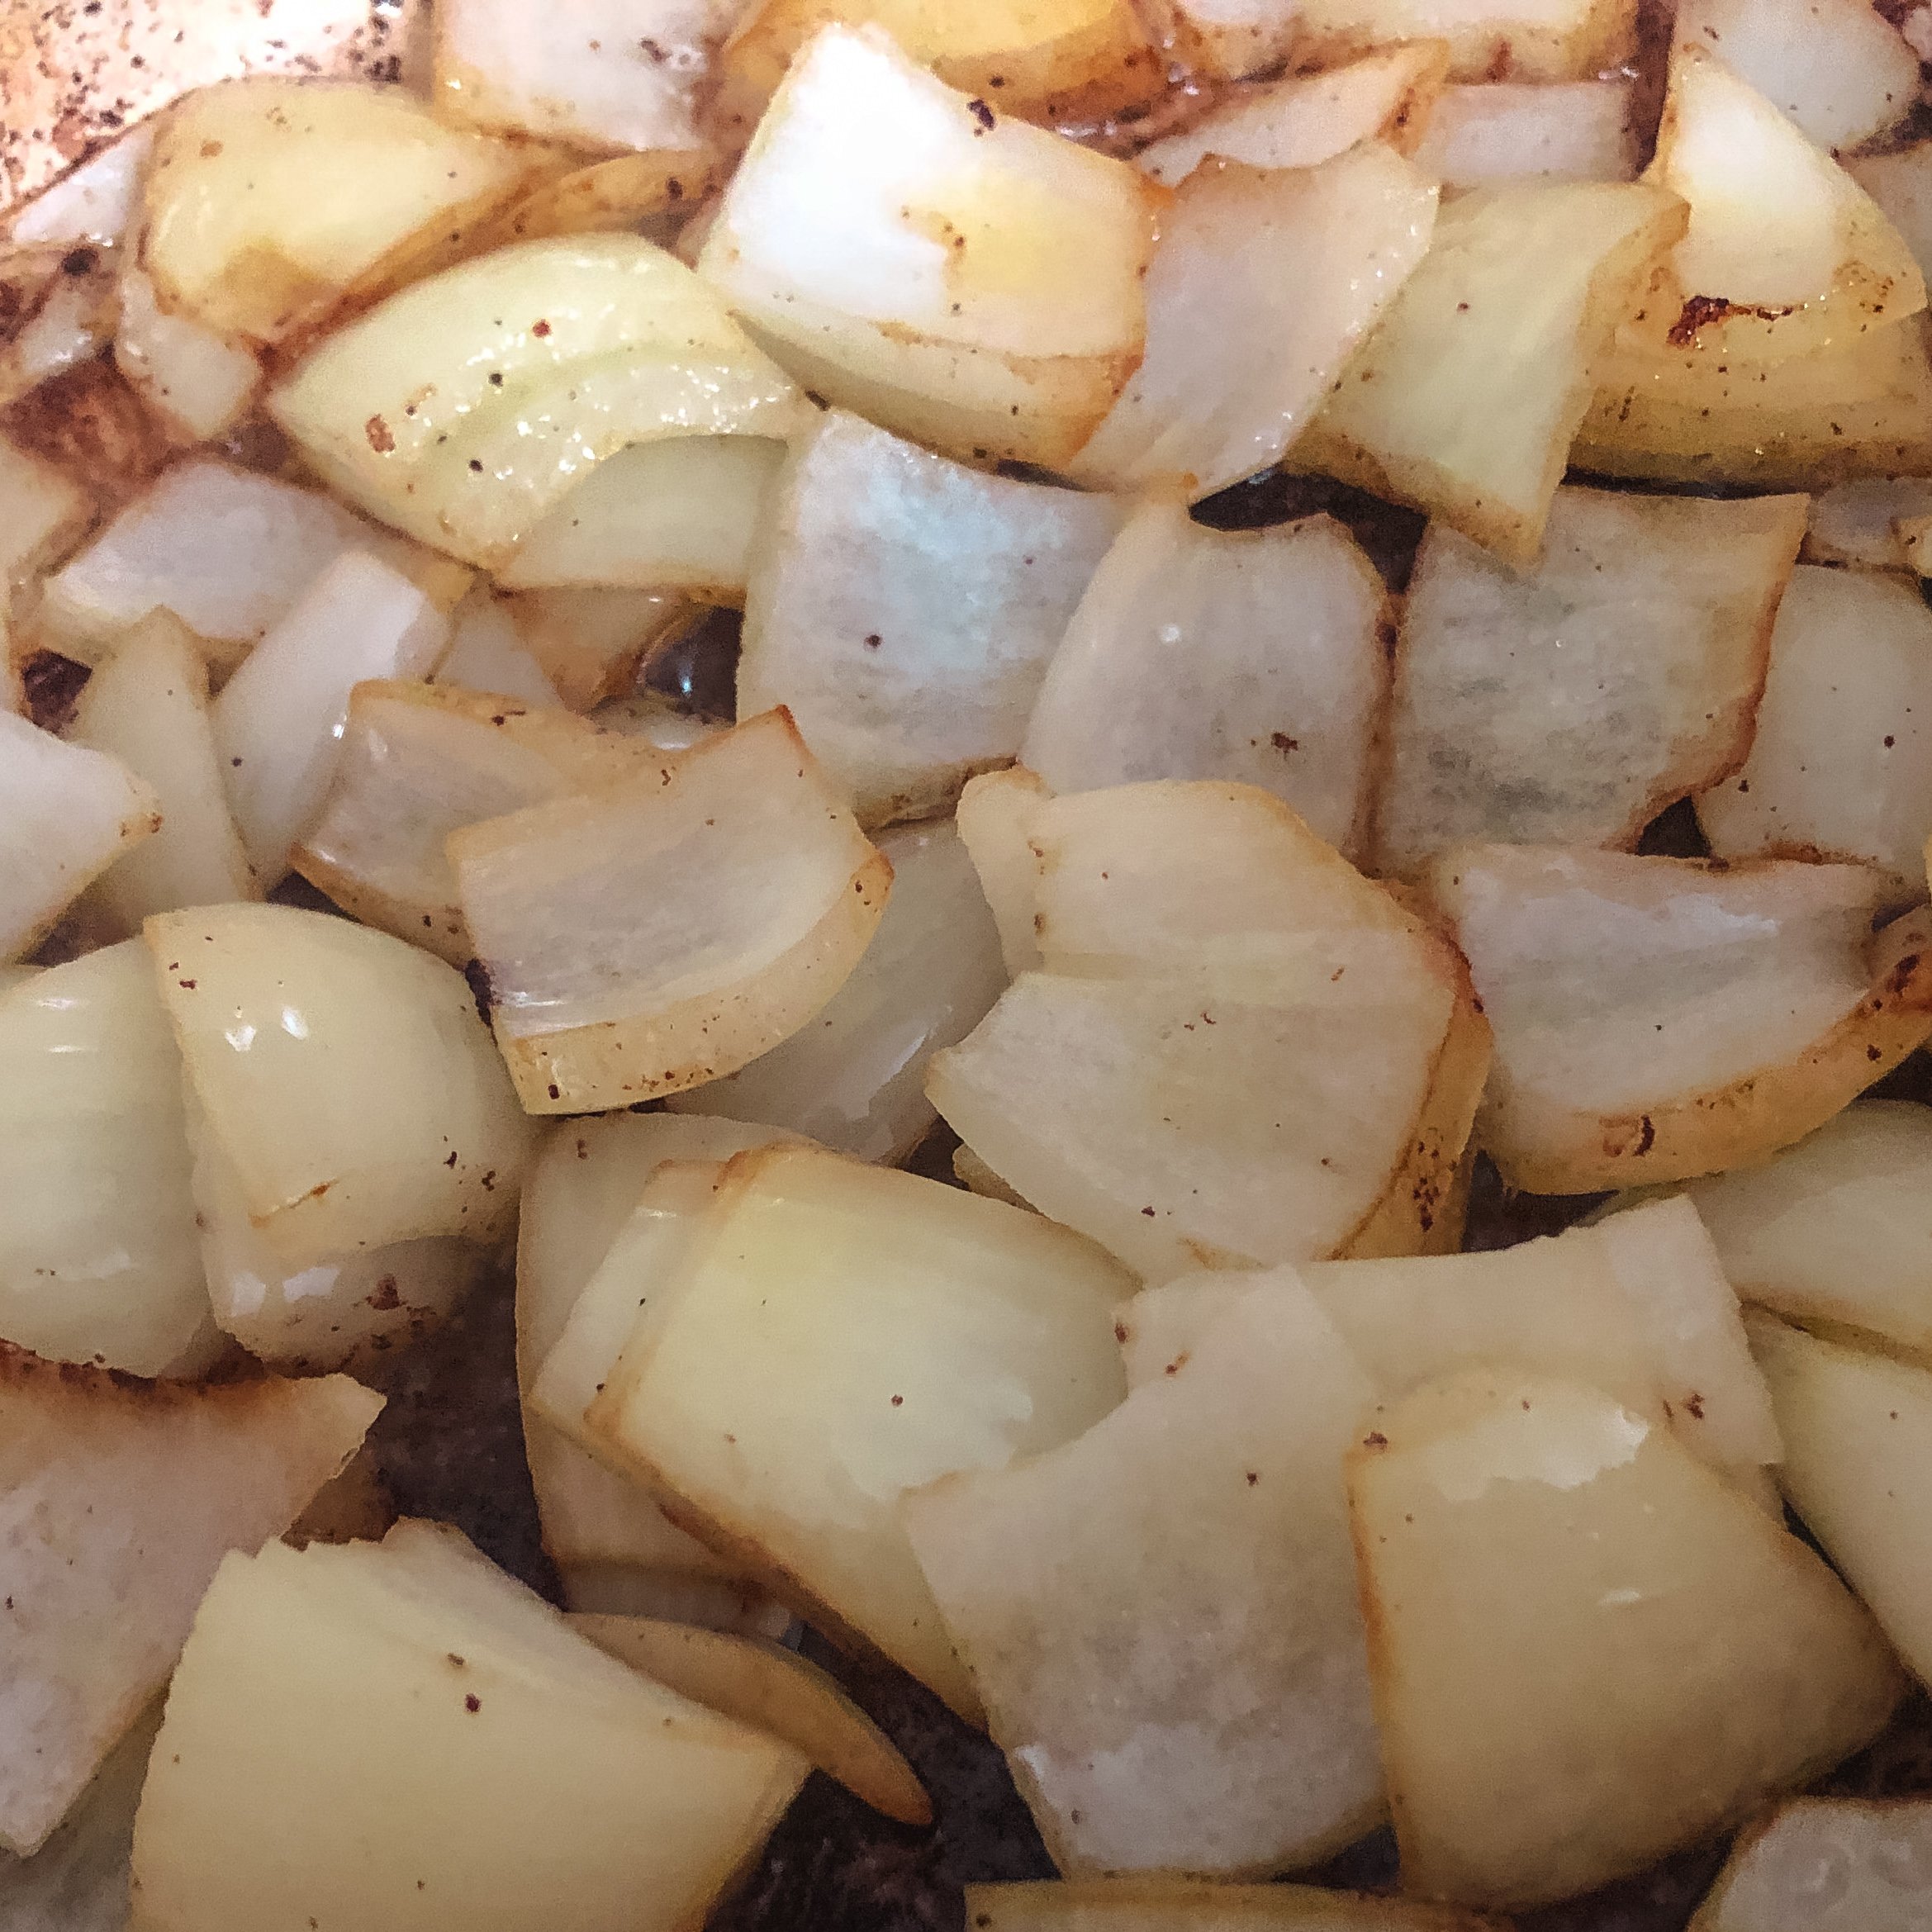
Brown veggies
When meat is done searing, brown the onions and carrots in the same dish, separately, for about one minute each. Browning equals caramelization equals savory flavor (that goes for meat and vegetables). Remove vegetables when done browning.
Prepare dish
Add meat back to the dish. Top with carrots, onions, potatoes, fresh garlic cloves, and fresh herbs like rosemary and thyme. Pour one cup of coffee over everything for an extra depth of flavor and to keep the meat moist while it roasts.
Cook low and slow
Roast at 300ºF for about 2 hours for a 4-pound roast. The internal temperature should be about 200ºF. However, it’s more important to look at the meat than the temperature. If you can’t pull the roast apart easily with a fork, it’s not done cooking yet. You can’t rush perfection!

Enjoy!

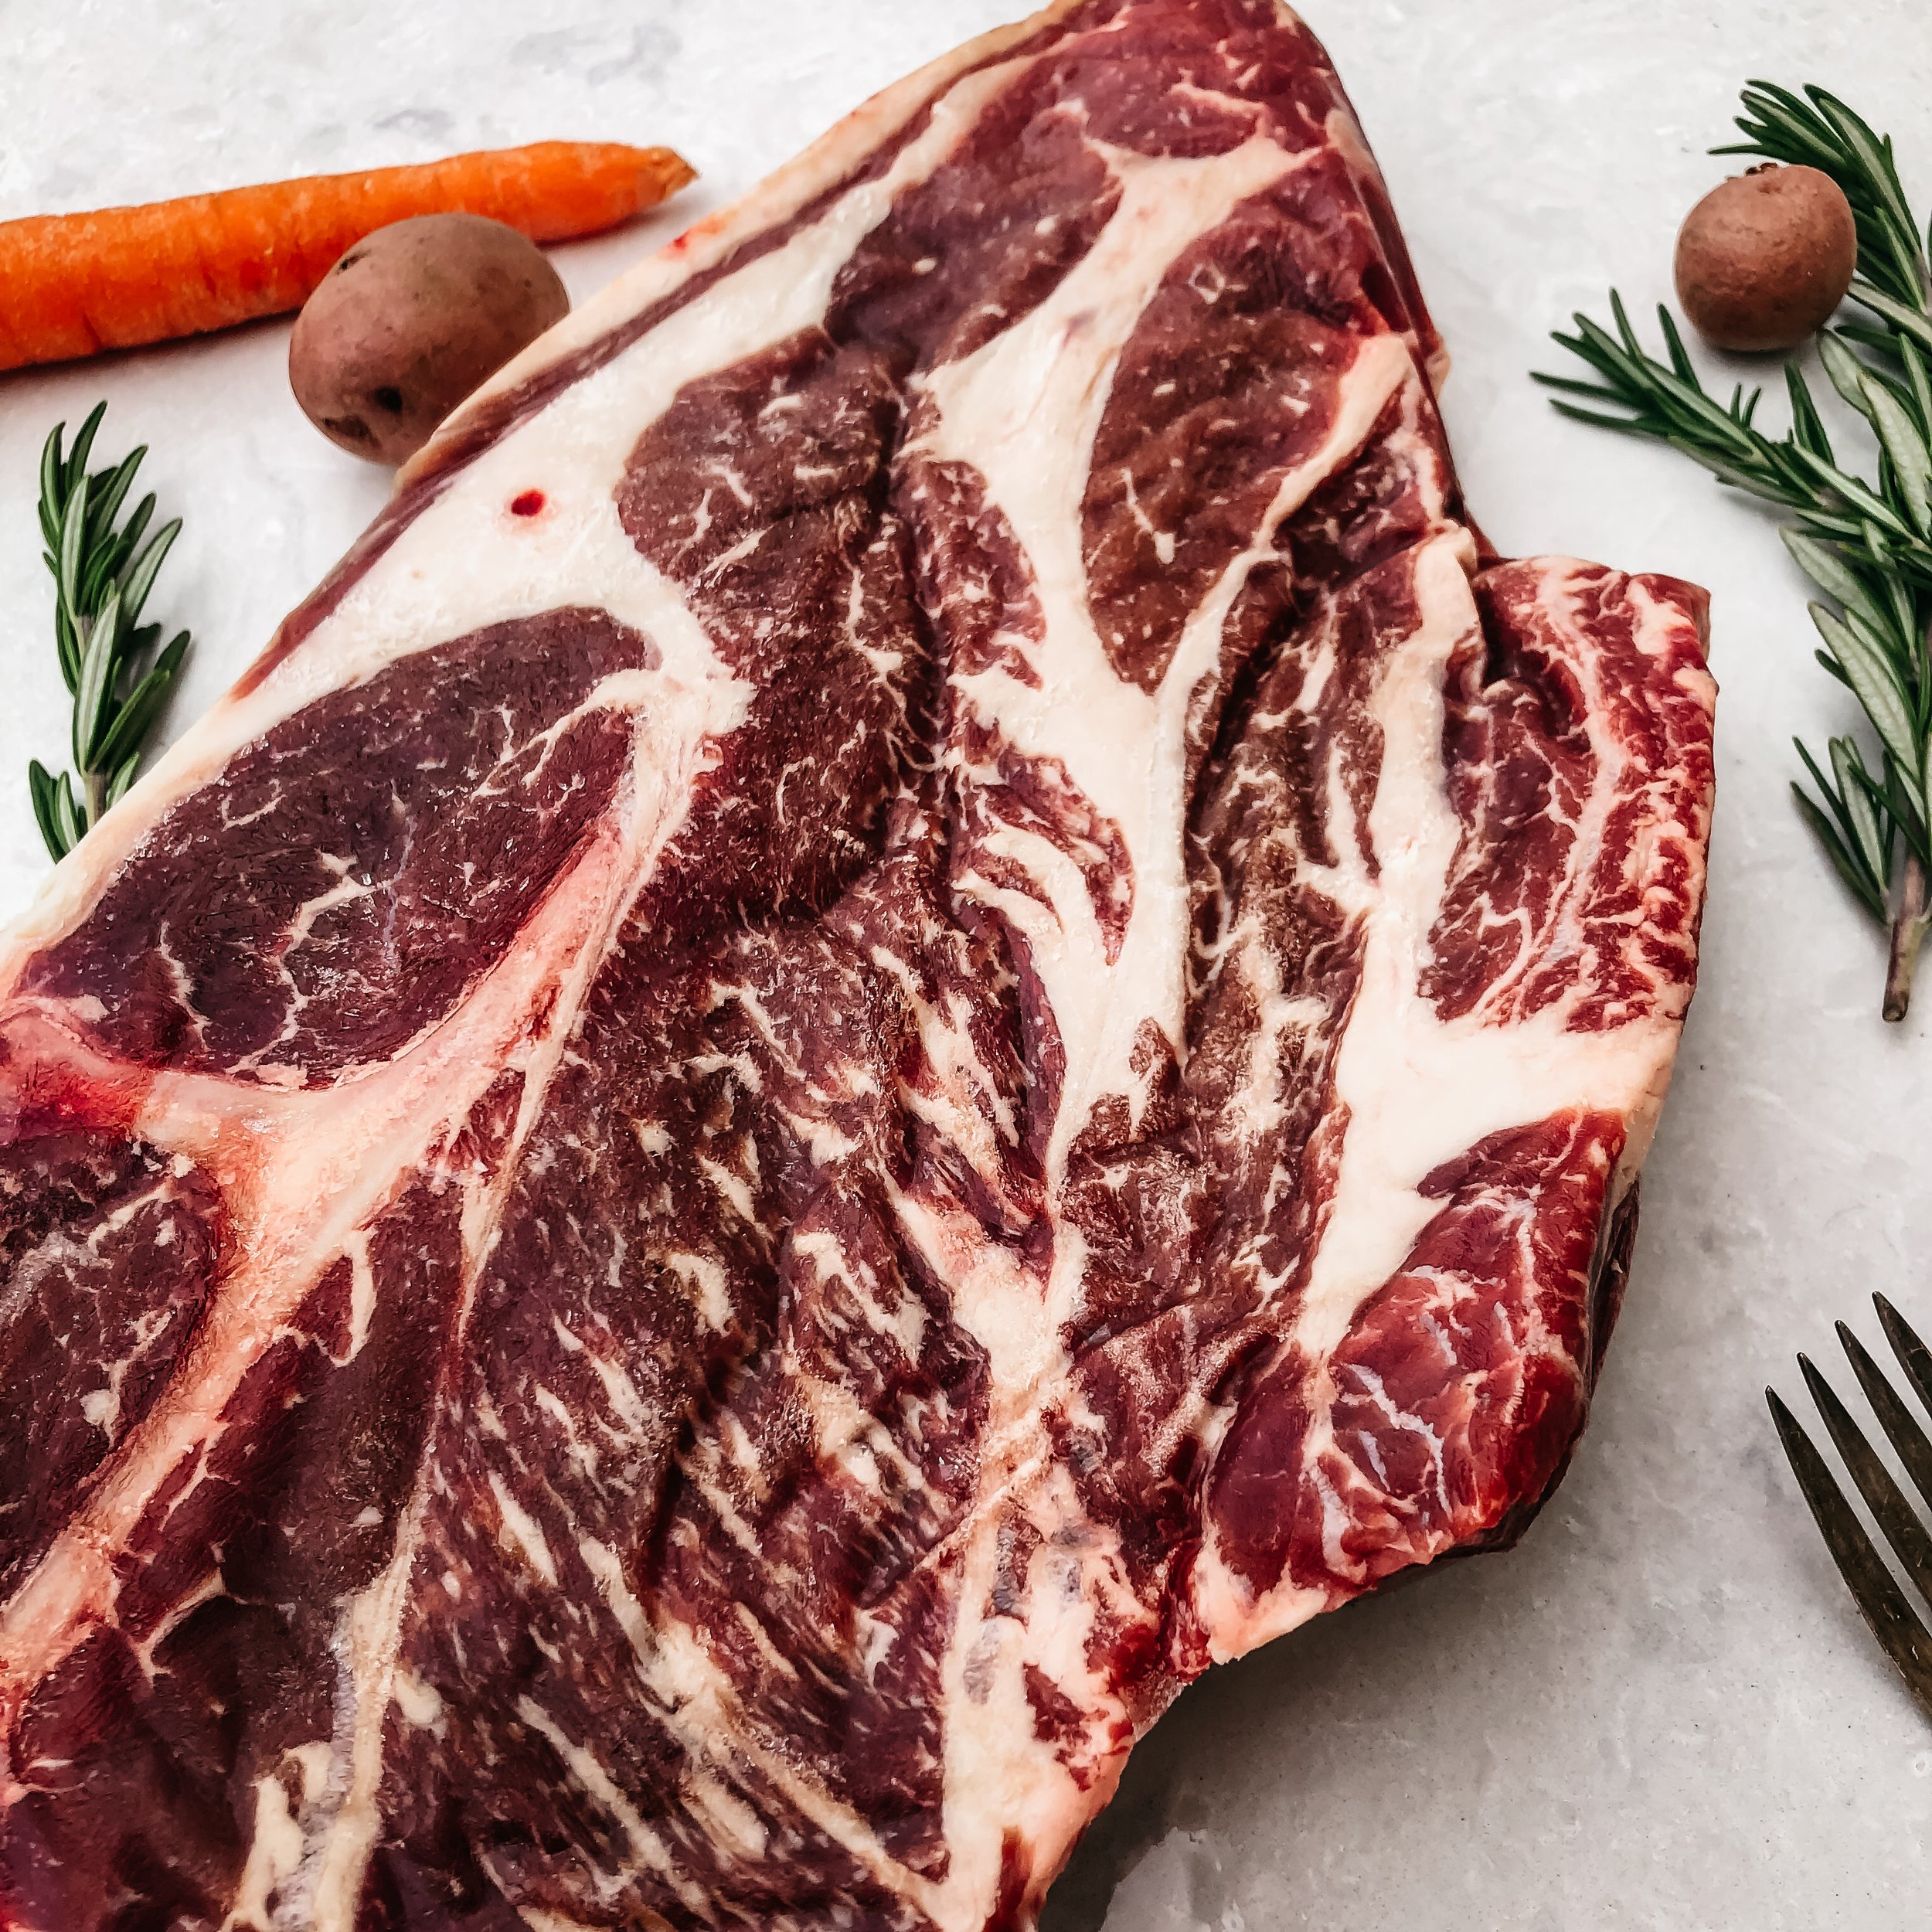
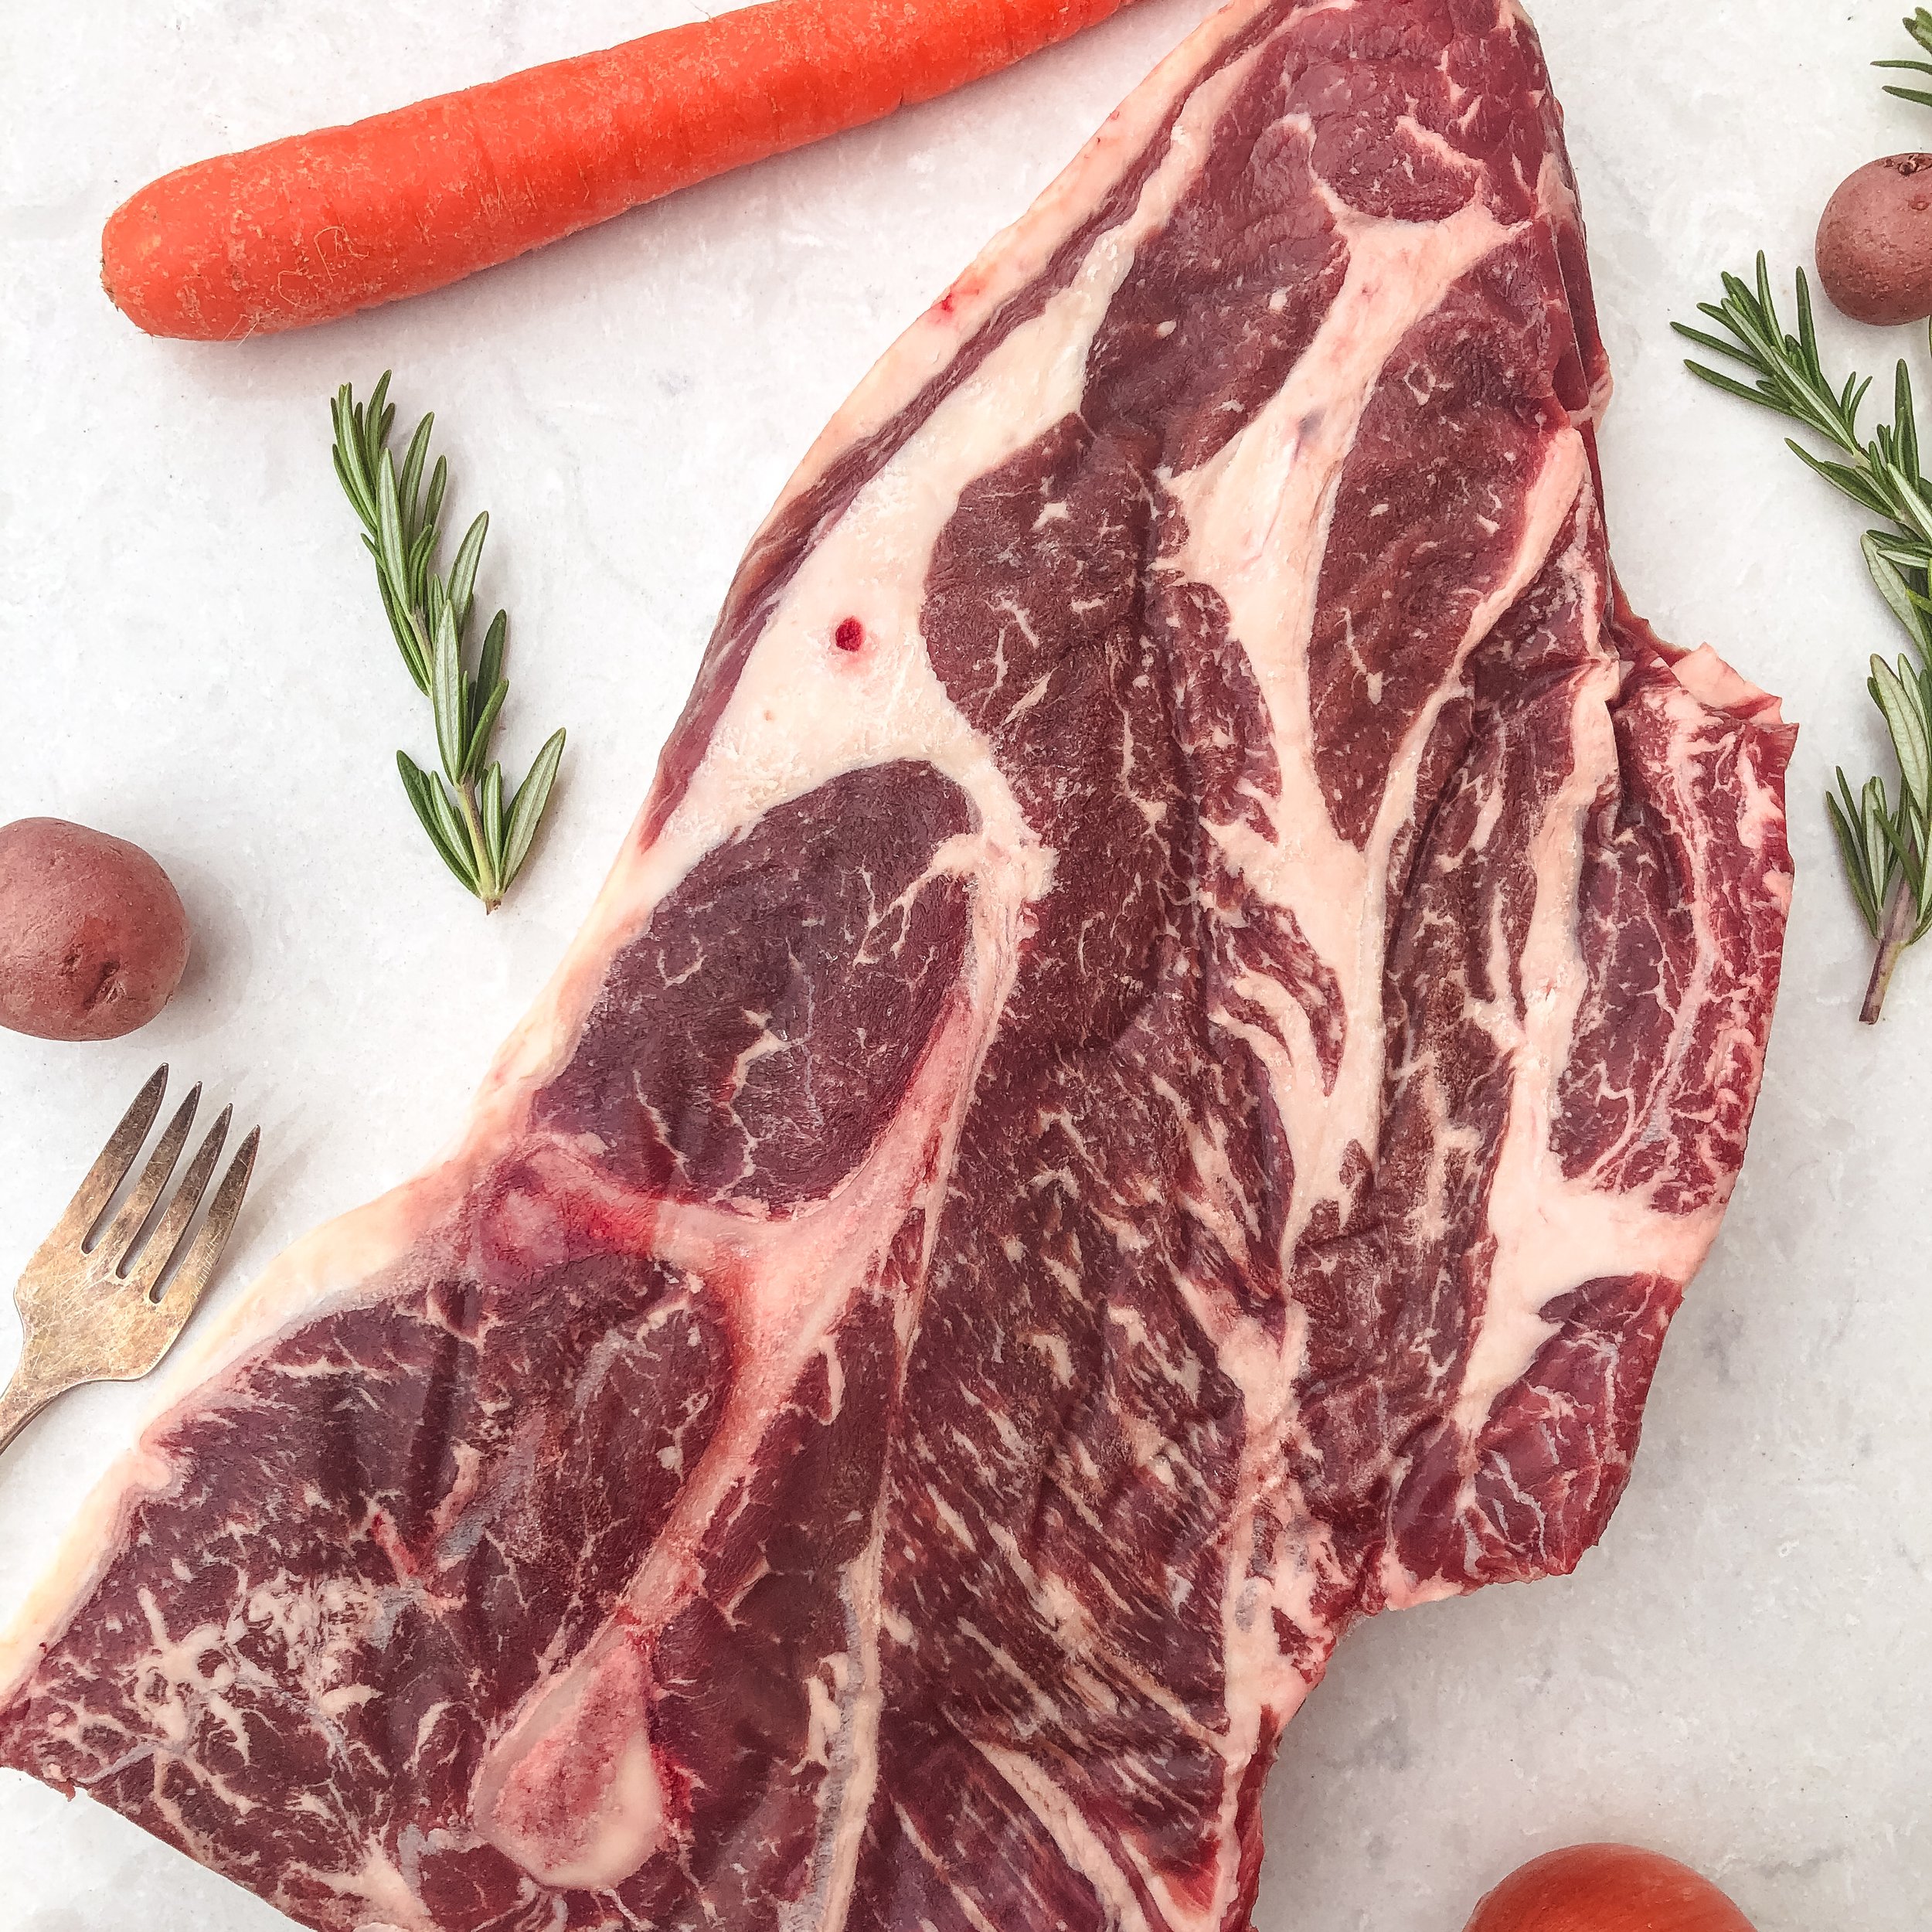
Chuck Pot Roast
The traditional cut for beef pot roast! It is tender and flavorful. I believe the chuck roast has better flavor than almost any other cut of beef (including the loin). If that’s a crime, cuff me.
Chuck Roast Origin
The chuck roast comes from the chuck, located on the front shoulder.

Pros and Cons of the Chuck Roast
Pros
The chuck roast is incredibly flavorful and tender. We think it has better flavor than almost any other beef cut!
Cons
It is a fattier cut of beef, so if you prefer very lean meat, you’ll want to choose the leanest parts of the chuck roast or choose a different roast.
The chuck roast can also be tough and dry if not cooked properly. Using some sort of liquid (broth, wine, or coffee) helps the meat stay moist while cooking.
Cooking Tips
When cooked properly, the chuck pot roast is one of the most tender and flavorful cuts of beef. Here are a few of our best cooking tips:
Brown roast in a skillet with butter or olive oil over high heat. This caramelizes the natural sugars and proteins in the meat, helping you create the delicious, savory flavor you crave.
Cook low and slow (300◦F for about 2 hours), allowing the fat to melt and connective tissue to break down. If you can’t stick a fork in the roast and easily pull the meat apart, it’s not done yet. Don’t rush the process!
Add garlic, onions, and fresh herbs to enhance the flavor of the meat.
Here are the ways we recommend cooking your brisket:
Slow cooker
Click the cooking method above to find the recipe.
Nutrition Facts
According to the USDA website, a 6-ounce serving of chuck pot roast contains 402 calories, 41.8 grams of protein, and 26 grams of fat. Avoid eating the fatty parts of the roast to reduce fat intake.

Roast Brisket
If you need to impress someone with good food, you’ve found your recipe. I almost titled this post “The only brisket recipe you’ll ever need” because that’s exactly what it is.
You’ll need to plan ahead a little just to make sure you give yourself enough time to complete certain steps (i.e. letting the brisket marinate in the fridge and then cook long enough to tenderize). That being said, this is a very hands-off, set it and forget it type of recipe, so you can use your time to prepare other dishes, clean your house, or play with your kids!

Ingredients
Brisket, thawed
Roast rub
Supplies
Plastic wrap
Aluminum foil (or some sort of cover if you prefer to avoid aluminum)
Roasting pan or pan (I use a glass dish because #minimalism)
Meat thermometer

Pat Dry
Pat your thawed brisket dry with paper towels. This will help your roast rub or seasoning stick to the brisket better.
Patting meat is also a good idea, in general, to prevent meat from steaming while cooking. Remember, steamed meat is dull and flavorless. Seared meat is rich in color and flavor.
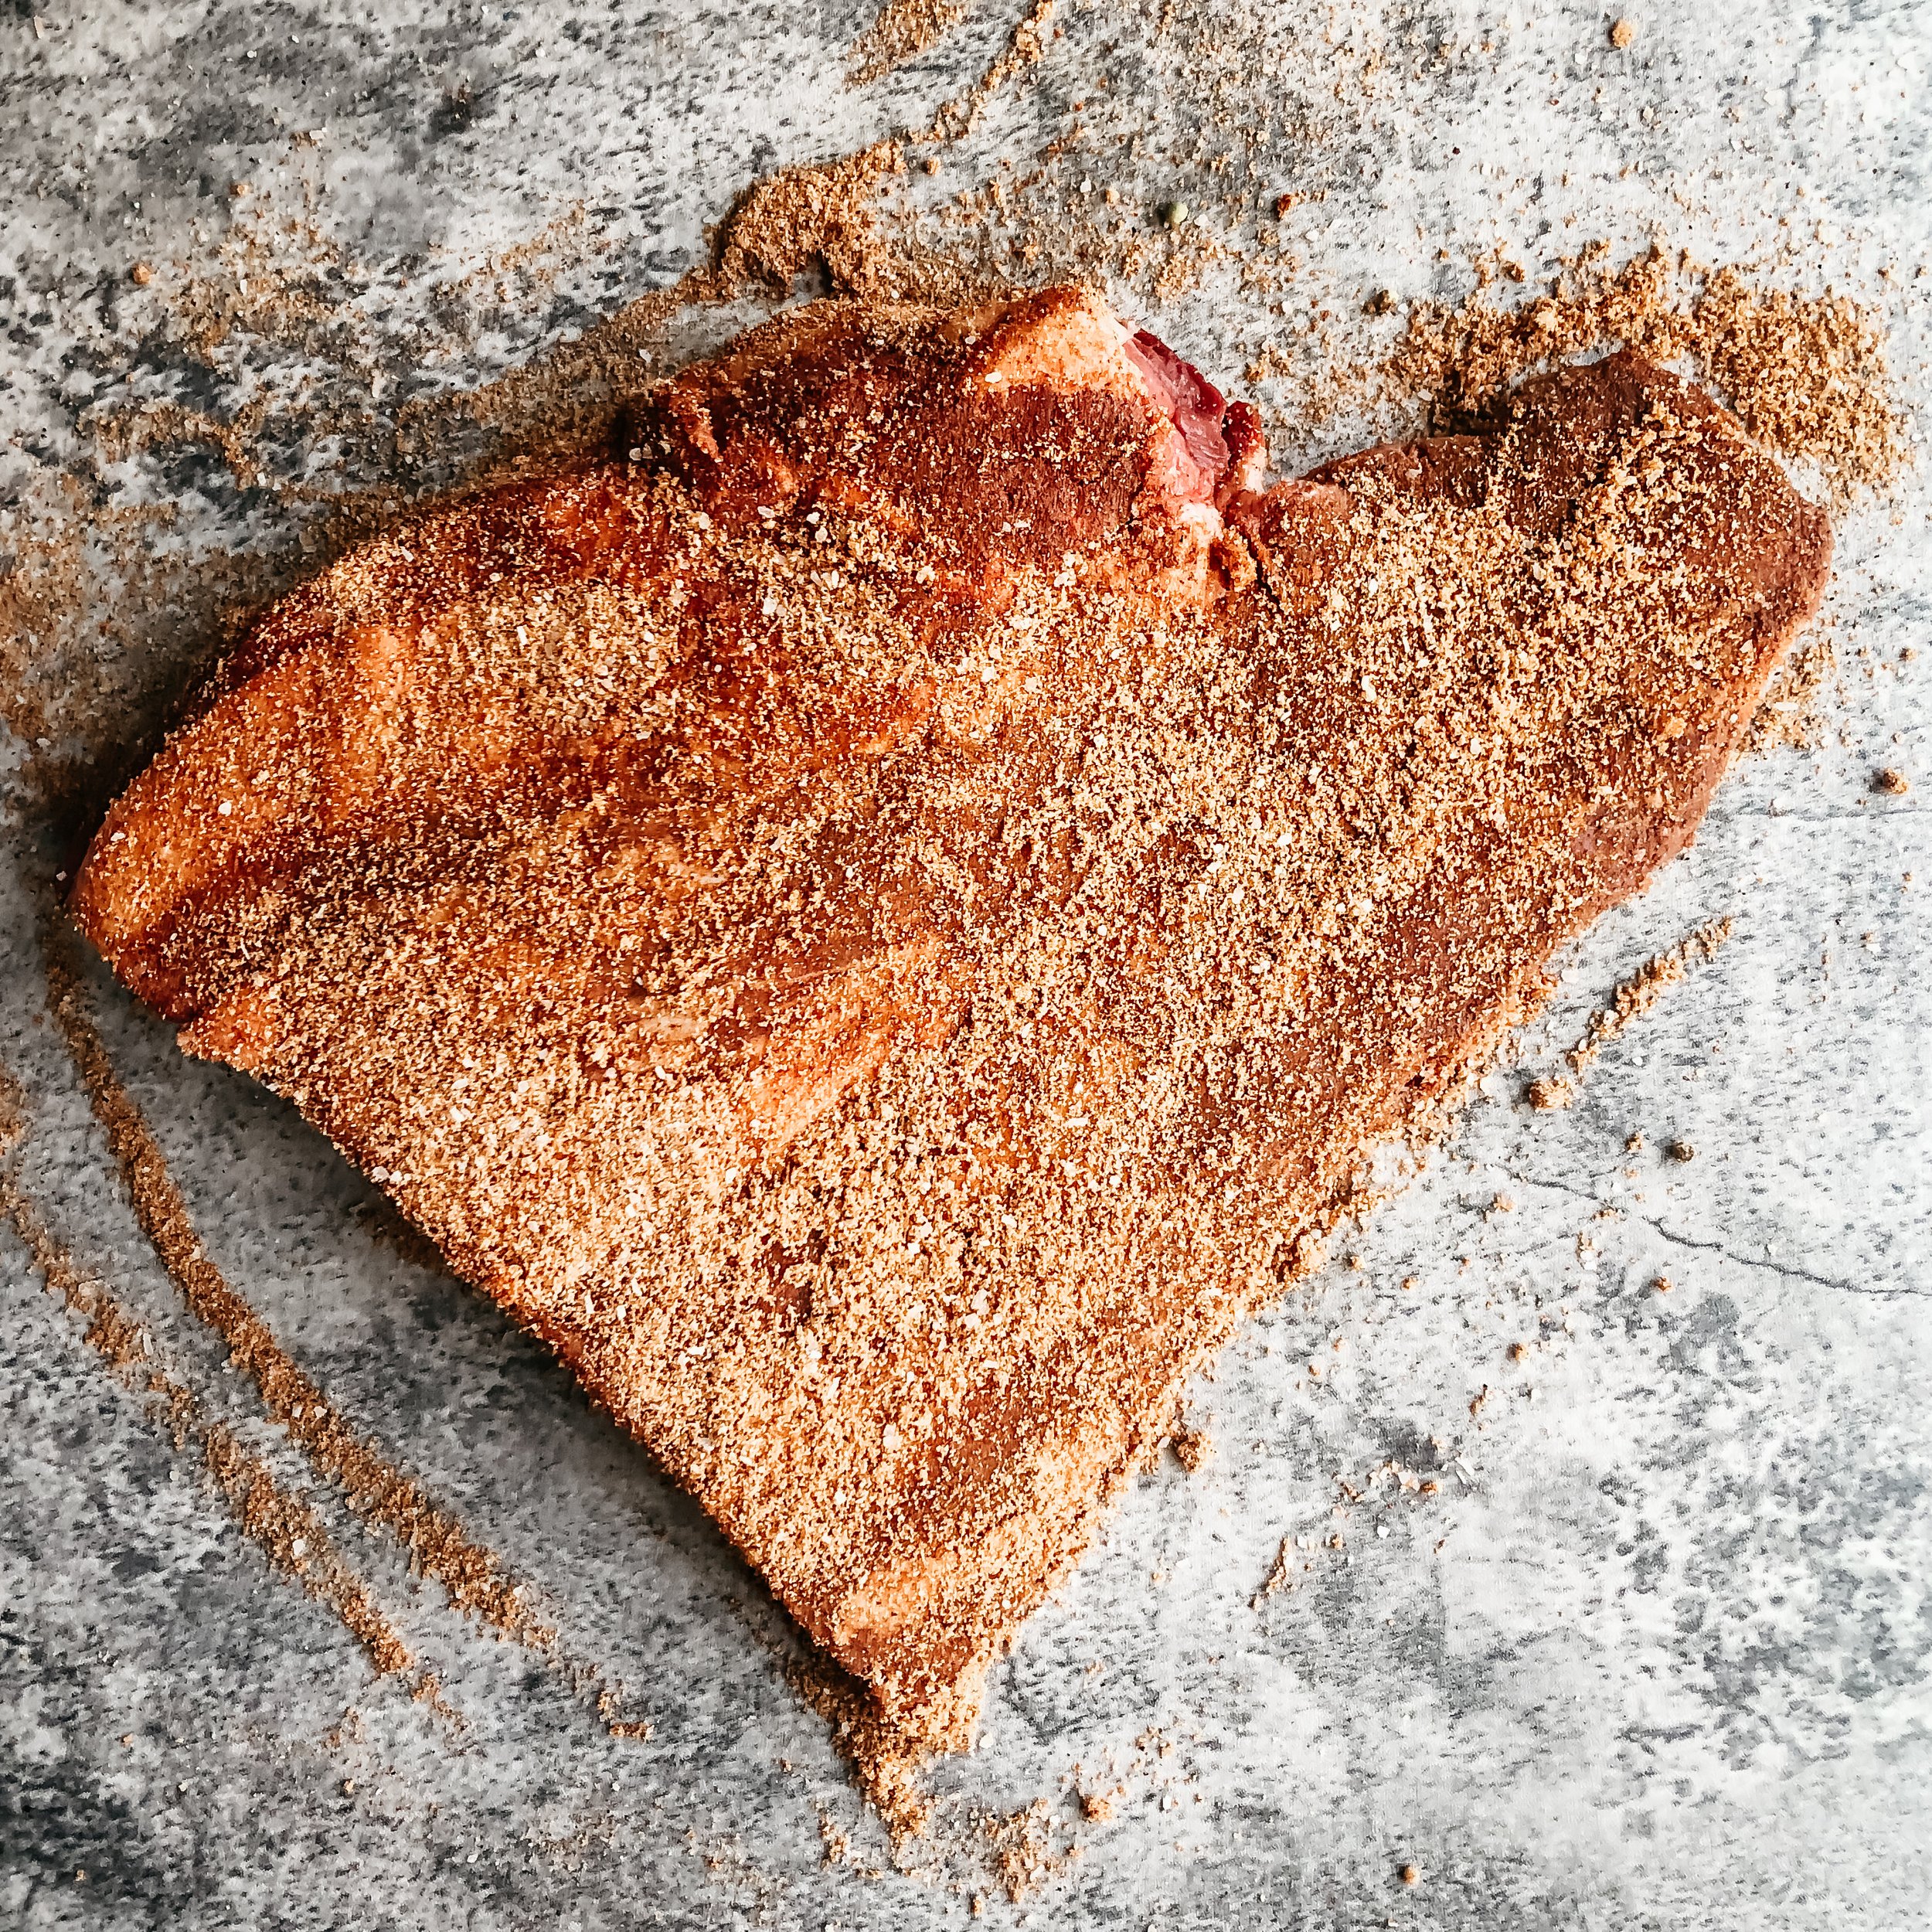
Season meat
Season meat thoroughly and rub it into every crevice of the meat. You can find our favorite roast rub recipe here.

Wrap
Wrap brisket in plastic wrap and set in a dish to catch any juices that may leak. Place in the fridge for 12-48 hours. This will help your brisket absorb the flavor from the seasoning AND the salt will begin breaking down and tenderizing your meat.
Preheat oven and let the meat come to room temperature
Preheat oven to 300◦F. Place brisket in a roasting pan (or whatever you plan to use), cover loosely with foil, and let sit at room temperature for about an hour before cooking to help it cook more evenly.
Roast
When the oven reaches temperature, place brisket in the oven. Roast at 300◦F until brisket reaches an internal temperature of 185◦F-195◦F.

Remove from oven and wrap in foil
When your brisket reaches 185◦F-195◦F, remove from the oven and wrap it in aluminum foil. Make sure to pour any juices from your pan over the brisket, so they can reabsorb into the meat while it sits in the foil. Let your brisket rest in foil for 10-15 minutes.

Slice and serve!
Slice your brisket perpendicular to the grain and serve!

Enjoy!
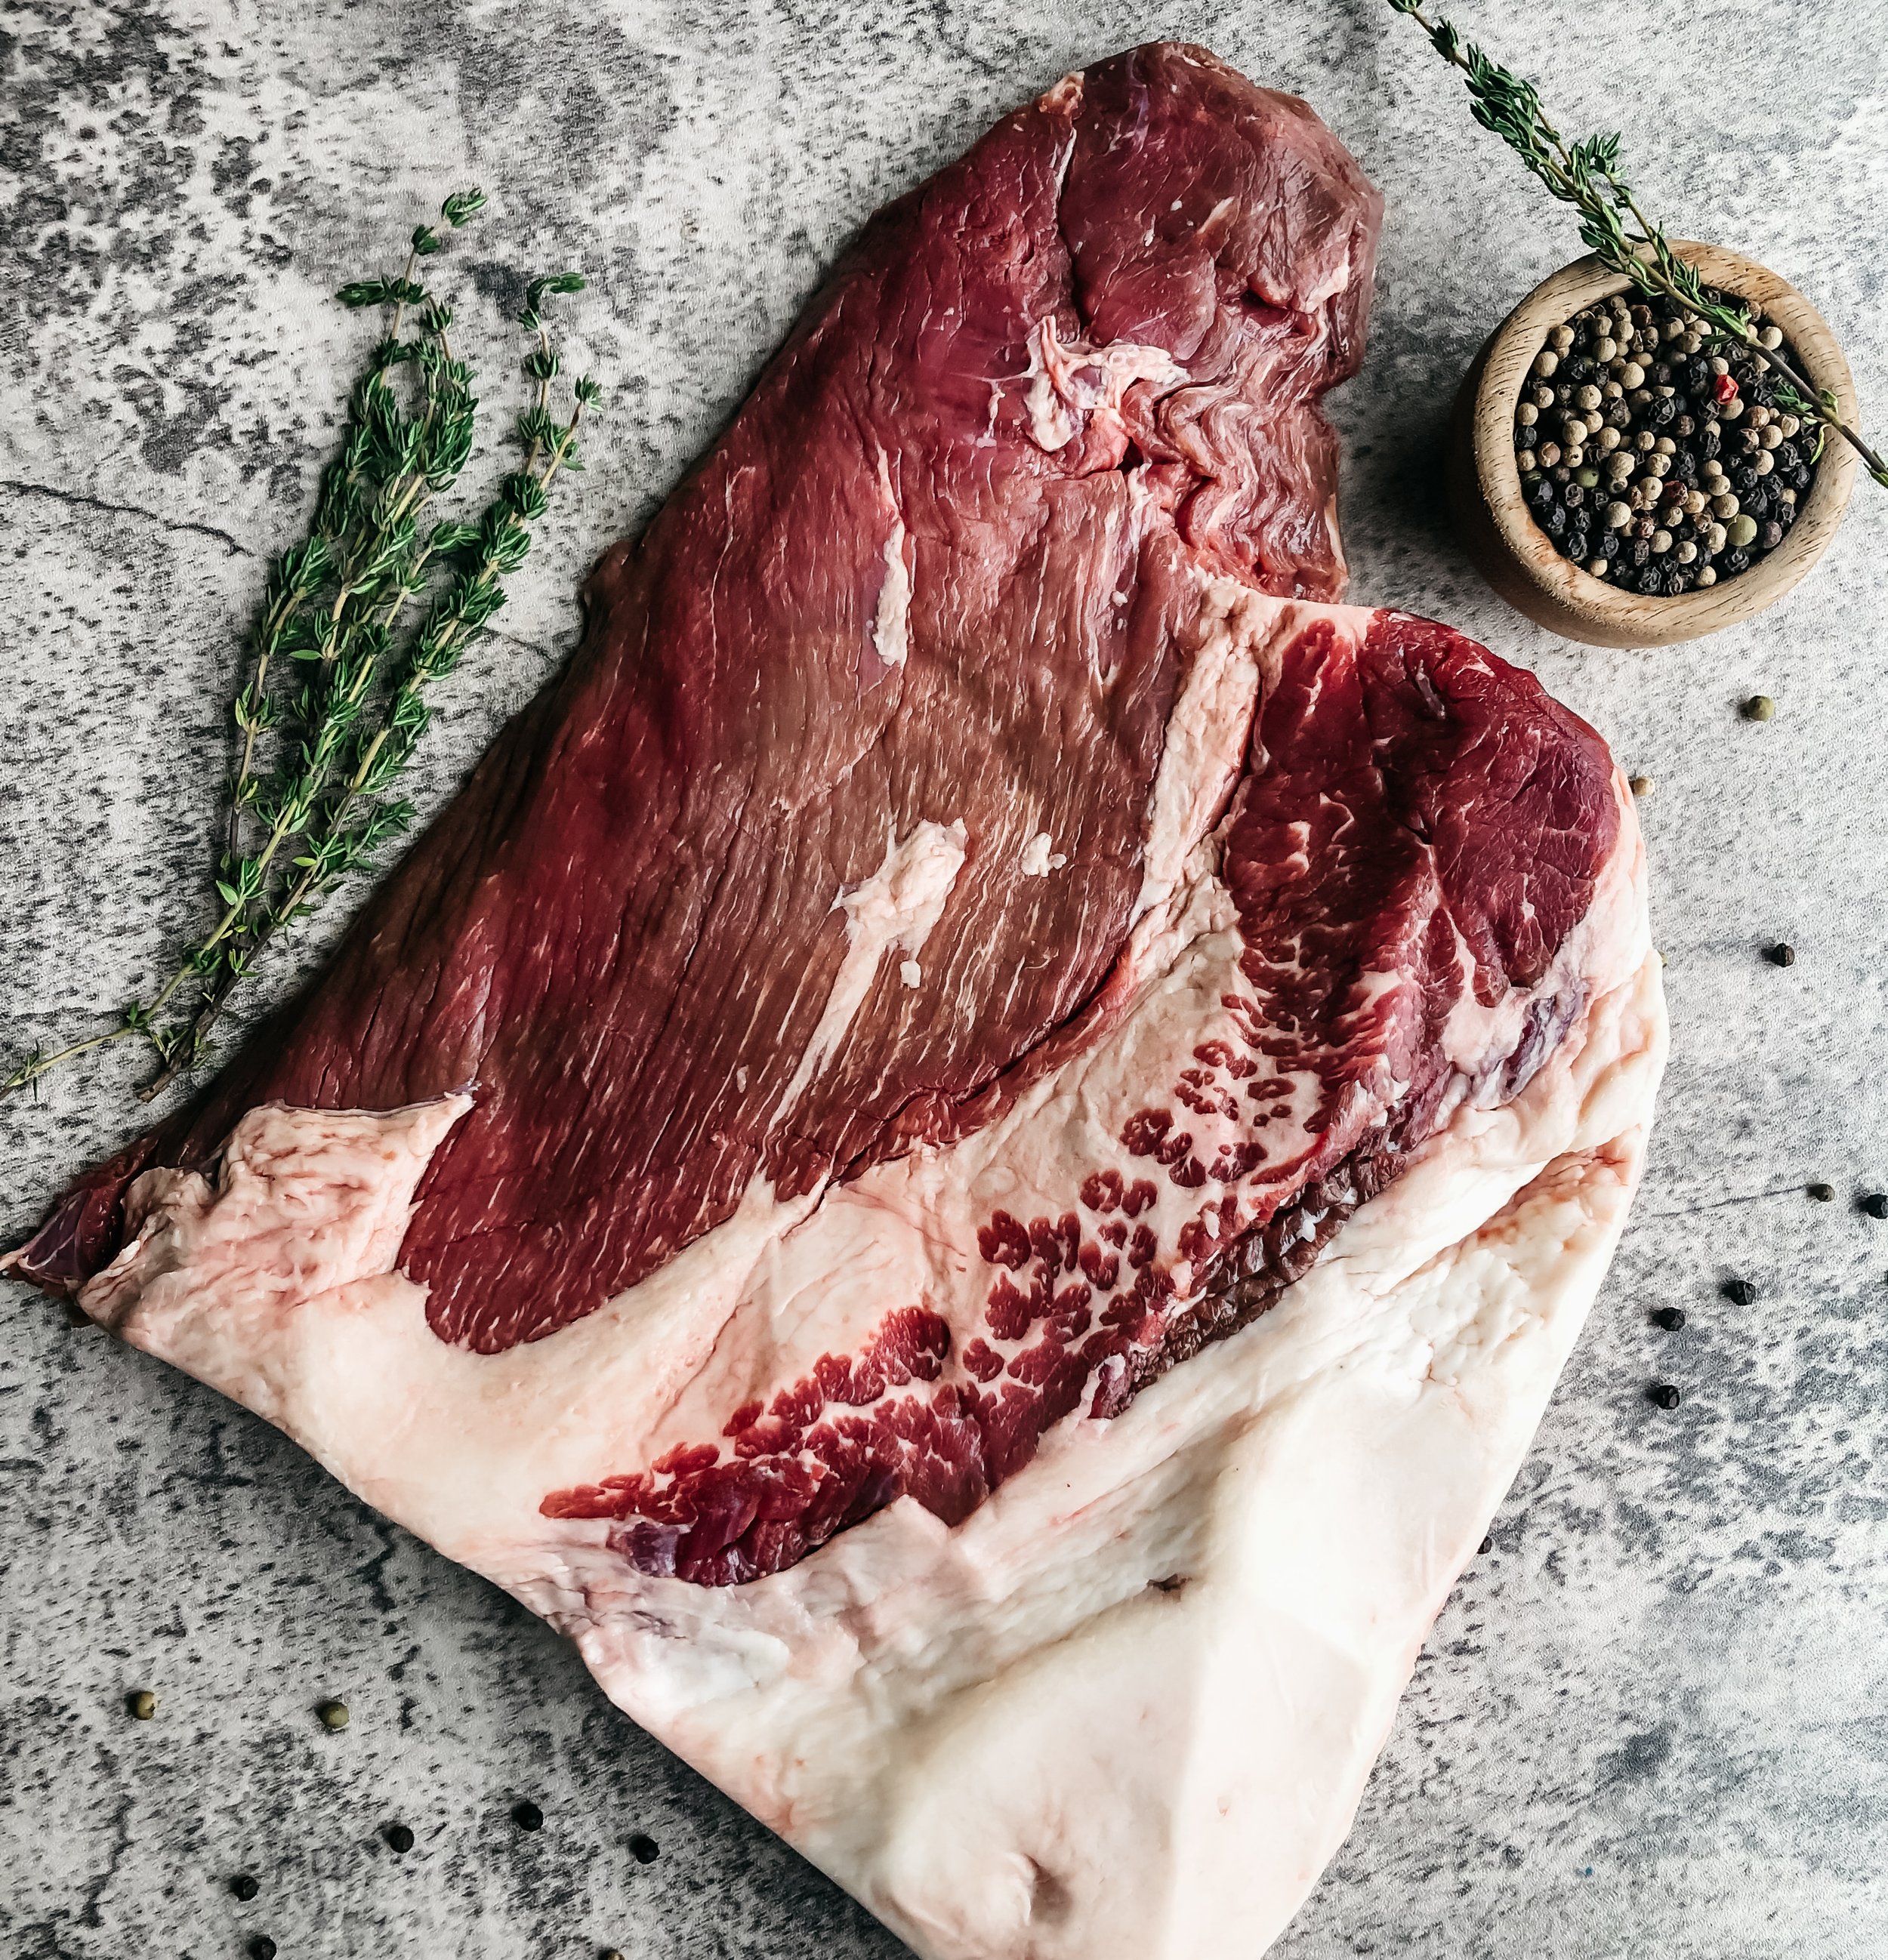
Brisket
Brisket, the king of Texas barbecue, is a large, flat piece of meat. You can think of the brisket as the breast of a beef cow because it is located right in front of the animal’s front legs. When cooked low and slow, the brisket is a tender and flavorful cut of beef.

Brisket Origin
The brisket is essentially the breast of the beef cow and is located between and in front of the cow’s front legs. There are two briskets per animal.

Pros and Cons of the Top Round Roast
Pros
When cooked slowly, brisket is fall-apart tender and full of flavor. It is considered a leaner cut of beef even though it does have some marbling which contributes to its great flavor! It’s a great choice if you are feeding a crowd or just because you like beef!
Cons
It can also be tough if not cooked properly. Don’t worry, we’ll show you how to cook it just right below!
If you prefer leaner cuts of beef, you will want to avoid the brisket tips which can be higher in fat content.
Cooking Tips
When cooked properly, brisket can be one of the most tender and flavorful cuts of beef. Here are a few of our best brisket cooking tips:
Use a roast rub or seasoning of your choice and let the seasoned brisket sit overnight in the fridge. The salt in your seasoning helps the protein begin to break down and tenderize the meat.
Brisket is uniquely marbled, and as you know, fat is flavor. You want to cook your brisket low and slow to allow the marbling to slowly melt, further tenderizing the beef.
When your brisket is between 190◦F to 200◦F, remove it from the oven or smoker and wrap it in tinfoil with any drippings. This helps the juices reabsorb into the meat, making your meat juicy and further enhancing the flavor.
Here are three ways we recommend cooking your brisket:
Smoker
Slow cooker
Click the cooking method above to find the recipe.
Nutrition Facts
According to the USDA website, a 4-ounce serving of Brisket contains 177 calories, 23.4 grams of protein, and 8.3 grams of fat.

Beef Stew
If you’re looking for a warm and hearty meal, look no further! In this post, you are going to learn all the tricks for making the most delicious beef stew. If your husband (or wife) can’t keep their mouth shut about how amazing your beef stew is, we haven’t done our job.

Ingredients
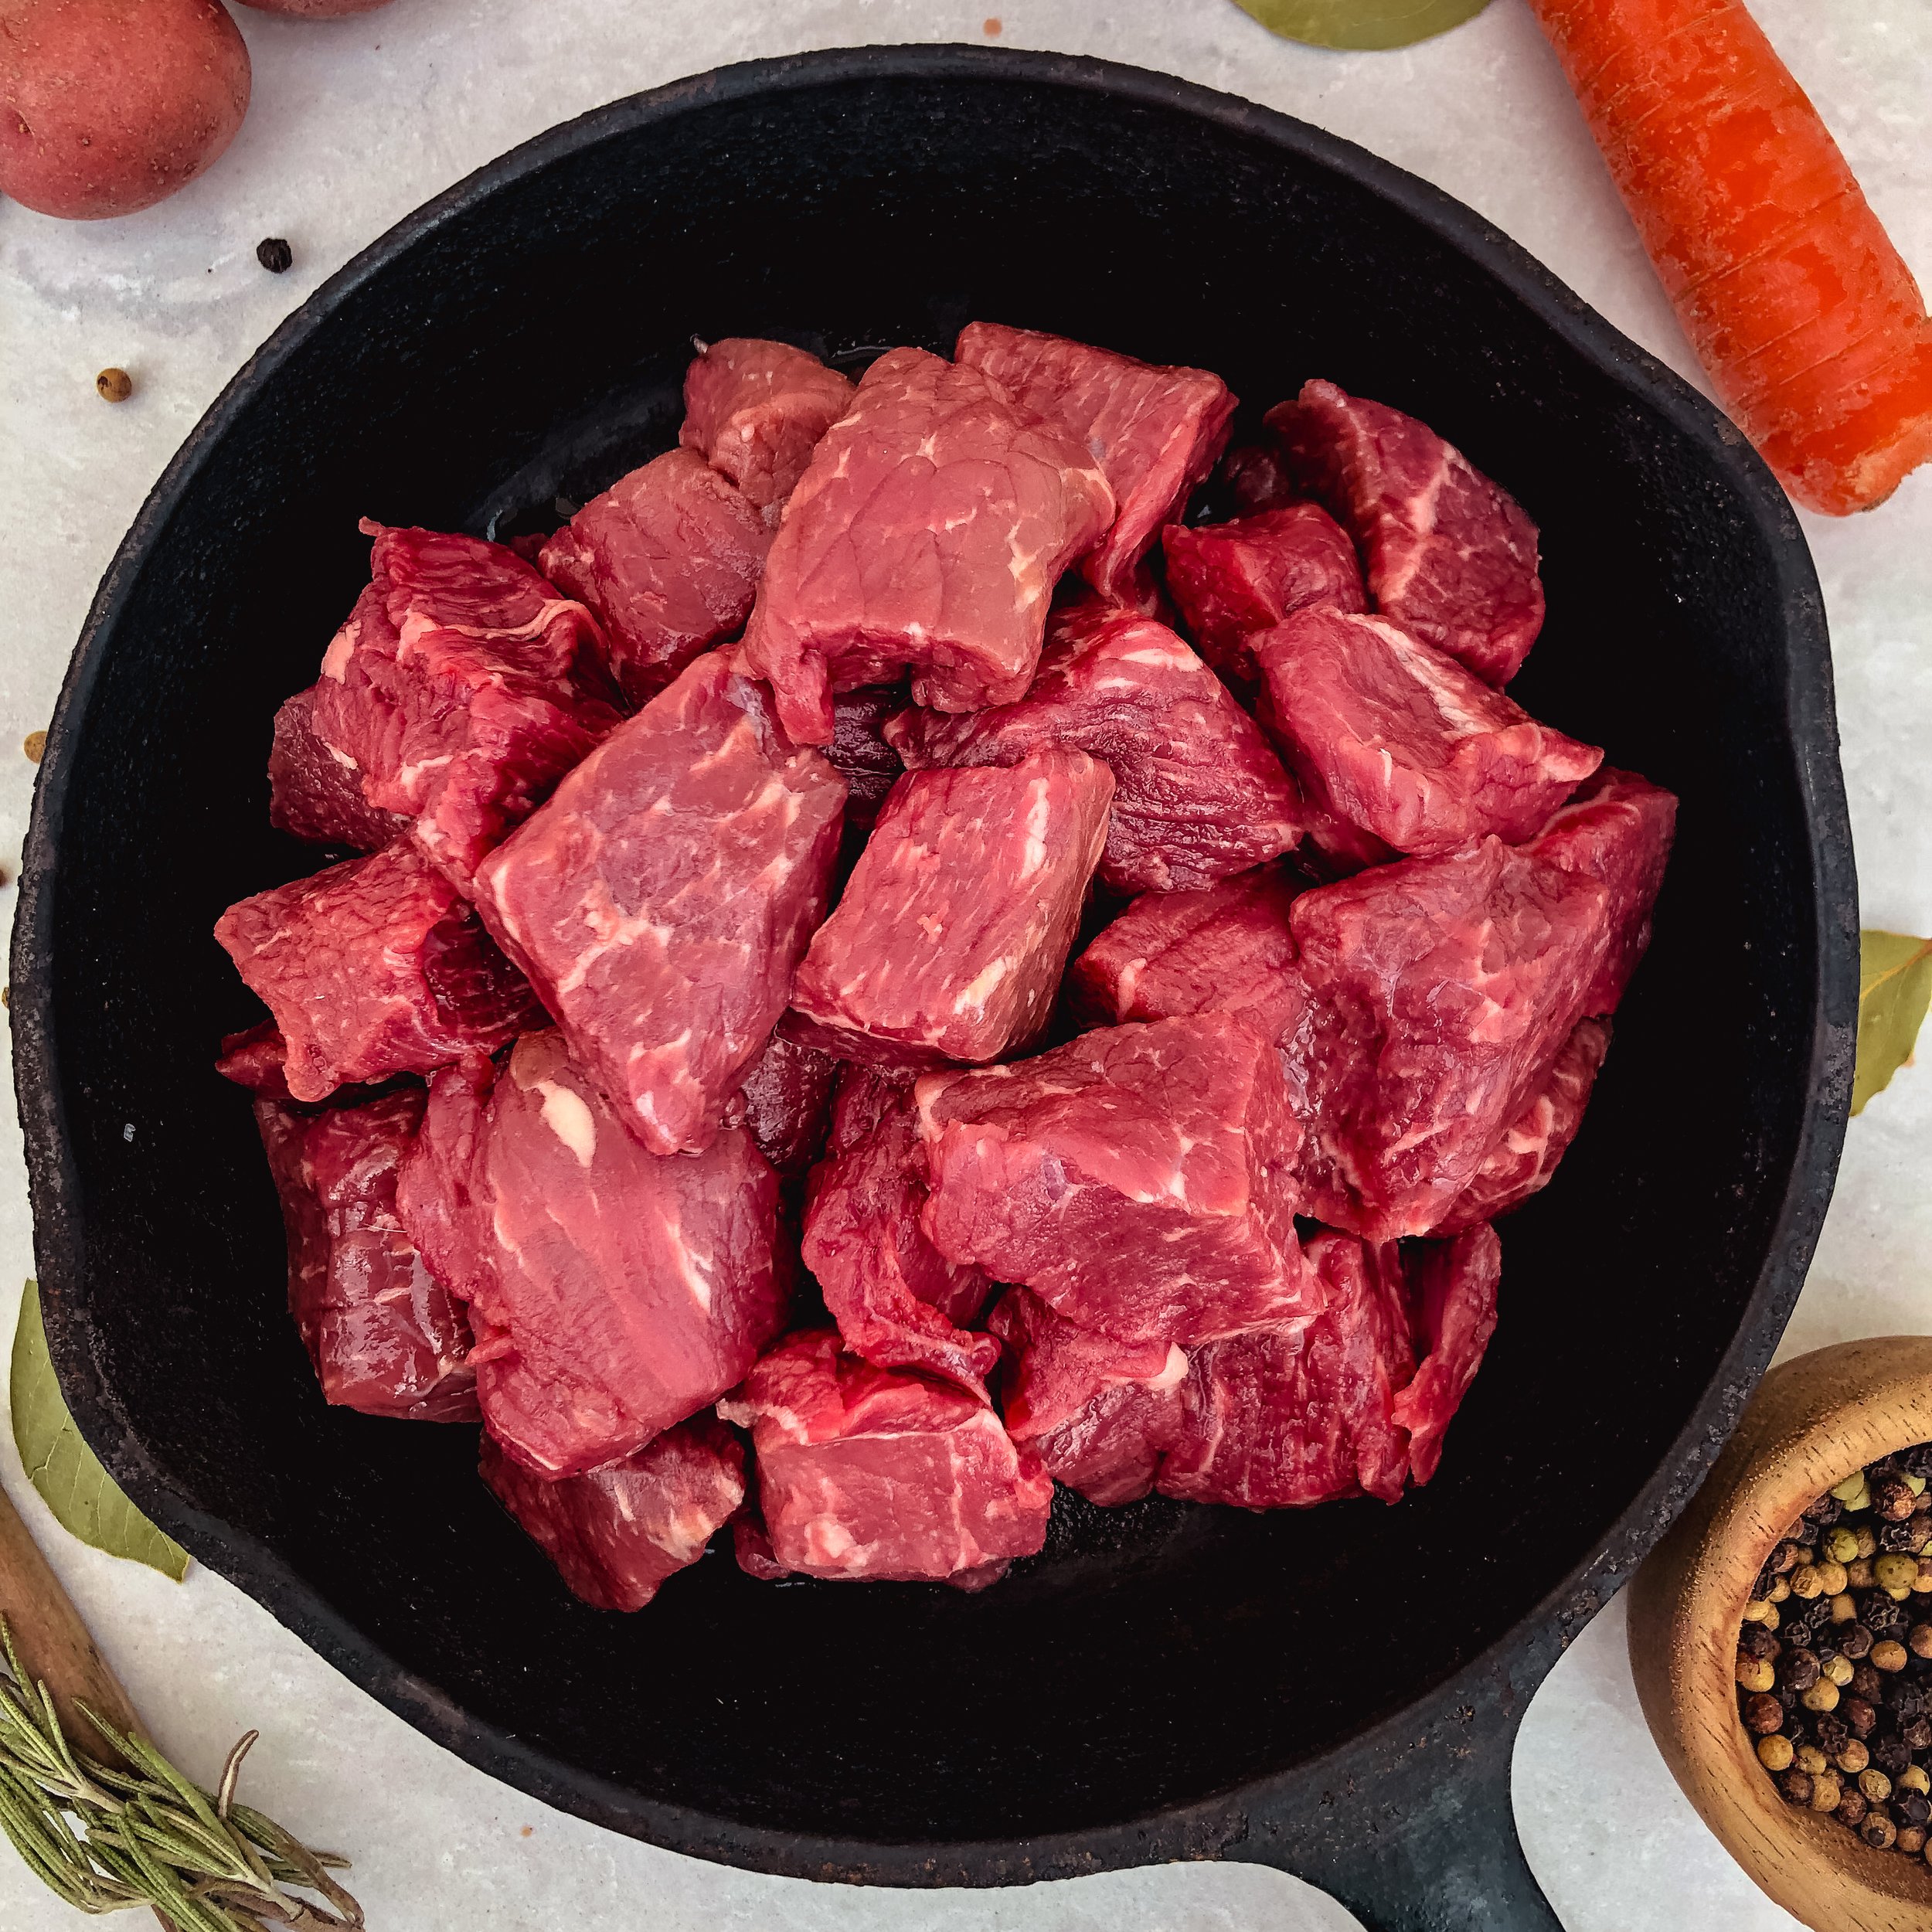
3 Tablespoons butter
2 pounds of stew meat, thawed
1 small onion
2 large carrots
3 medium potatoes
Salt and pepper to taste
2 Tablespoons of garlic powder
1/2 Tablespoon basil
32 oz. (4 cups) bone broth
2 Tablespoons Worcestershire sauce
1-2 bay leaves
Prepare vegetables
Peel and dice onion, carrots, and potatoes.
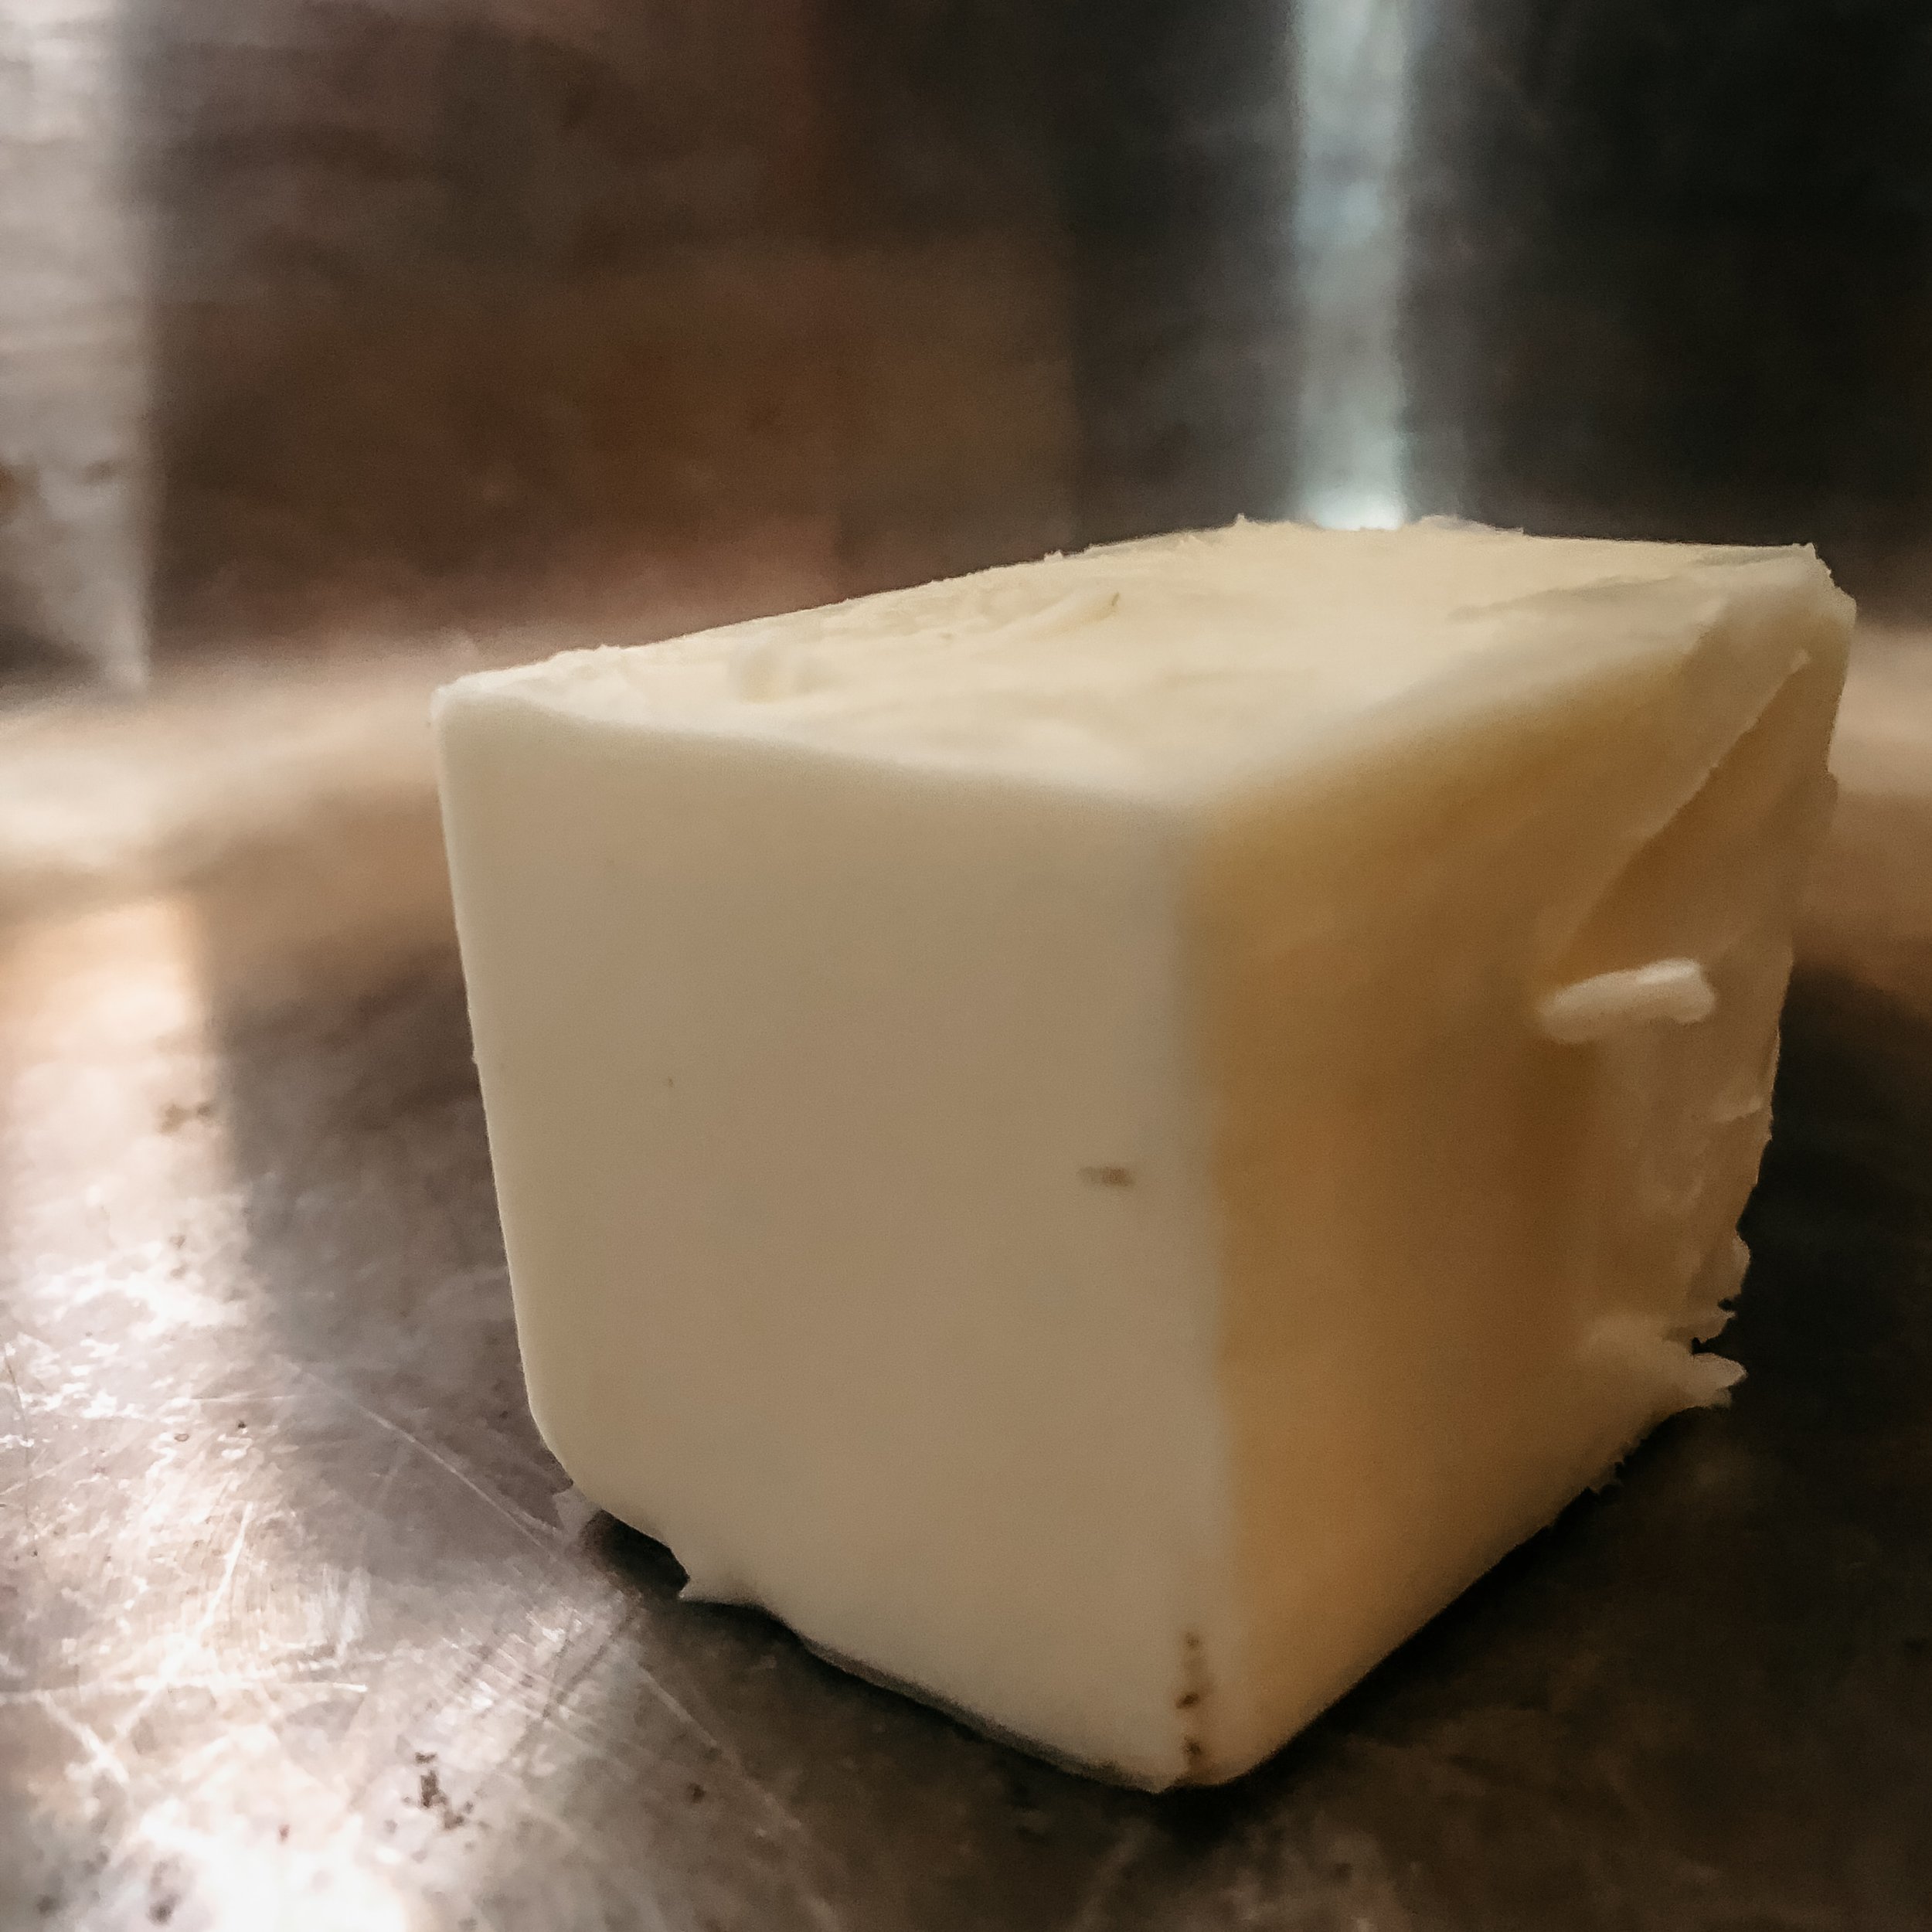
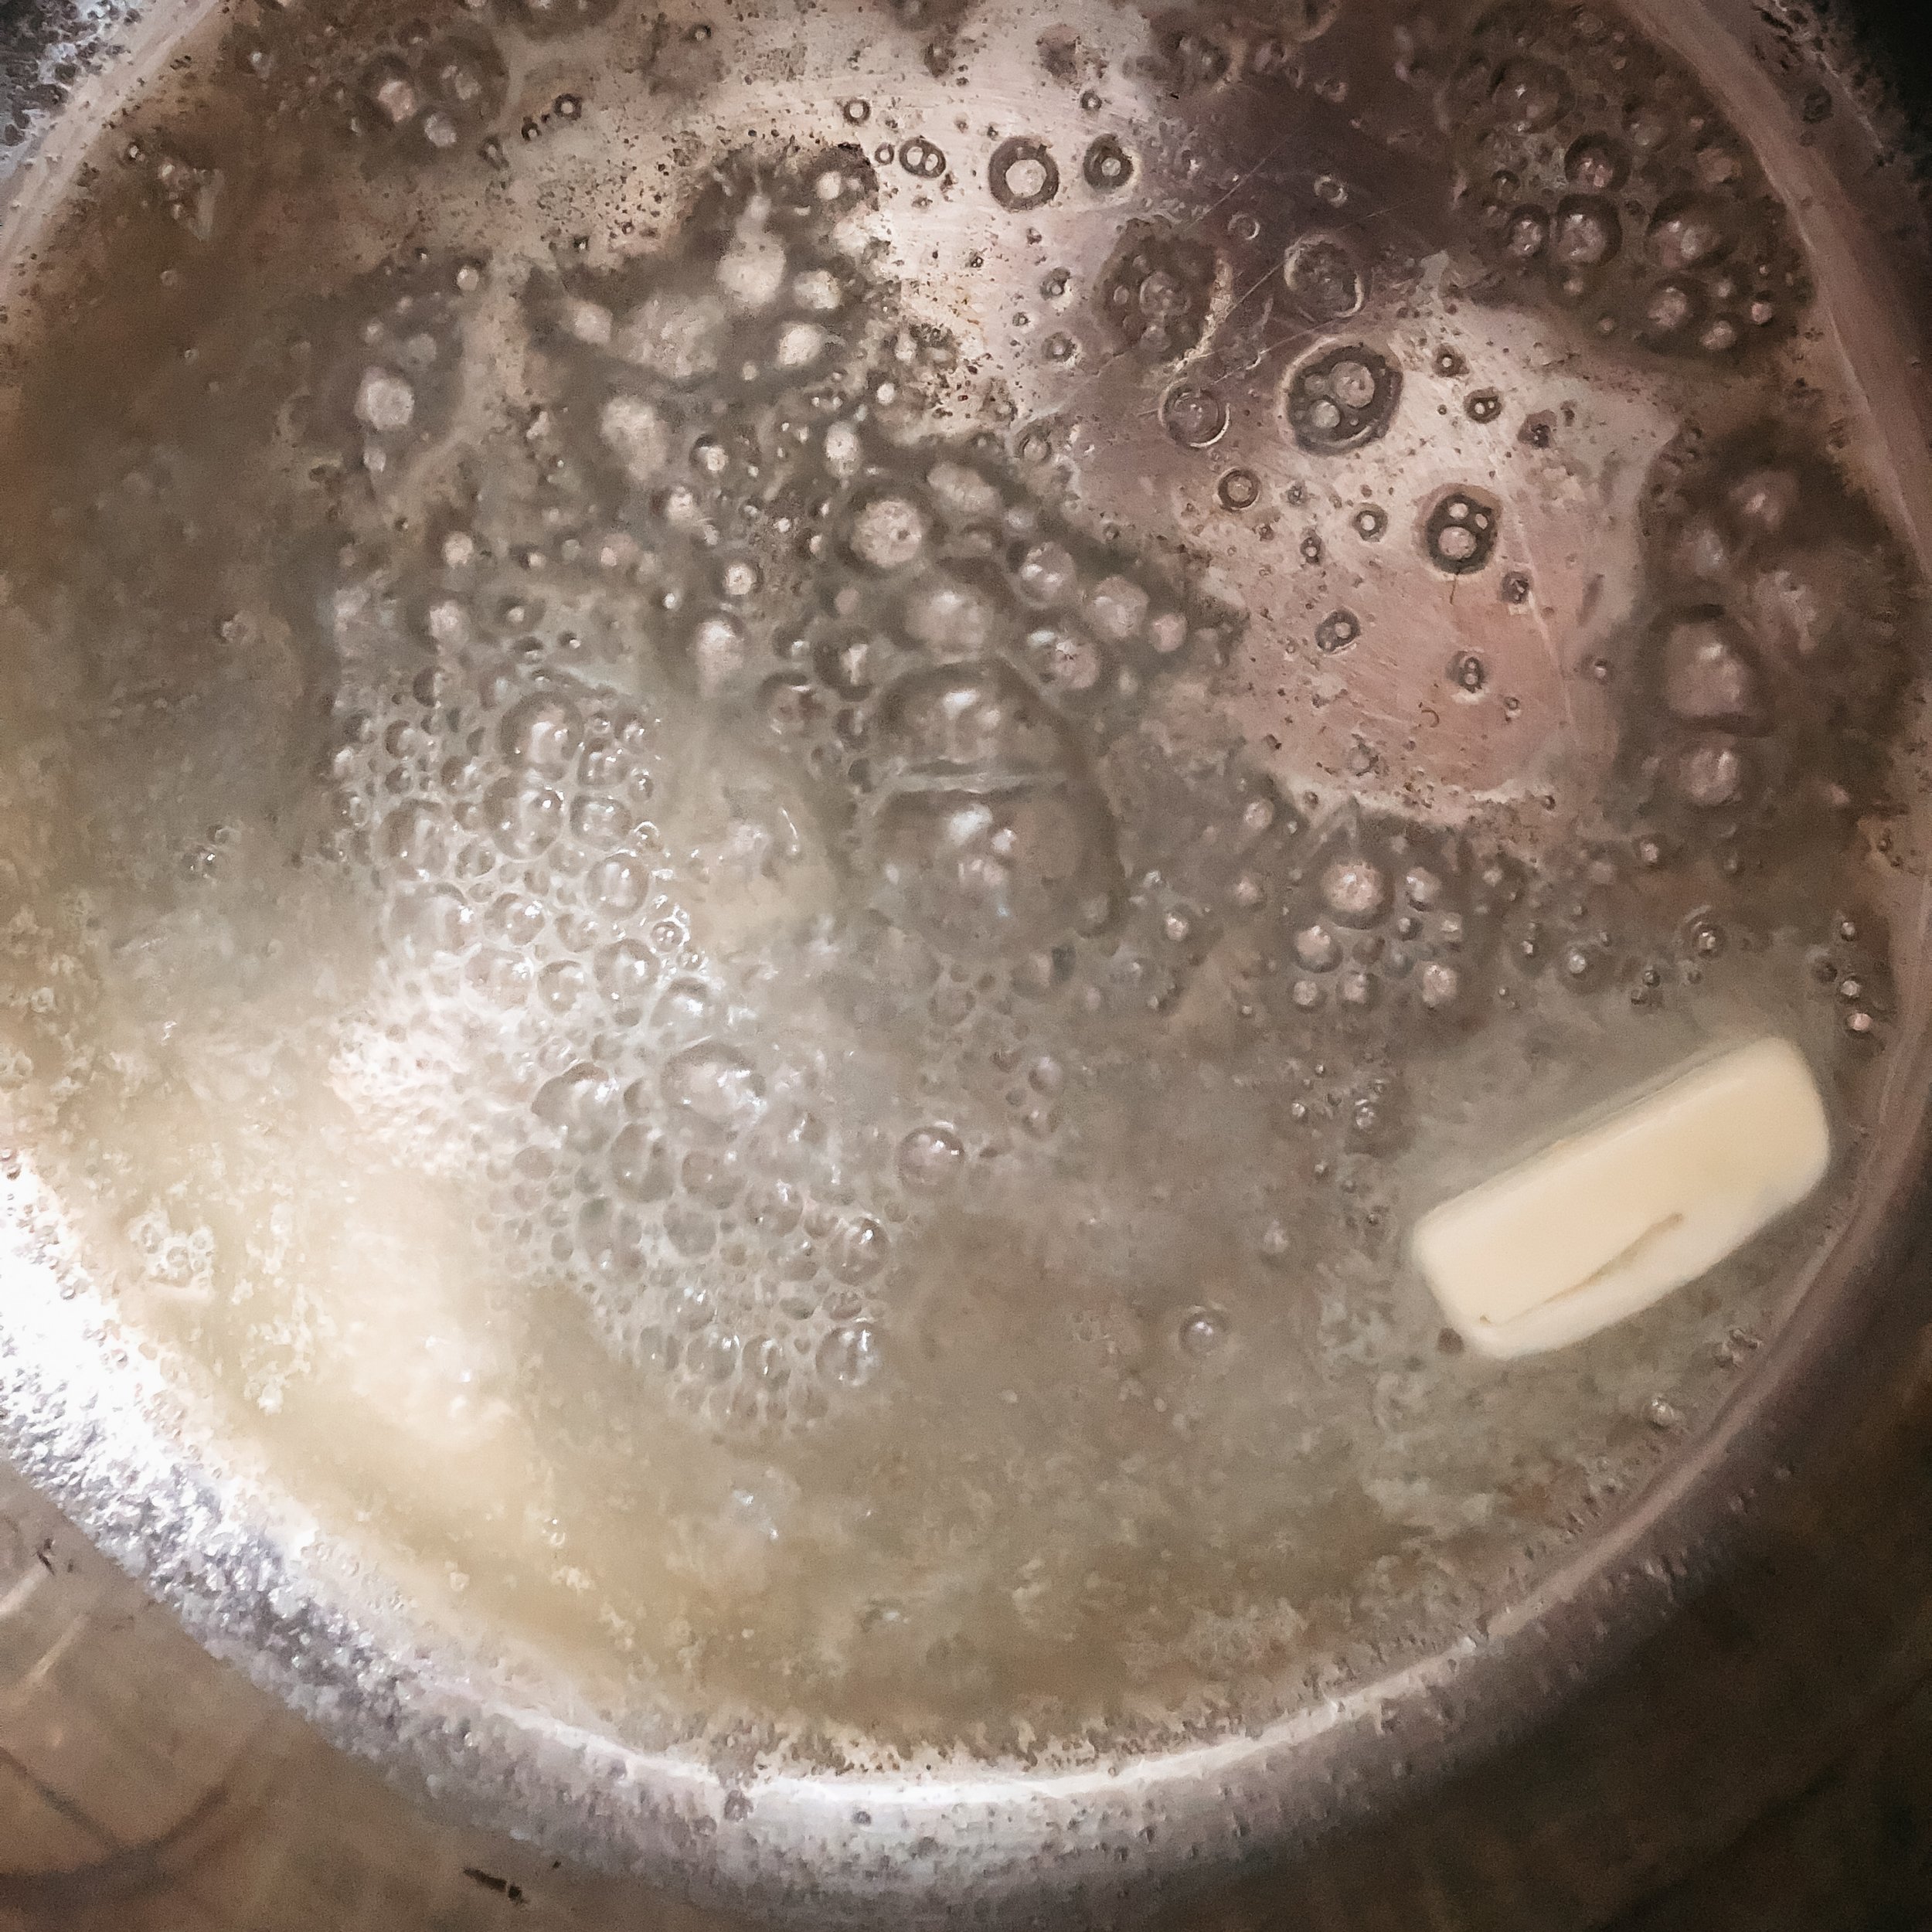
Melt butter
Melt butter in a pot (or Dutch oven) over medium heat.
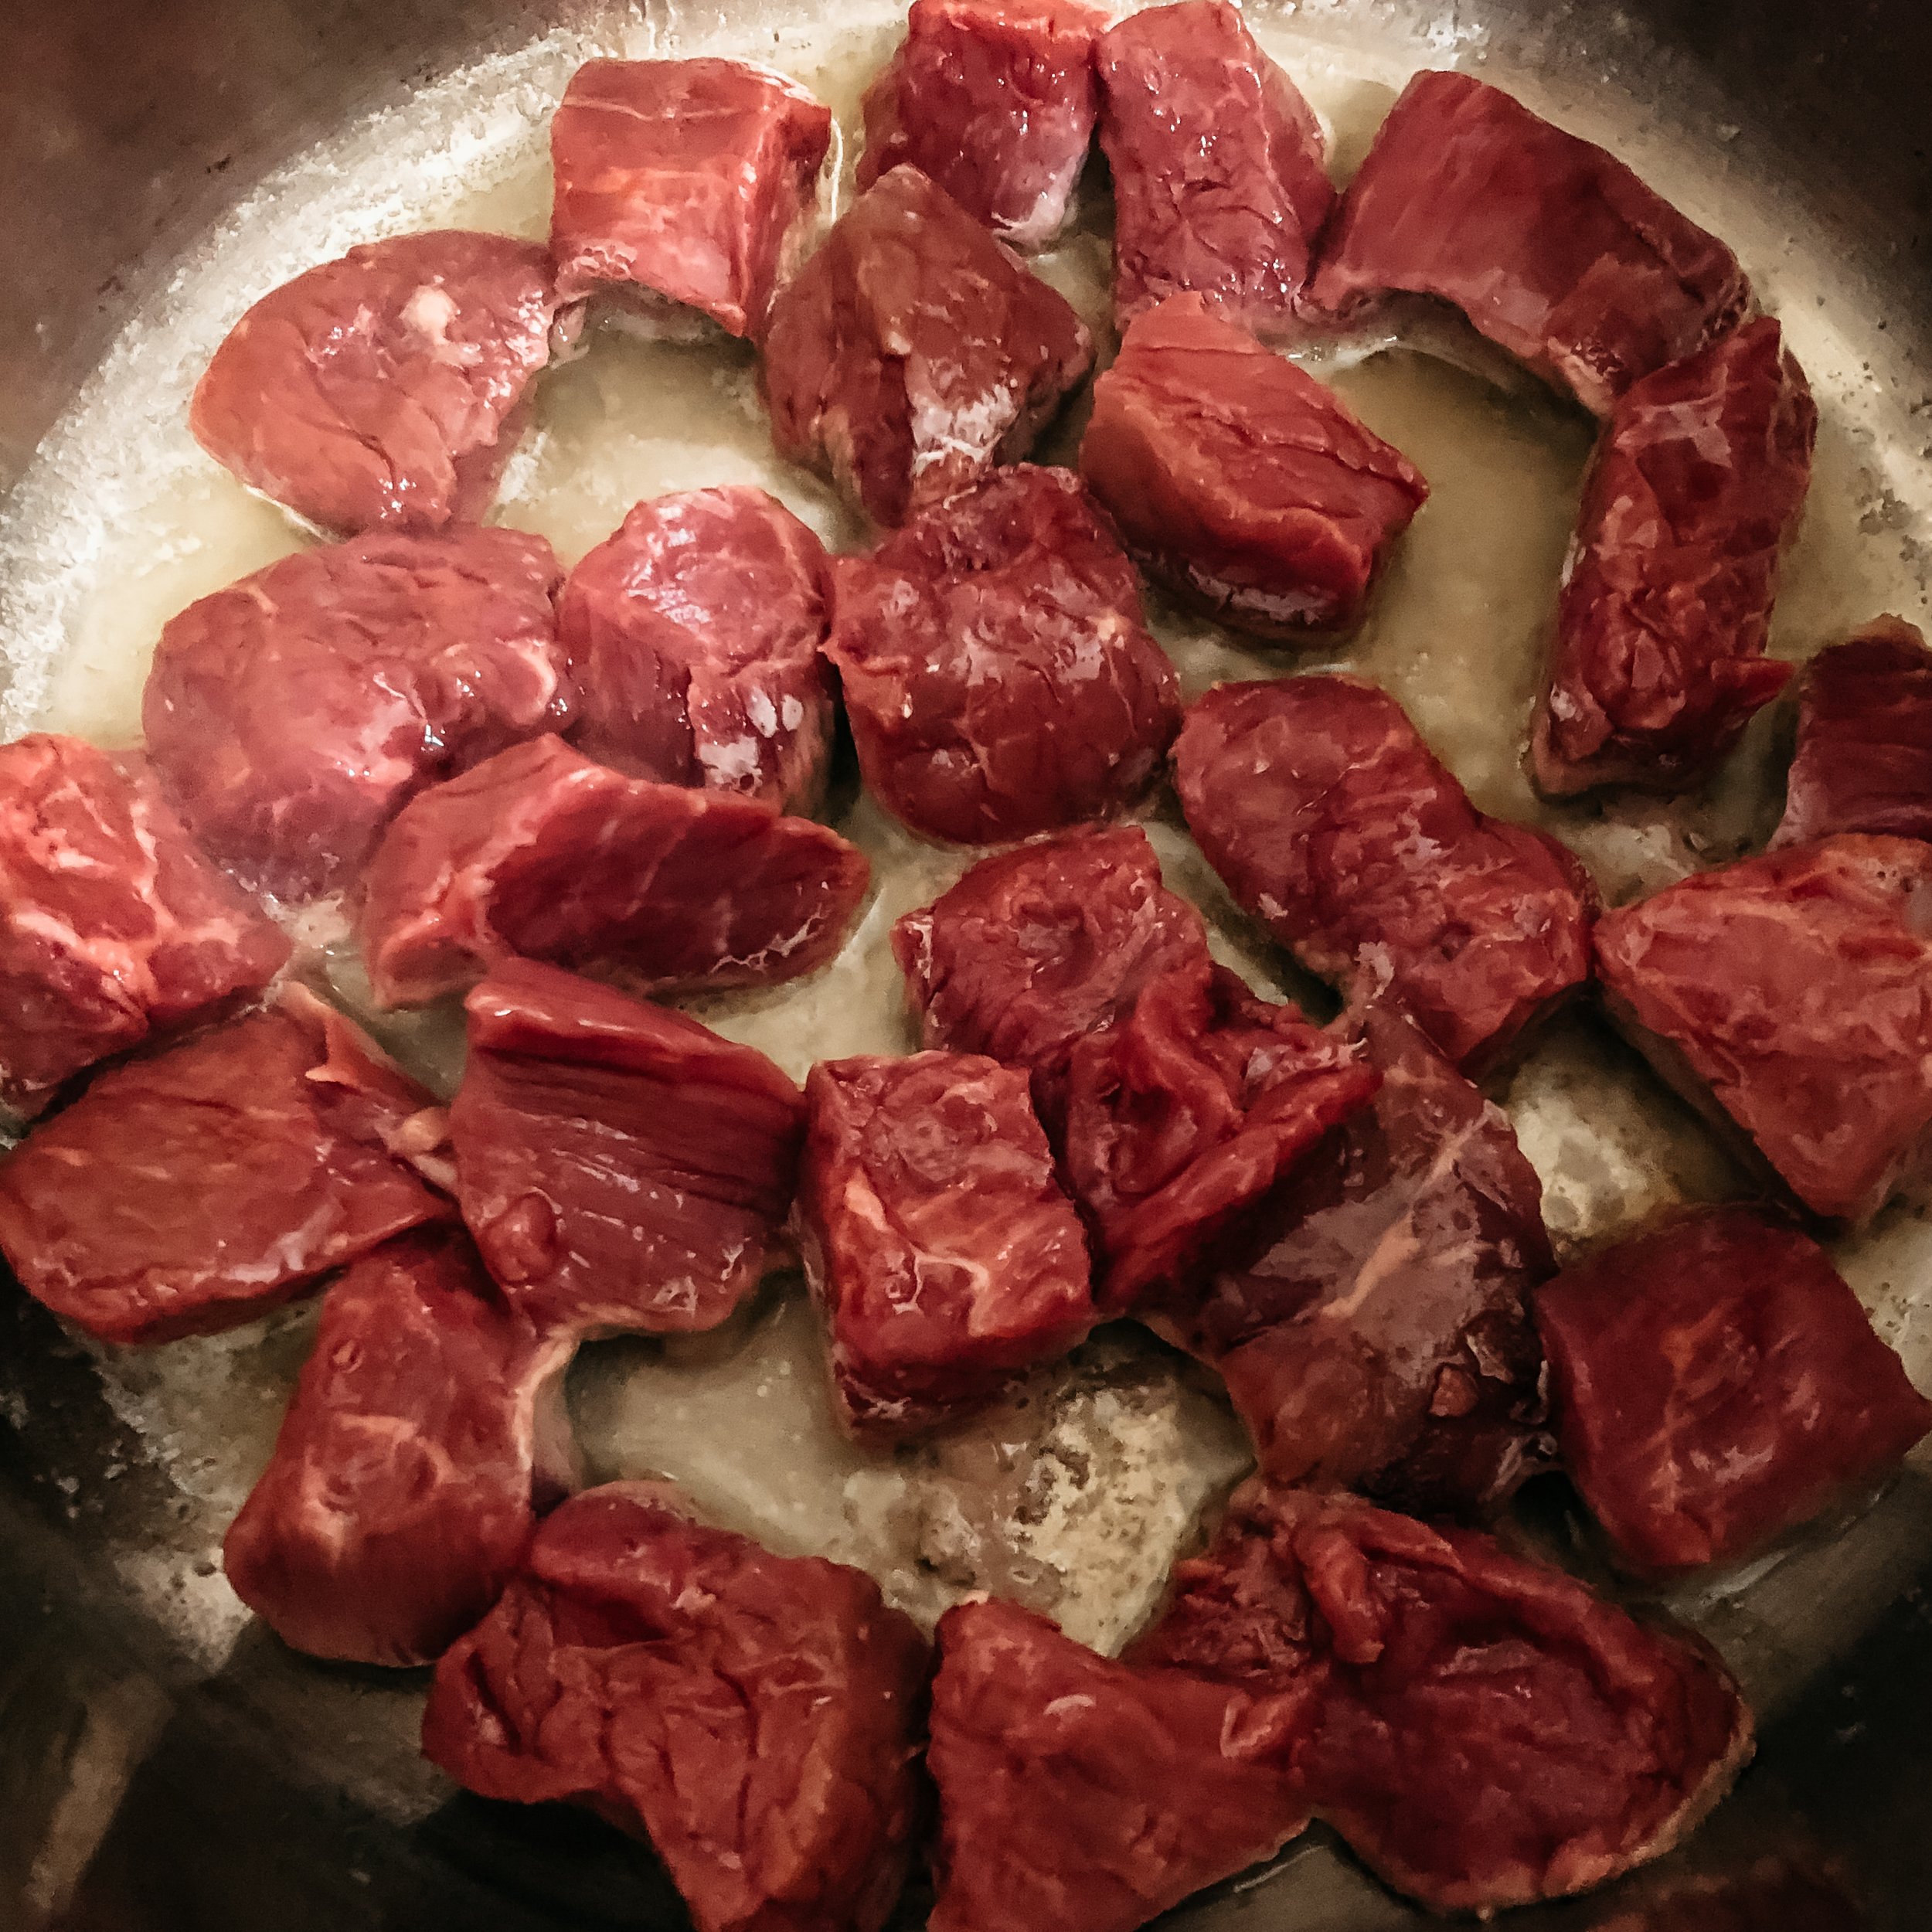
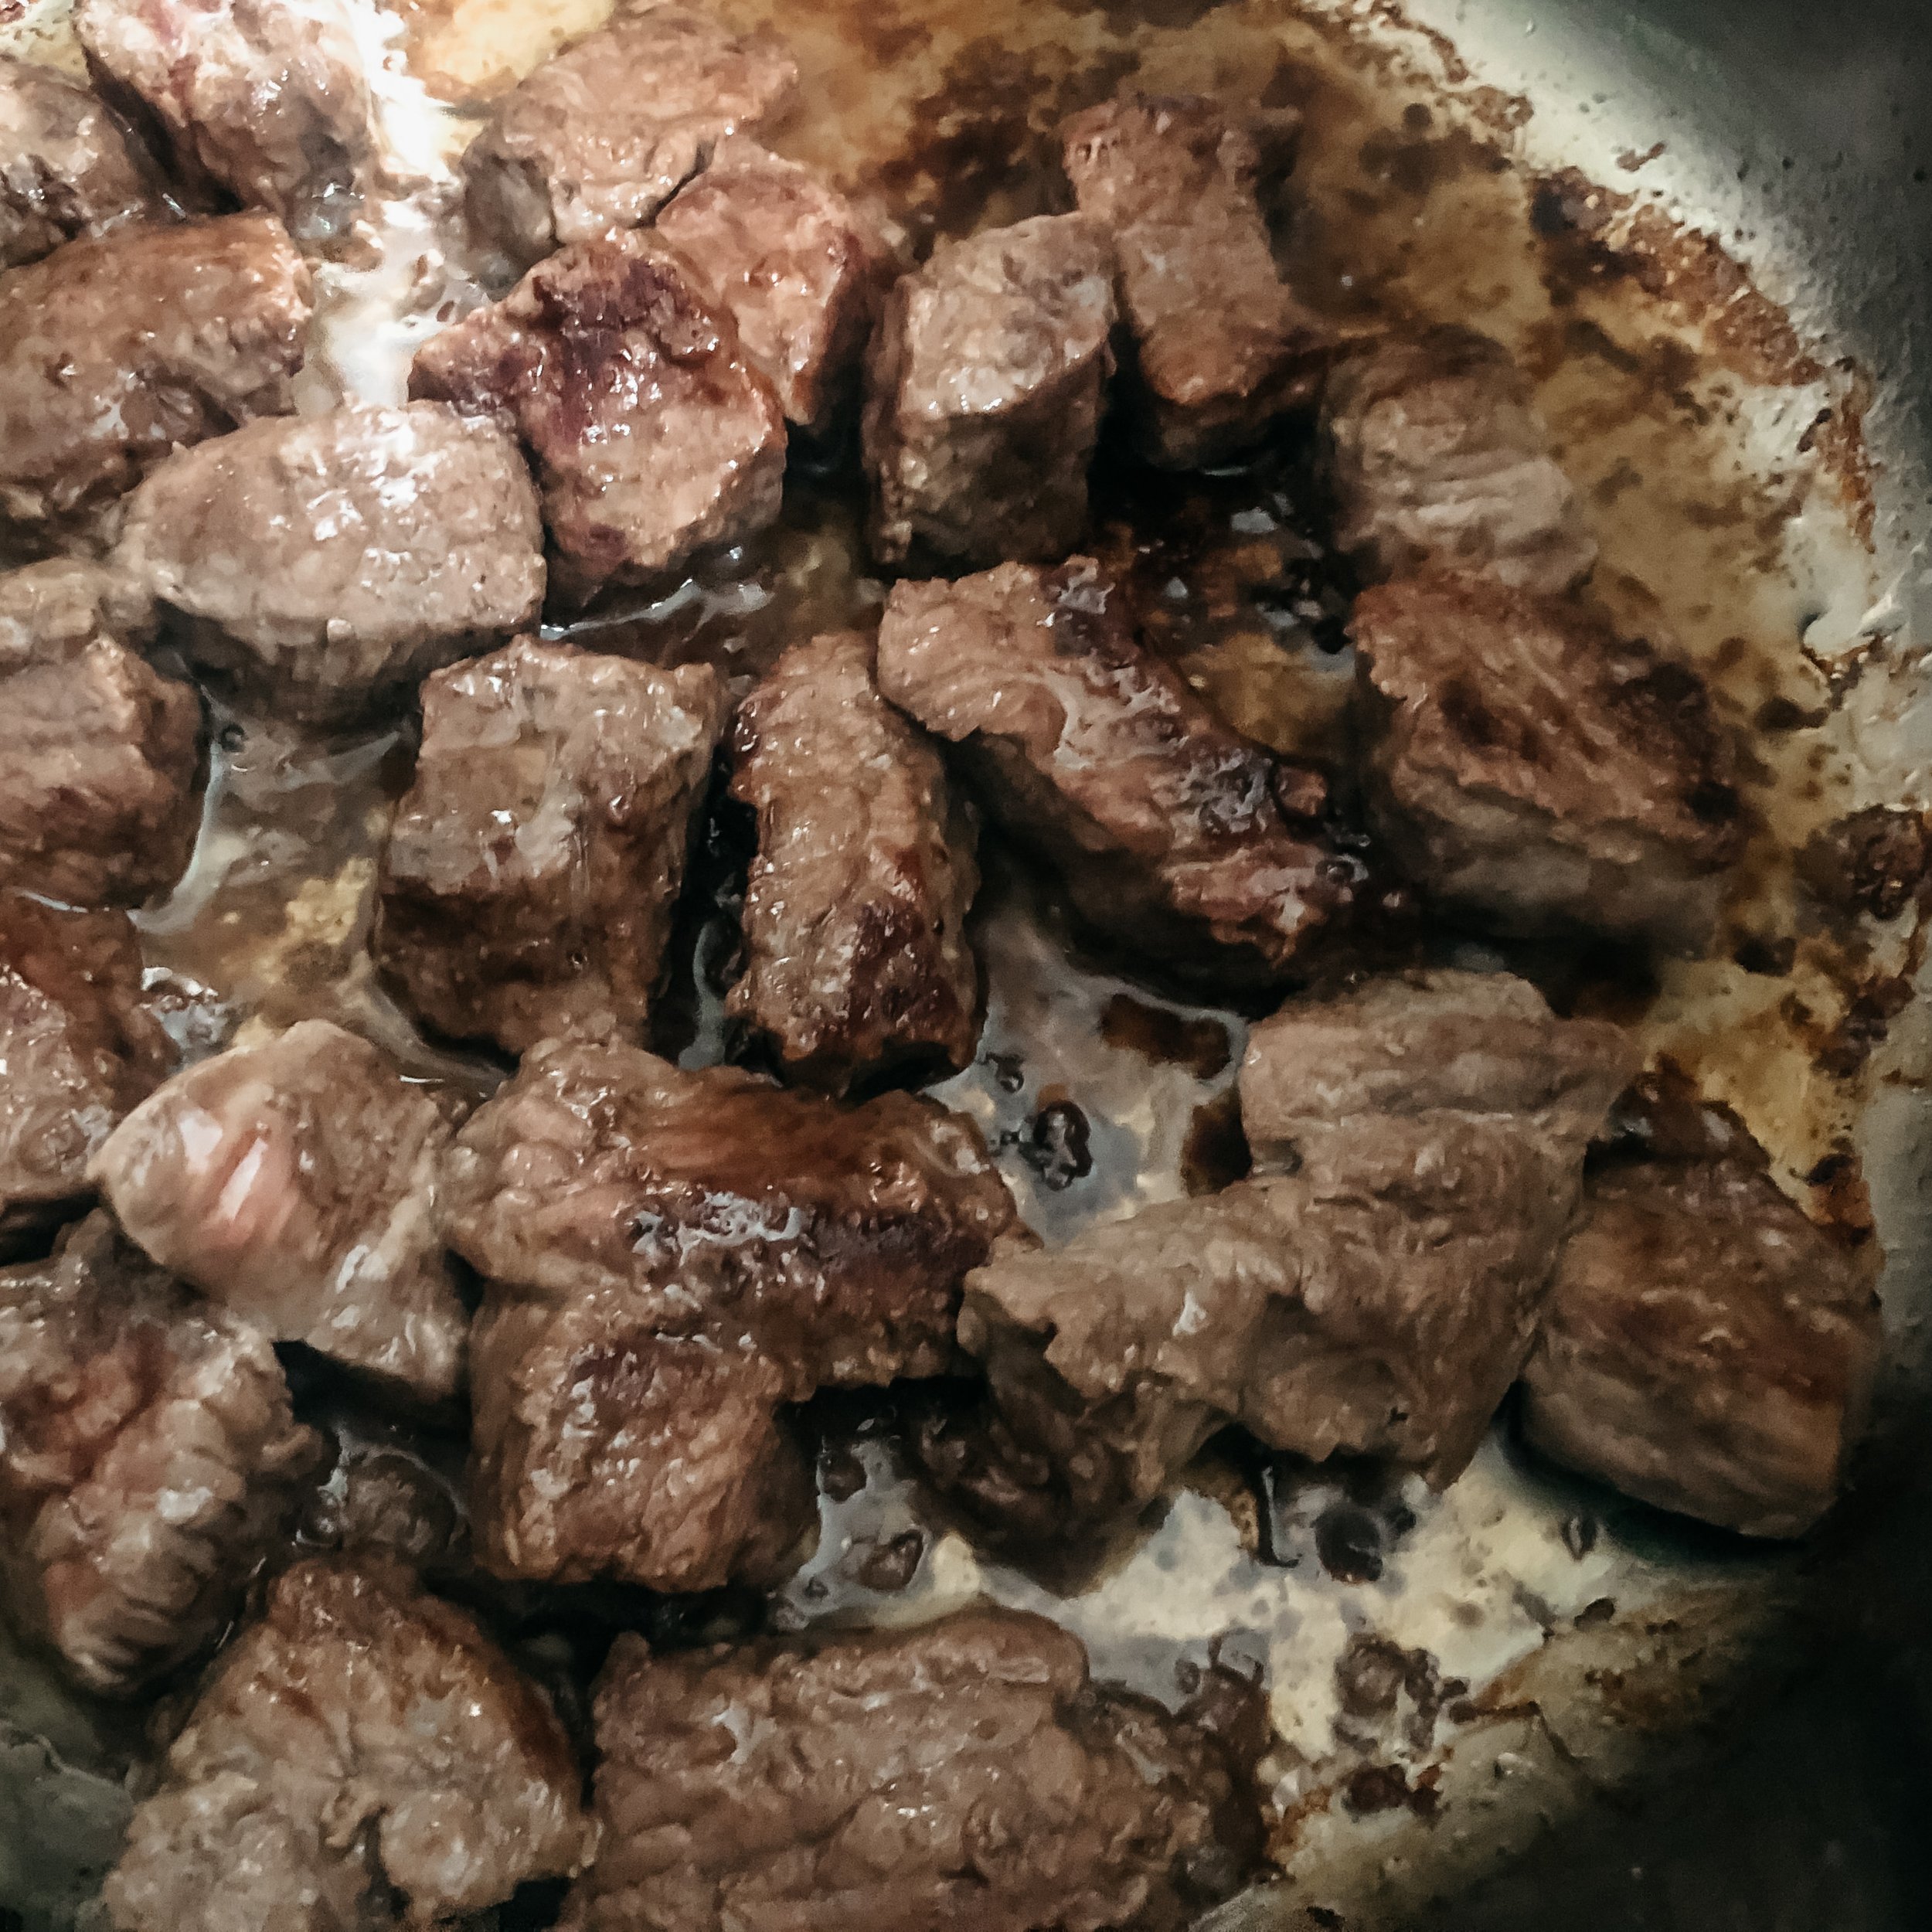
Brown meat
Using the right size pot is the difference between gray, tasteless meat and savory, caramelized meat. Yes, it really is this simple. If your pan is too small and your stew meat sits in a pile, the heat rises from the pan and steams the meat. Steamed meat equals flavorless meat.
You know your pan is big enough when your stew meat fits across the bottom in one even layer. This is so important because when the meat touches the surface of the pan, it creates a reaction between the amino acids and natural sugars in the meat to caramelize and create a delicious flavor! You know your beef is ready to turn when the side touching the pan releases easily and is a rich brown color.
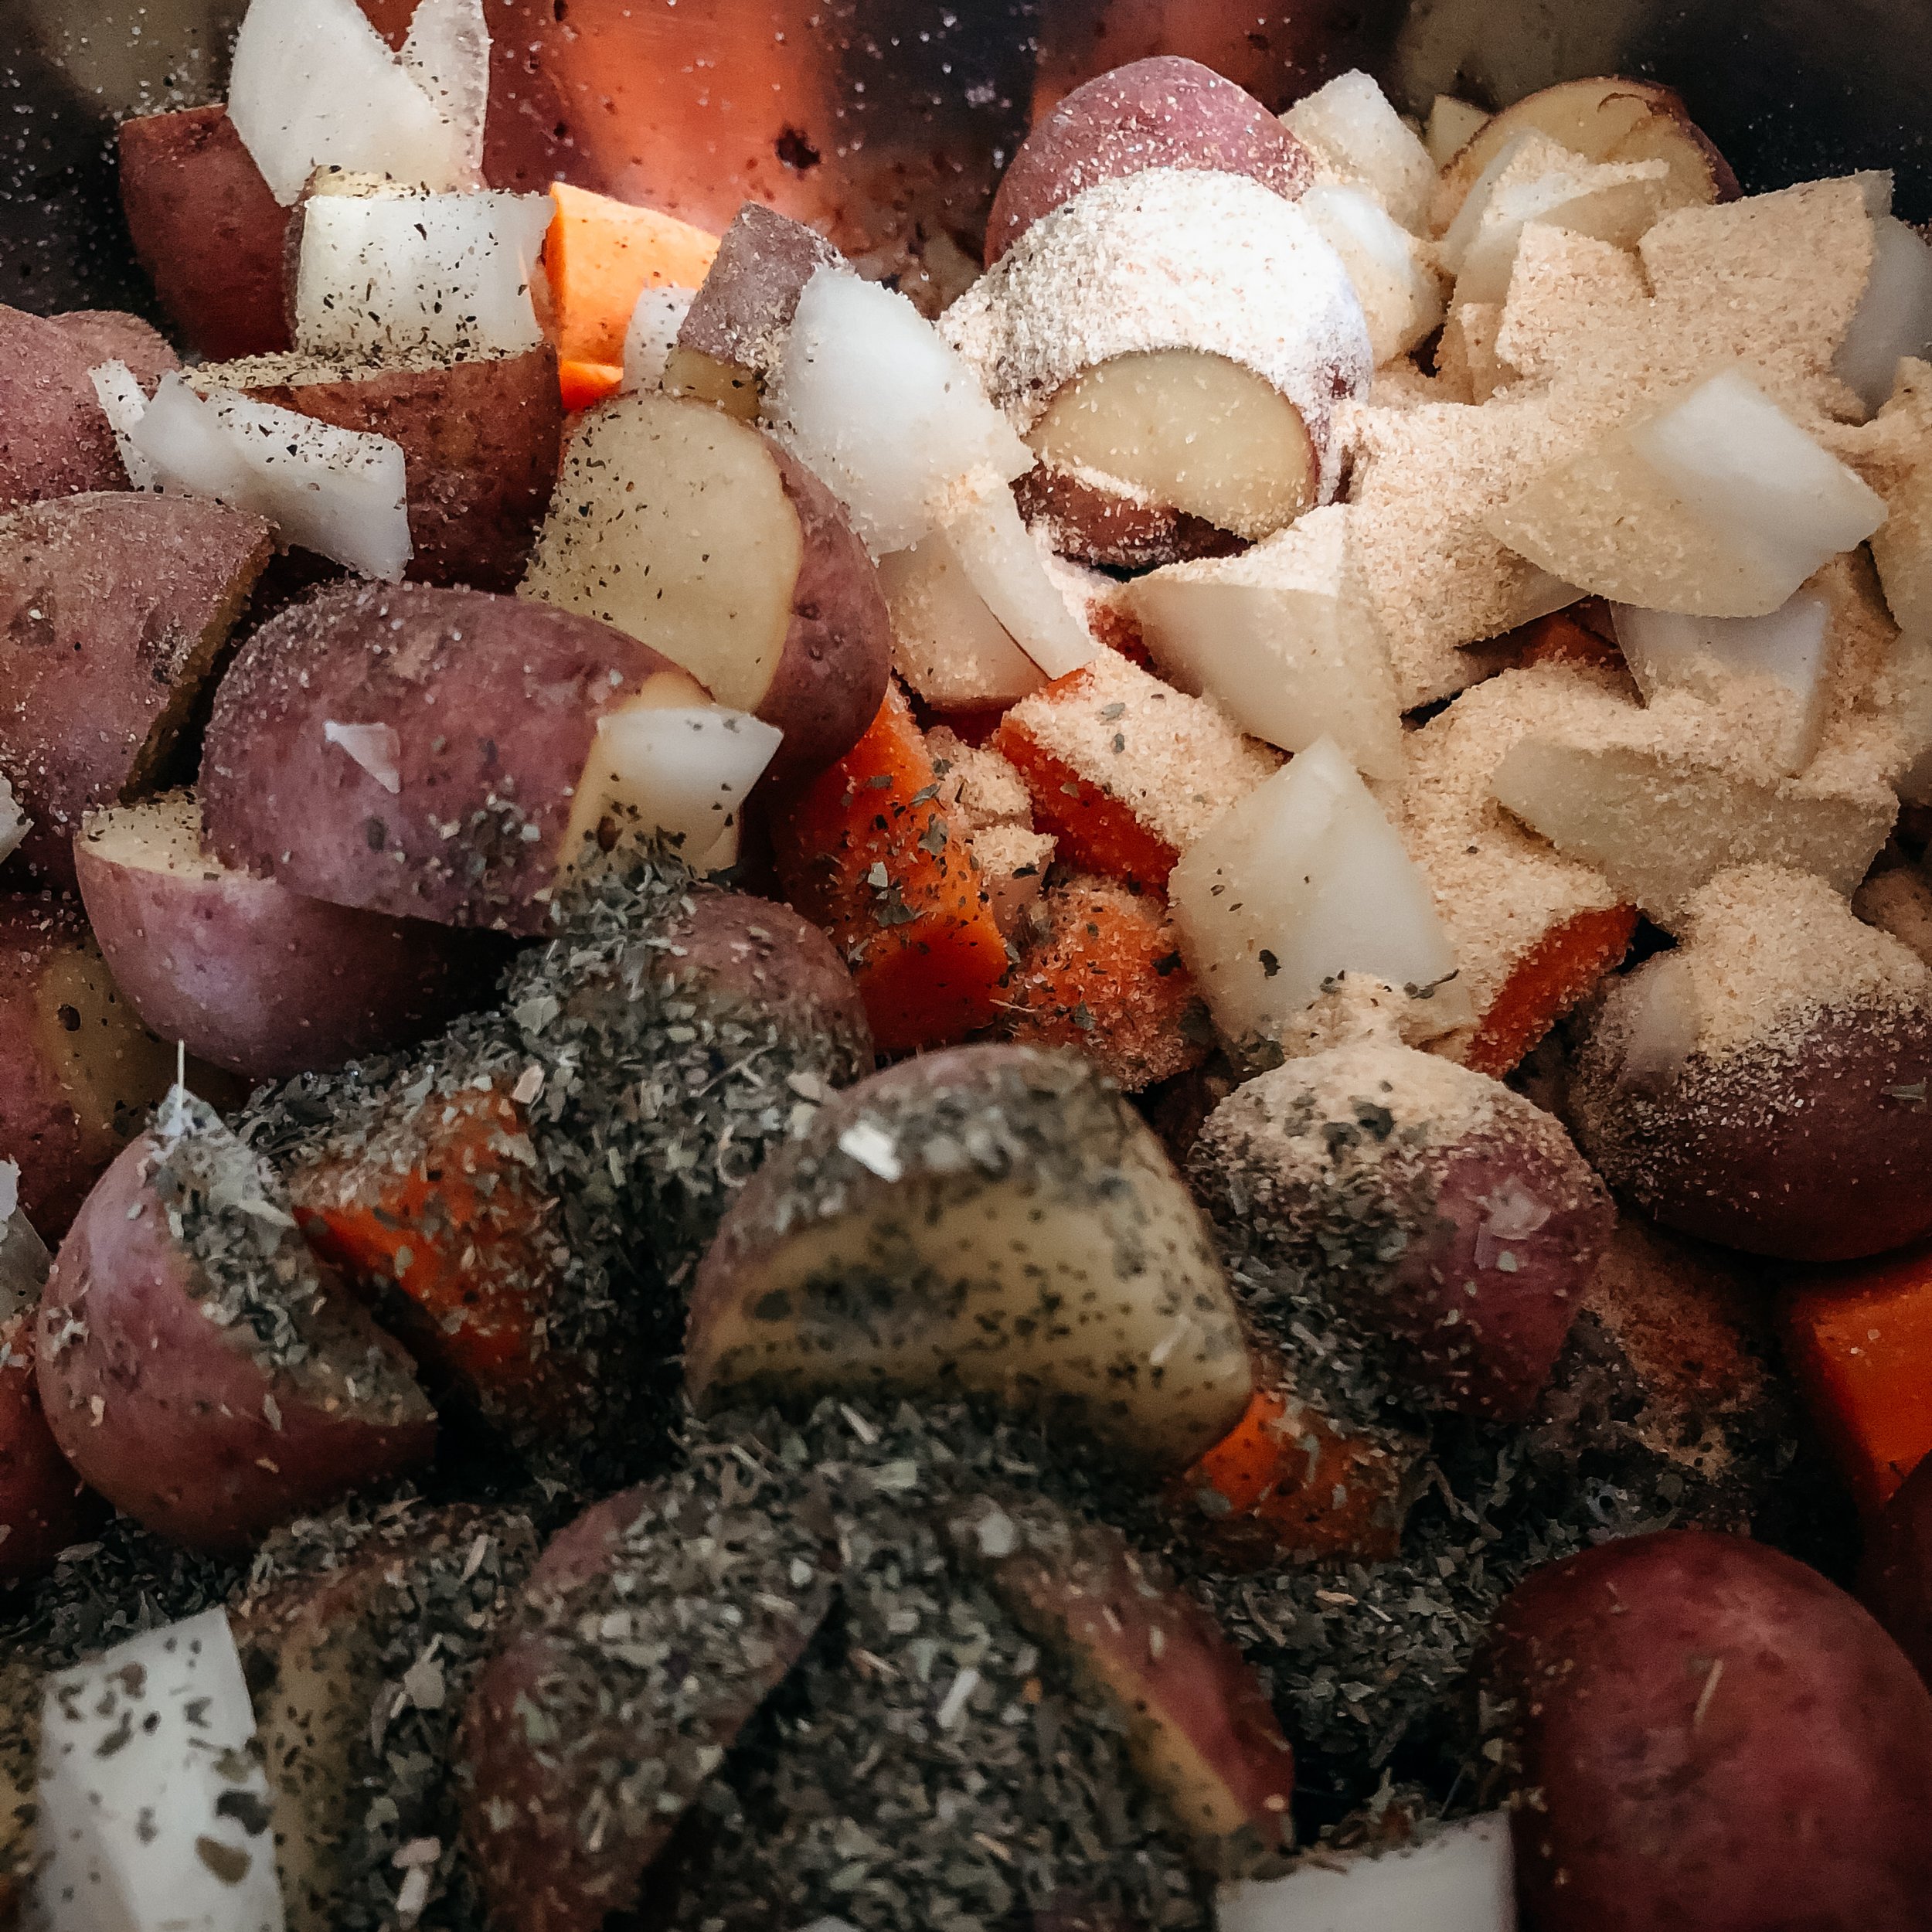
Add veggies and seasoning
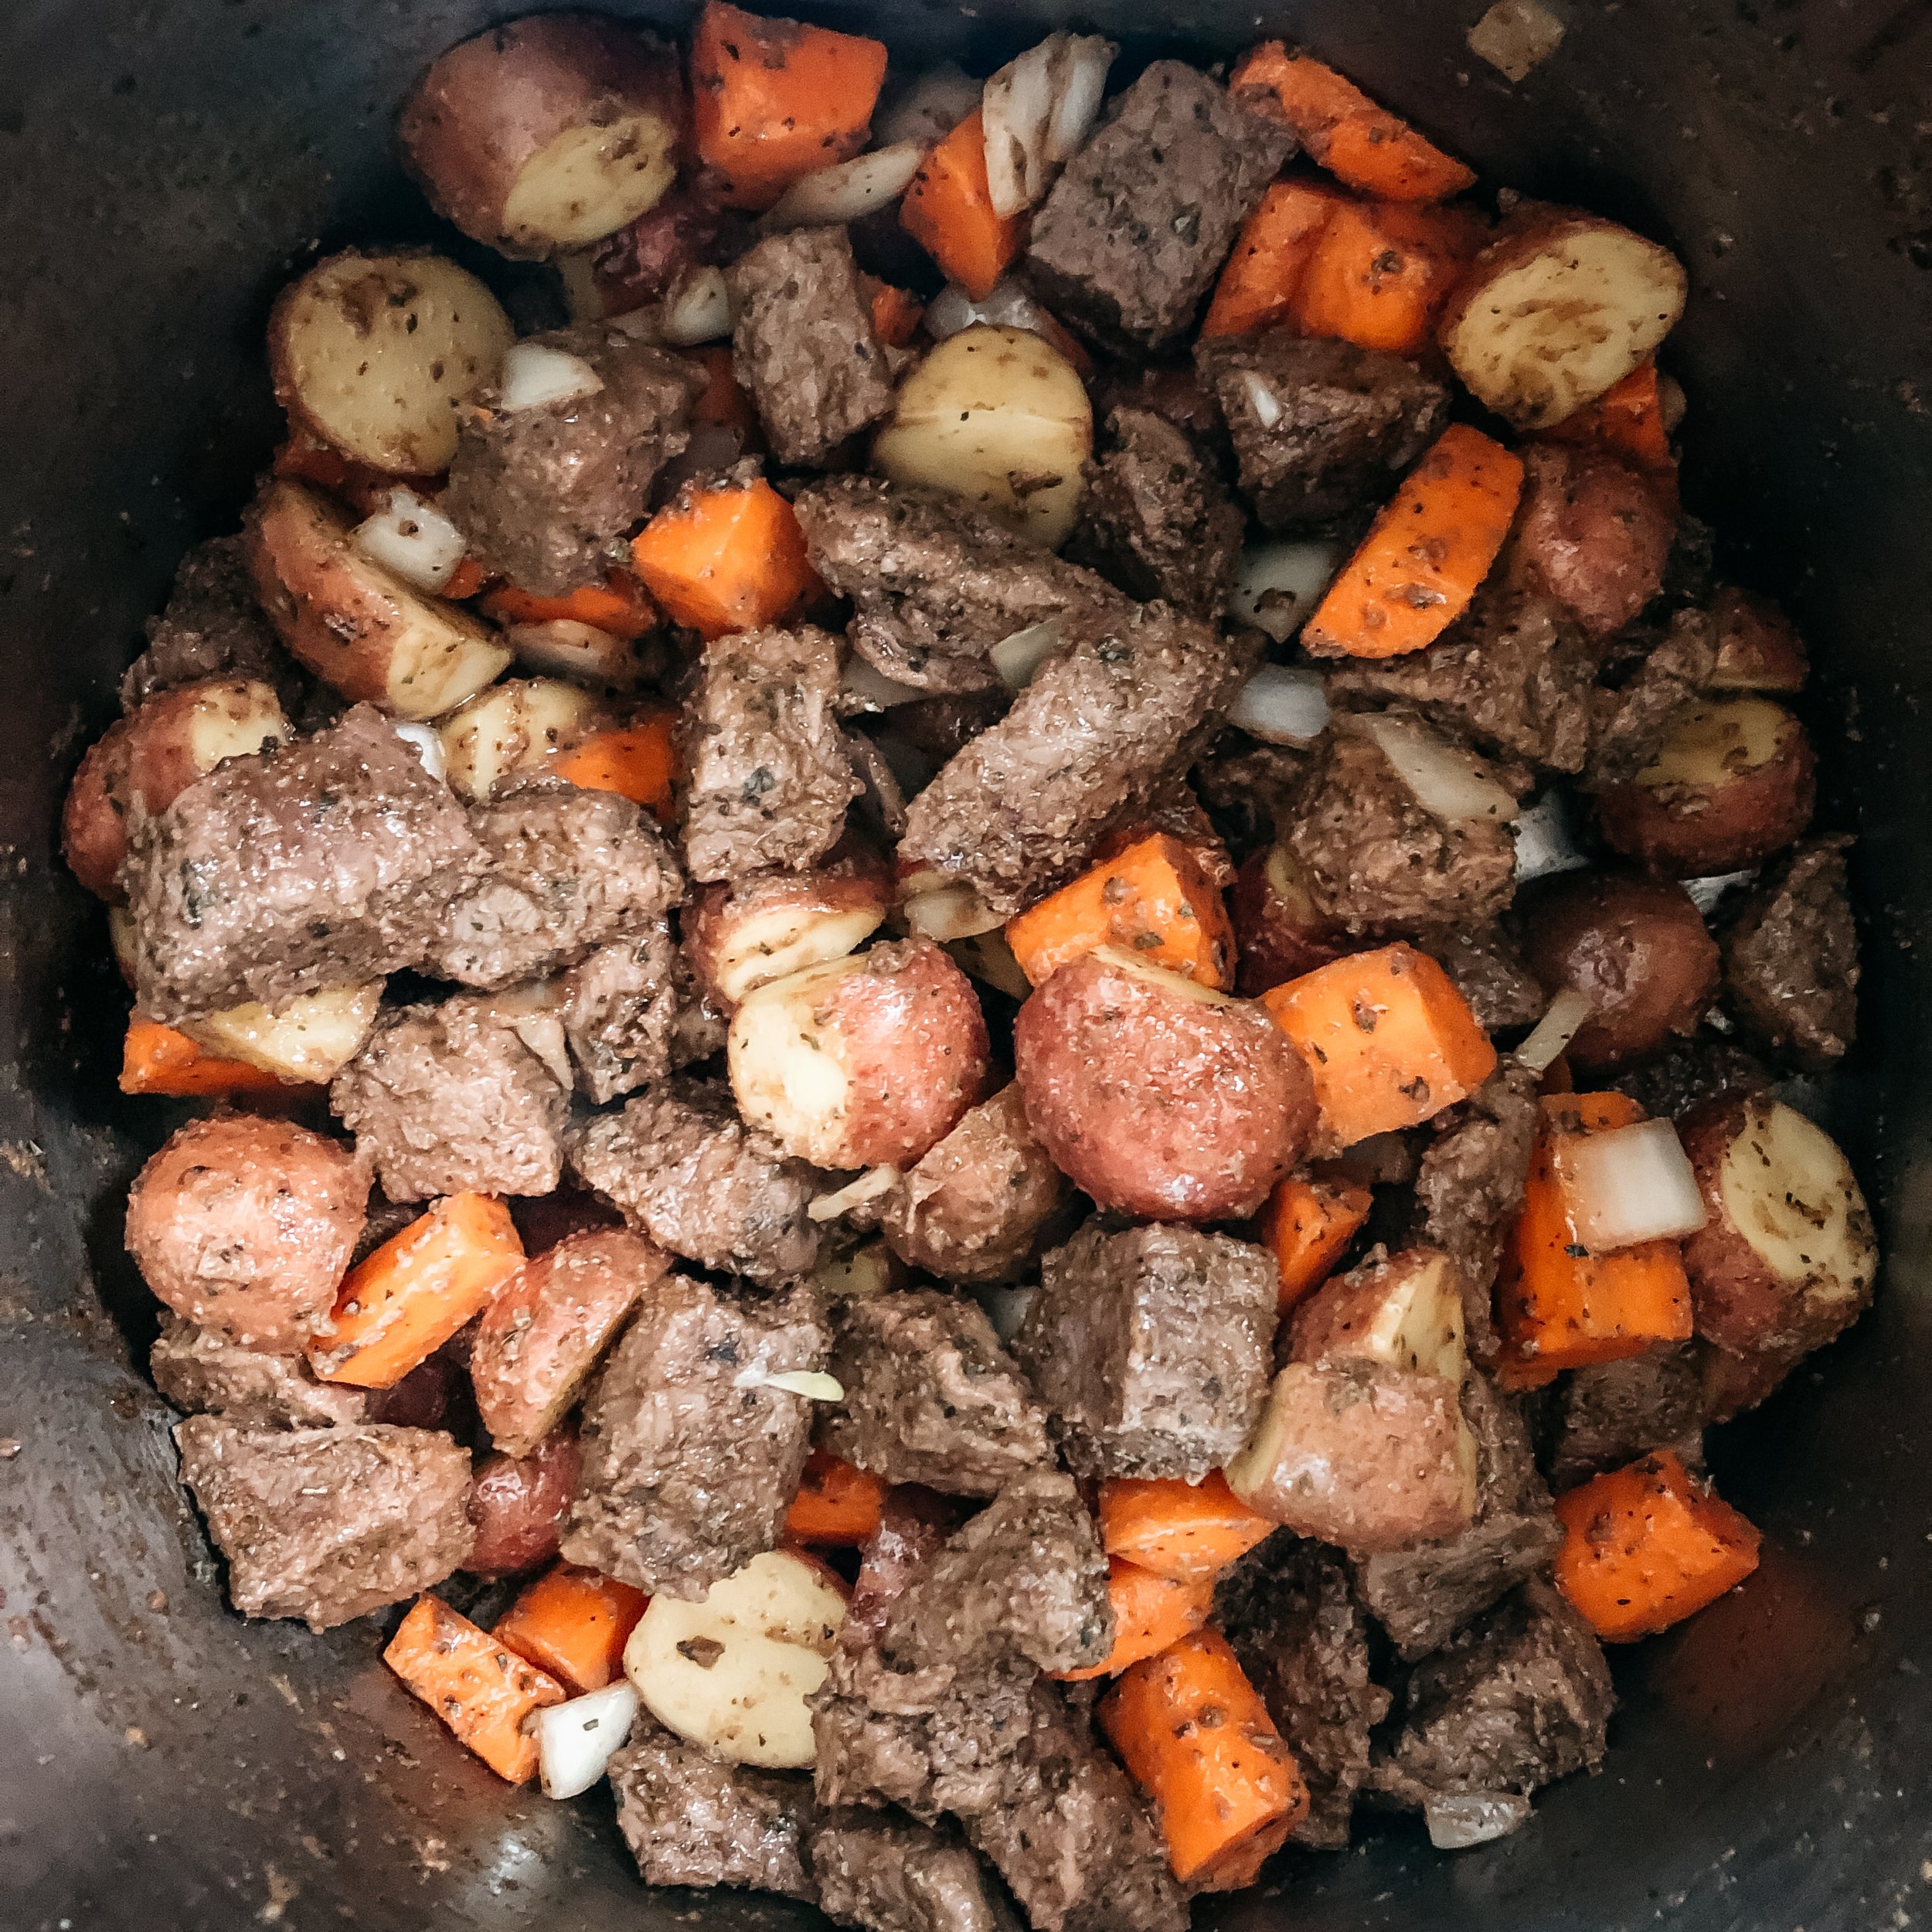
After the beef has caramelized, add onion, carrots, potatoes, and all seasonings except bay leaf. Mix the meat, veggies, and seasonings together and let cook for about 3 minutes.

Add remaining ingredients
Add beef broth, Worcestershire sauce (or red wine), and bay leaf. The latter two ingredients are just the extra touch you need to give your stew a deeper, richer flavor, making your stew better than all the others!
Let simmer
Finally, let your stew simmer at a low temp. for about two hours. This is important because it allows the tissue in the meat to break down fully, giving you the delicious and tender stew meat you love!

Enjoy!

Stew Meat
If you’re craving a warm and hearty meal, look no further! Stew meat comes from small chunks of beef cut from different areas of the cow. When cooked low and slow, it makes a tender and flavorful meal.
Top Round Roast Origin
Stew meat can come from the rump, also known as the round, the chuck, the brisket, or the sirloin if we’re lucky!

Pros and Cons of the Top Round Roast
Pros
Stew meat is delicious and needs to cook low and slow, so you can “set it and forget it,” making it a good option if you don’t have time to stand over the stove. It is also a lean cut for those who limit their fat intake.
Cons
It can be tough and chewy if not cooked properly. Don’t worry, we’ll show you how to cook it just right below!
Cooking Tips
Stew meat that isn’t cooked properly can be tough and dry. The good news is with a few simple hacks, you can make the most delicious and tender stew meat that has your husband bragging about you to all of his buddies.
Use a big enough pan
Using the right size pan is the difference between gray, tasteless meat and savory, caramelized meat. Yes, it really is this simple. If your pan is too small and your stew meat sits in a pile, the heat rises from the pan and steams the meat. You know your pan is big enough when your stew meat fits across the bottom in one even layer. This is so important because when the meat touches the surface of the pan, it caramelizes.
Let beef caramelize before turning
Caramelizing creates a reaction between the amino acids and natural sugars in the meat to release a delicious flavor. You know your beef is ready to turn when the side touching the pan releases easily and is a rich brown color.
Let stew meat simmer
Time is your best friend when cooking, especially with stew meat. Let your beef stew simmer at a low temp for 2 hours to really allow the meat to break down and tenderize.
Add red wine or Worcestershire sauce
Adding red wine or Worcestershire sauce to your broth is just the extra touch you need to give it a deeper, richer flavor. This sets the flavor of your stew apart from most others.
Here are the two ways we recommend cooking stew meat:
Braise
Slow Cook
Click the cooking method above to find the recipe.
Nutrition Facts
According to nutritionvalue.org, a 4-5 ounce serving of stew meat contains 316 calories, 46 grams of protein, and 13 grams of fat.

Roast Rub Recipe
I’m honestly shocked that I’m sharing this recipe on the internet. It’s just so good and so easy, I know you need to have it!
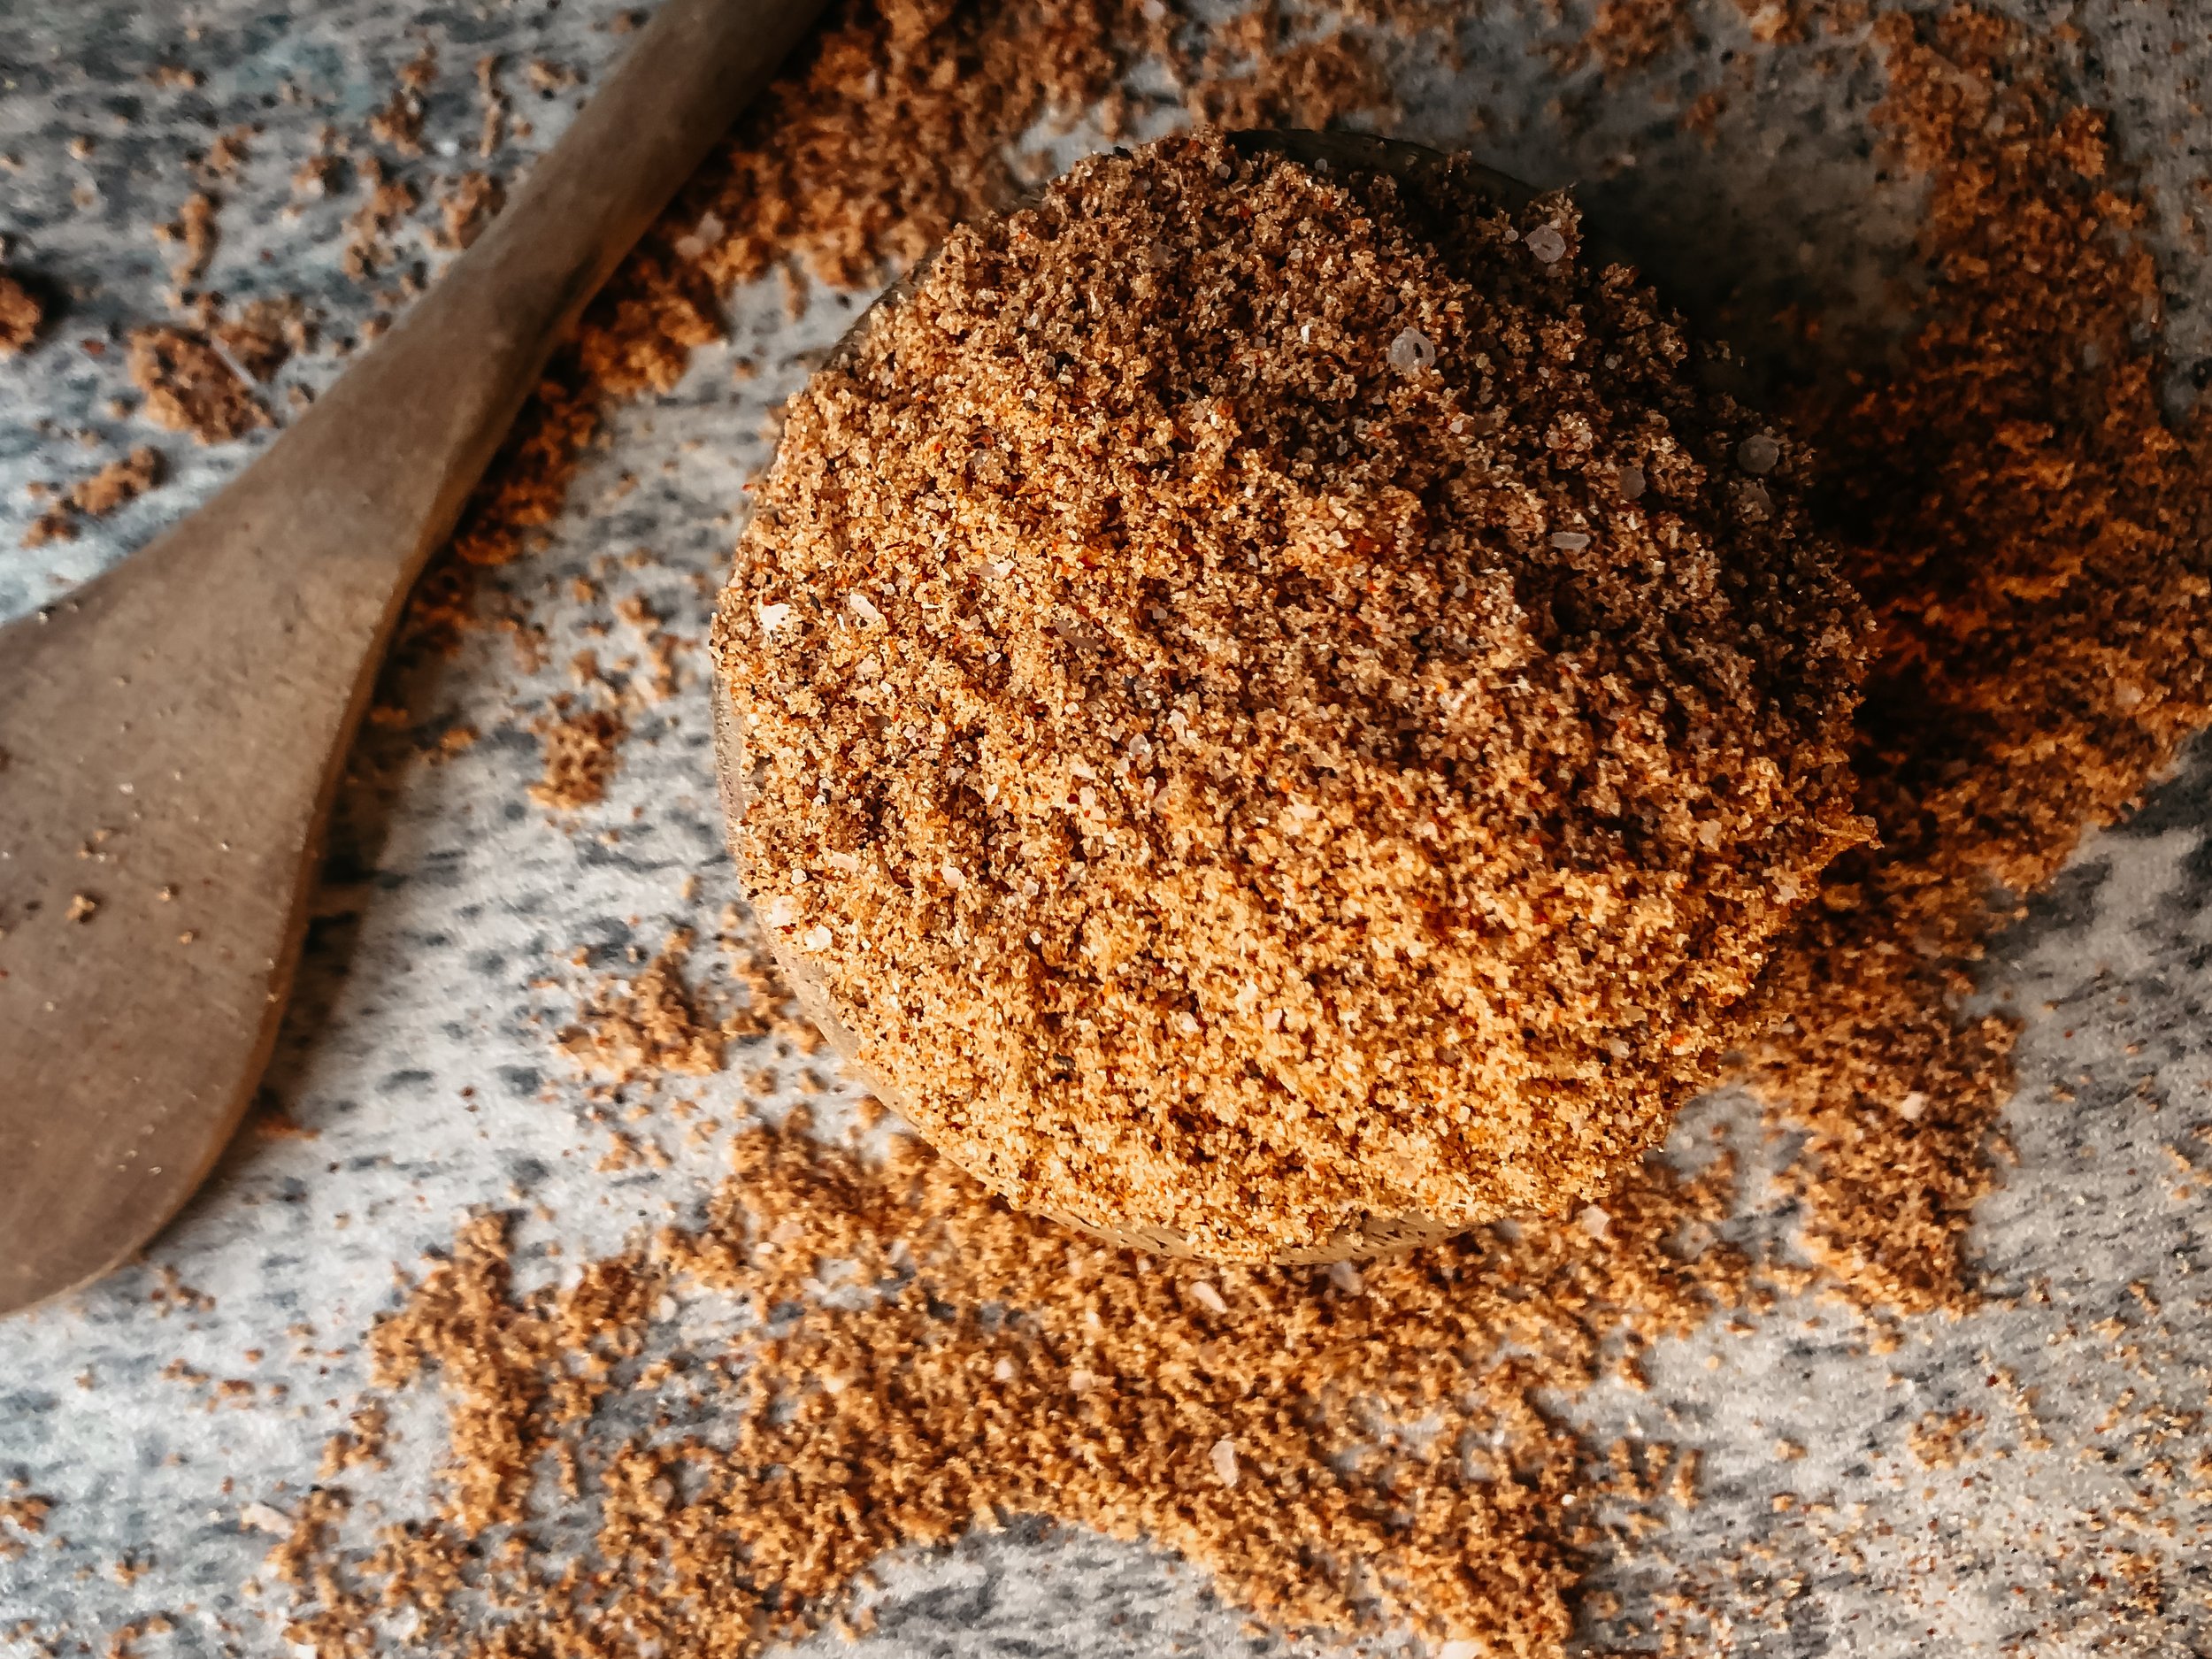
Ingredients
1/3 cup brown sugar
2 Tablespoons regular paprika
2 teaspoons black pepper
1 Tablespoon Kosher salt
1 Tablespoon garlic powder
1 Tablespoon onion powder
1/4 teaspoon chili powder
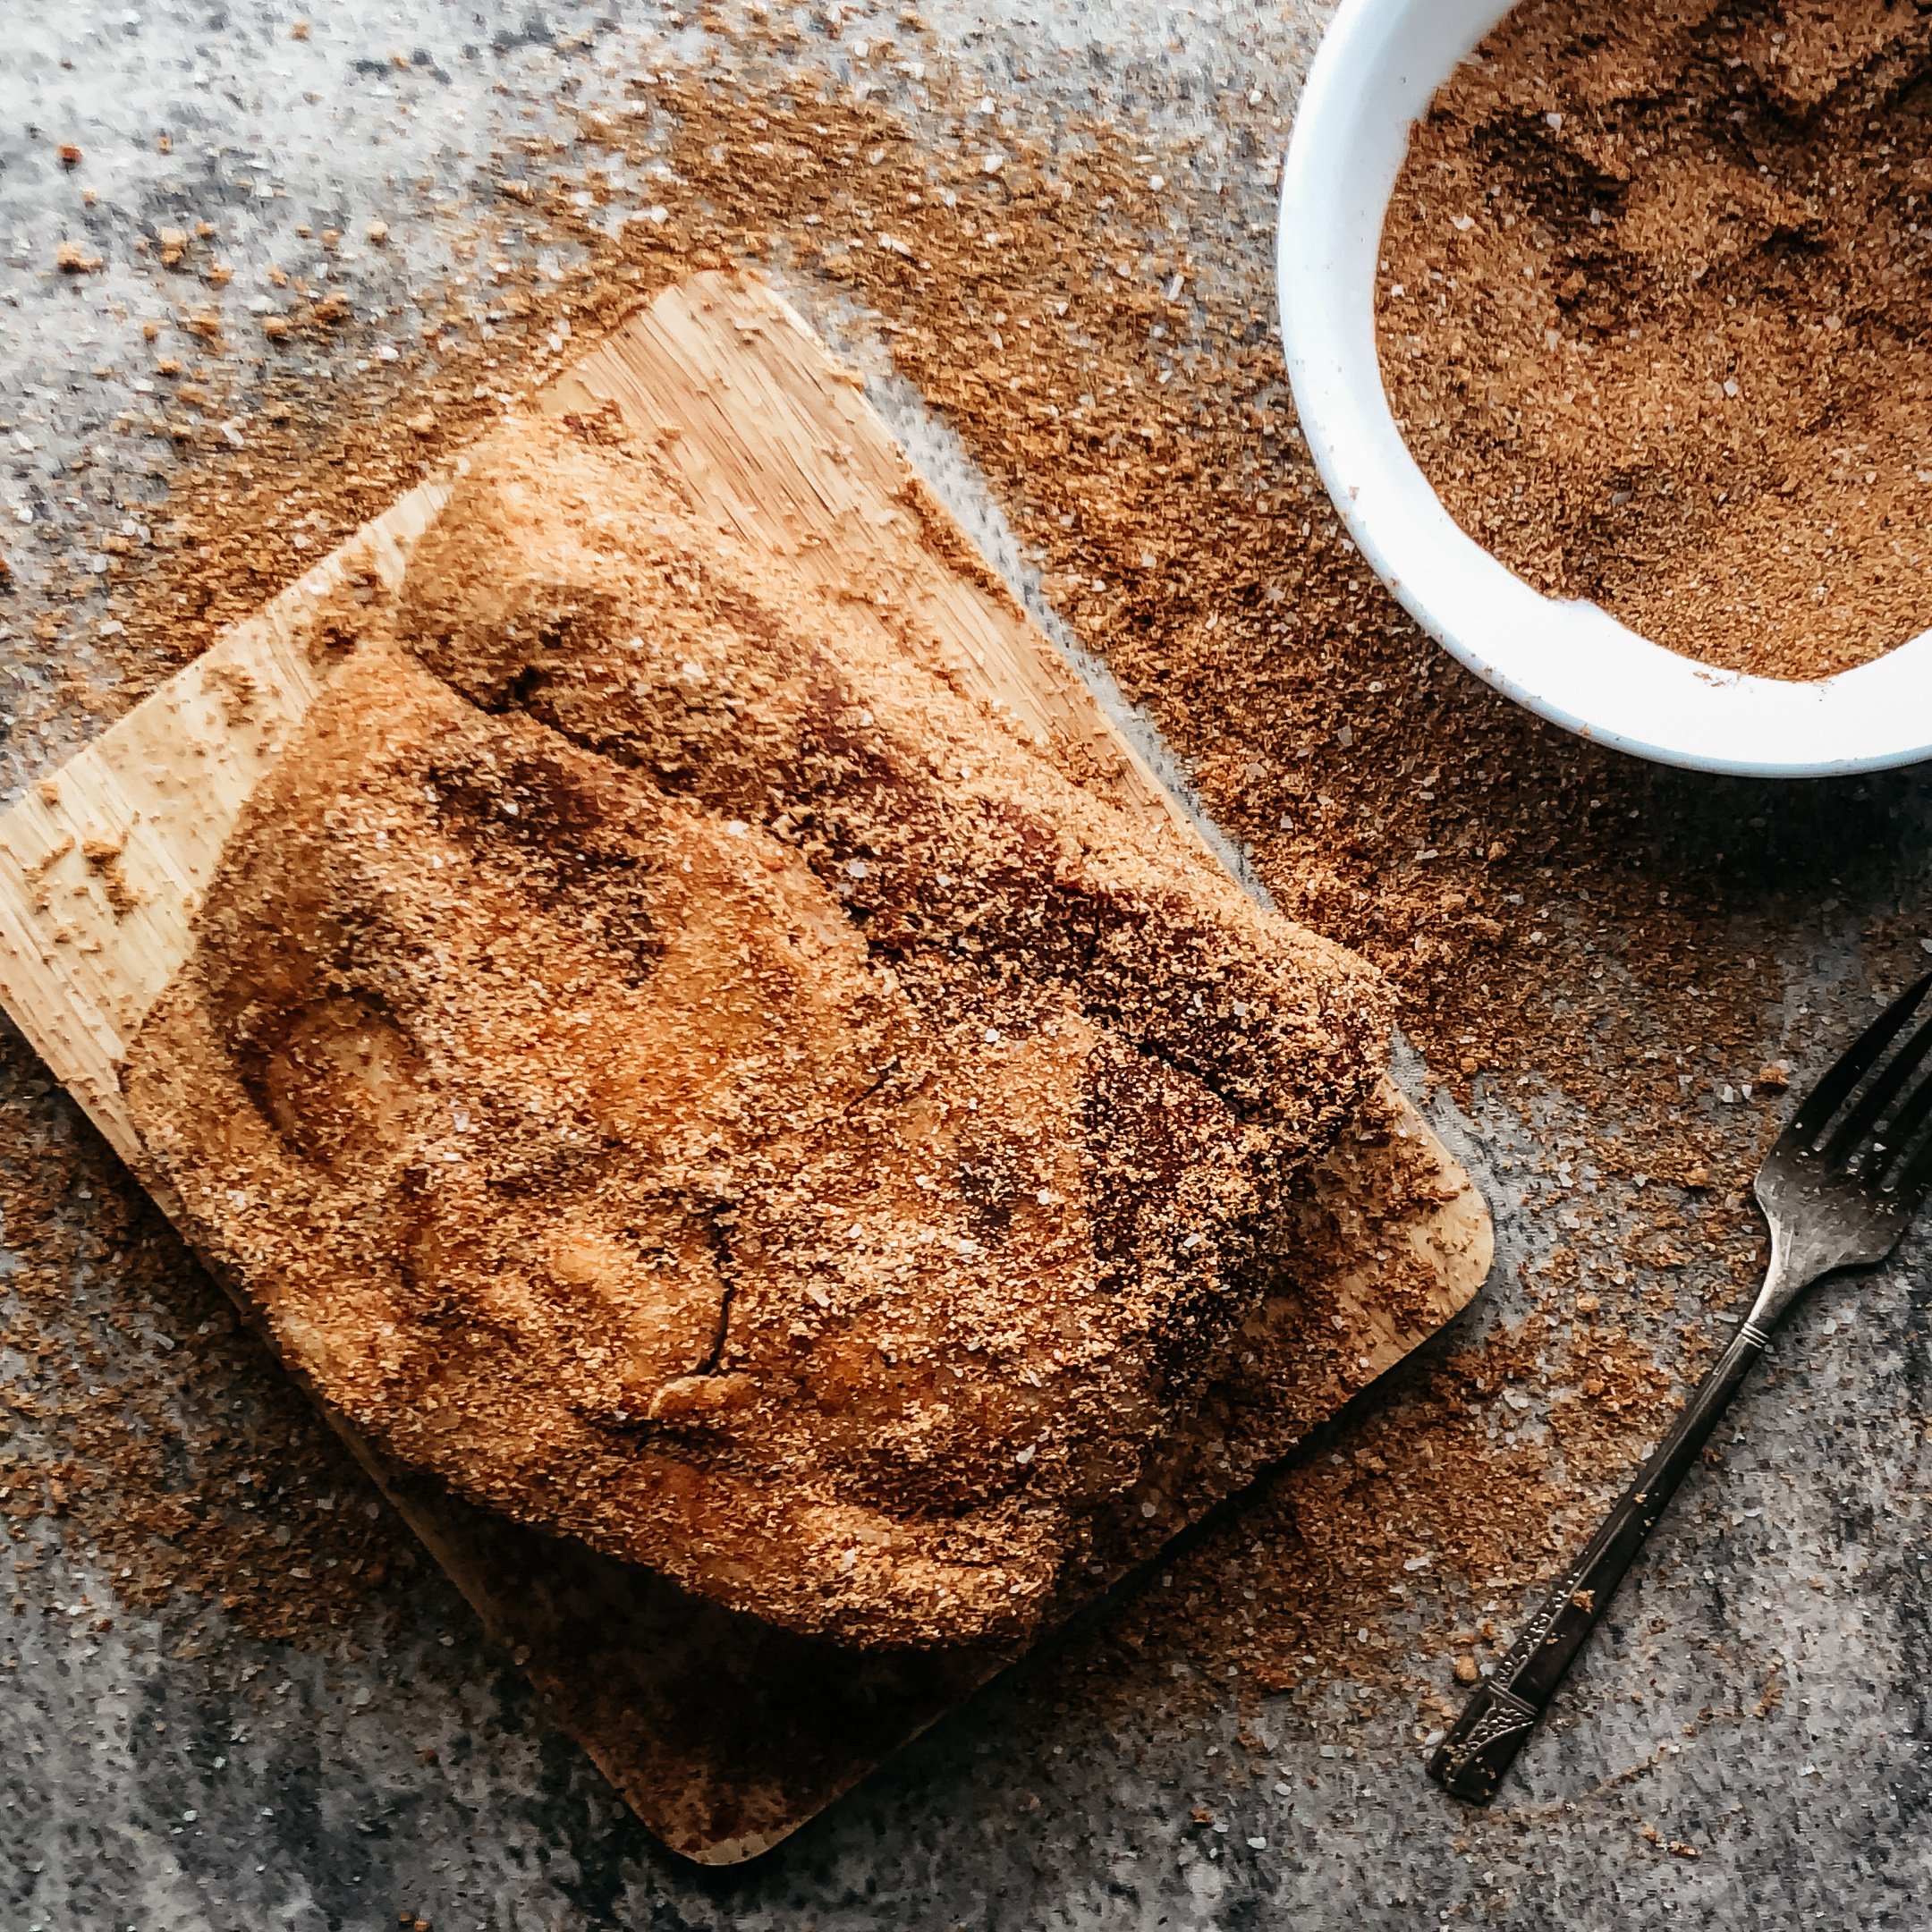
Instructions
Add all ingredients to bowl and combine.
Pat roast dry. This helps your meat roast instead of steam and also makes the next step easier.
Sprinkle the mixture over the entire surface or roast and rub into every nook and cranny.

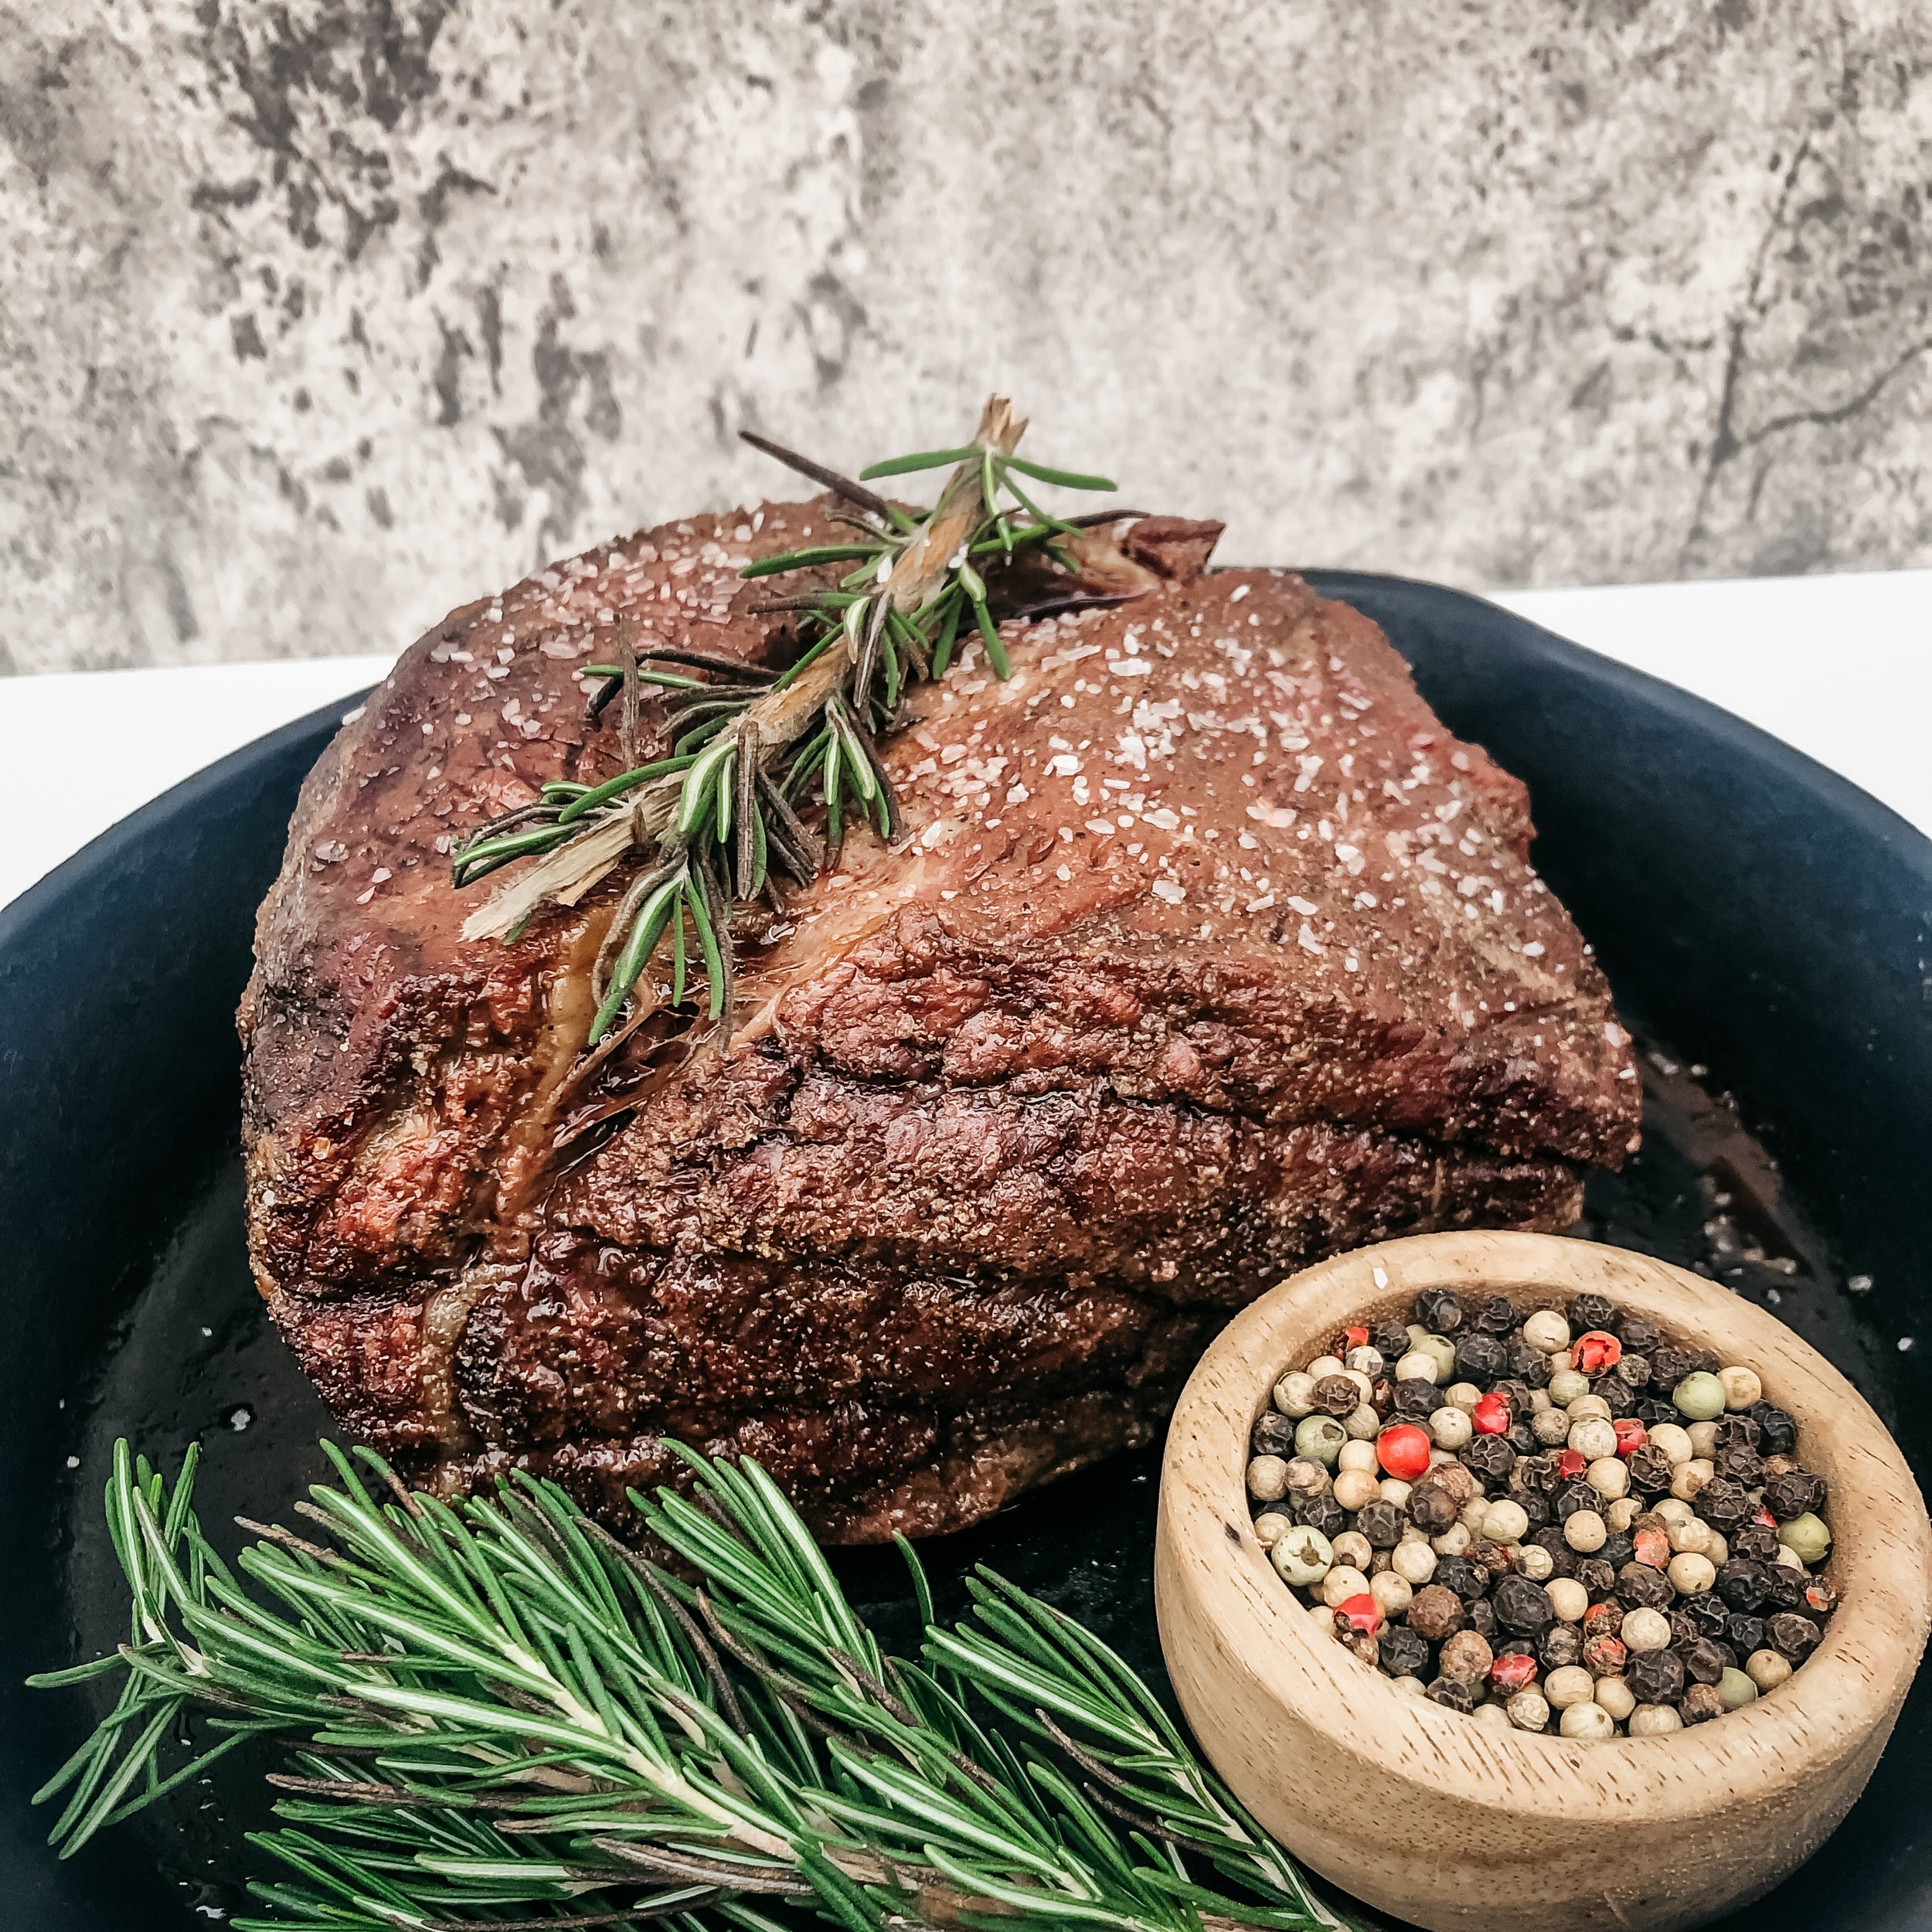
Quick + Easy Beef Roast
A healthy, high-protein dinner does not have to be difficult or time-consuming. In fact, it can actually be easier! This beef roast recipe is quick, hands-off, and delicious.

Thaw
Thaw roast completely in the fridge. It will take about 24 hours for your roast to completely thaw. This is really important because a roast that is not completely thawed will cook more quickly on the outside, leaving the inside undercooked and possibly unsafe to eat.
Remove from fridge
Remove roast from fridge about an hour before cooking. This will help your meat cook more evenly, improving the texture and flavor.

Preheat
Preheat your oven to 450◦F. You’ll want to make sure your oven has reached temperature before placing your roast in the oven. You may be tempted to put it in sooner, but if you’re in a rush, that’s exactly why you’ll want to wait because your roast will actually finish cooking sooner.
Dry
While your oven preheats, pat your roast dry. This makes it easier to season AND helps the edges of your meat to carmelize in the oven instead of steam. Remember, caramelization equals amazing flavor!
Season
Now that your roast is dry, add salt, pepper, and any other seasonings you like. You can find our favorite roast rub recipe here.
Roast
Once your roast is seasoned and your oven has reached temp, place your roast in the oven uncovered for 15 minutes. This is what makes this recipe quick + easy. Instead of searing the roast on your stovetop (which can be messy and time-consuming), you’re basically delegating this step to your oven! *Remember to set your timer for 15 minutes!

Lower Temp
After 15 minutes, lower oven temp to 325◦F. You can also add vegetables to your pan right now if you’d like. Broccoli, Brussels sprouts, carrots, and potatoes are some of our favorite fiber options. Cover roast with tin foil and continue to roast for about 15 minutes per pound.
Remove from Oven
Remove your roast from the oven when it reaches an internal temp of 135◦F.

Wrap in Tinfoil
Line a bowl that your roast fits in with aluminum foil. Place roast inside bowl and pour drippings from roast on top. Wrap the roast and drippings with foil and let rest for 10 minutes. This helps keep your roast moist and tender.

Slice and Serve
Slice roast against the grain to maximize tenderness. This alone can be the difference between a tough, chewy roast and a more tender roast!
Enjoy!

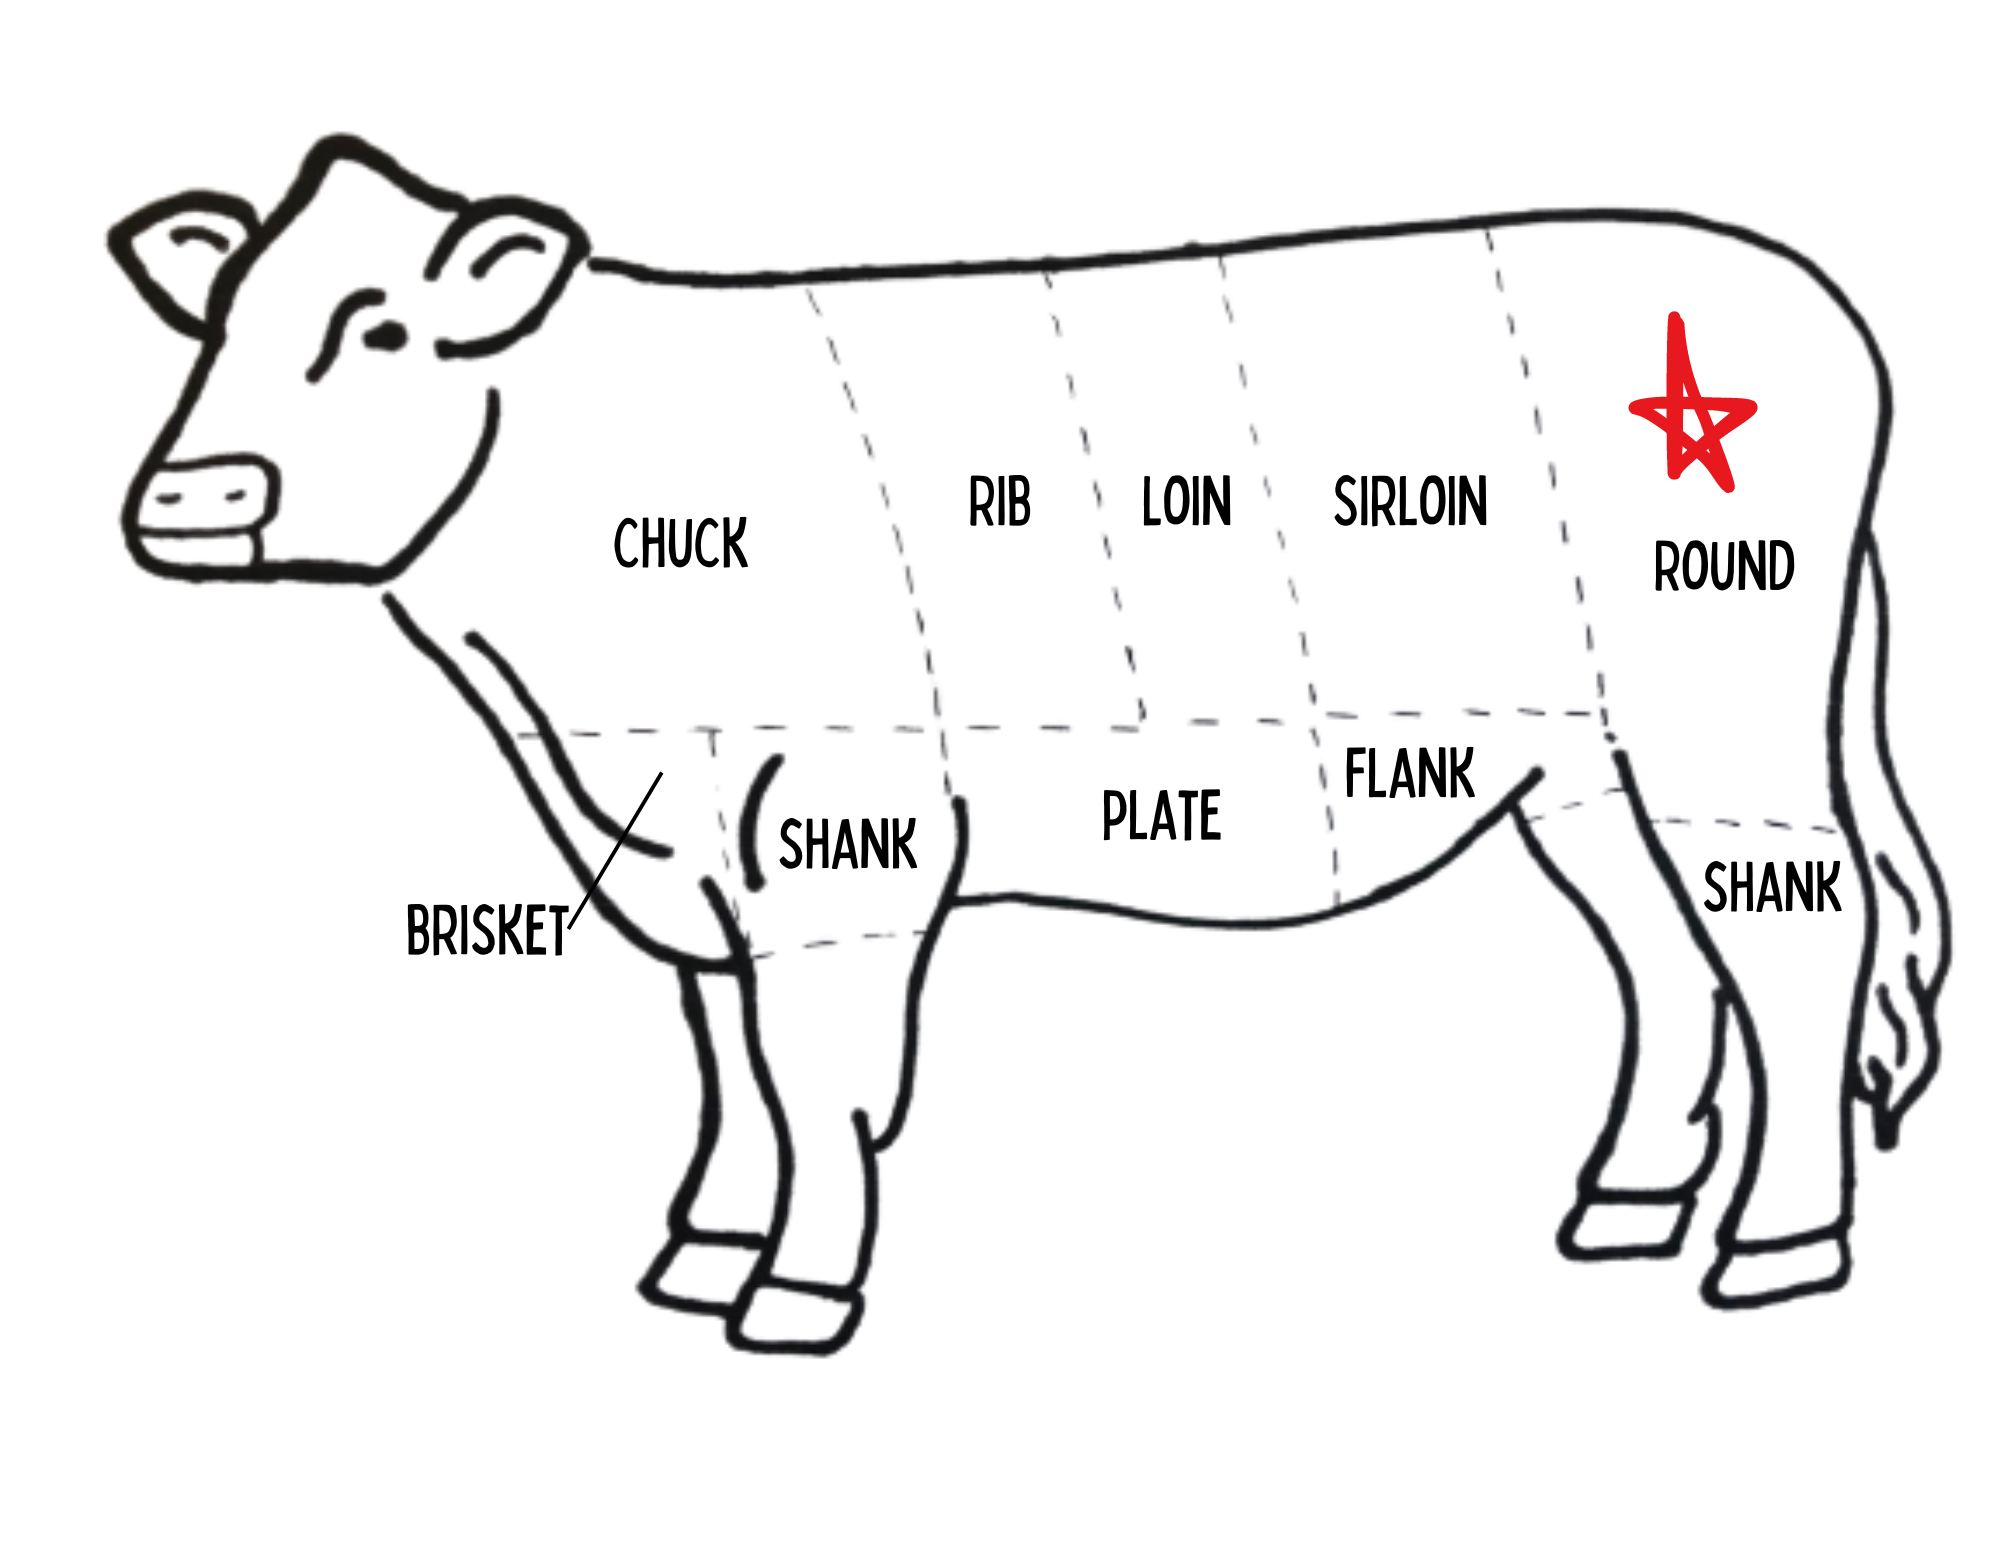
Top Round Roast
If you’re looking for a lean, affordable roast look no further! The Top Round Roast is also known as the classic beef roast and is where most roast beef deli meat comes from.
Top Round Roast Origin
The Top Round Roast comes from the rump, also called the Round. Because the muscles from this part of the animal are used for mobility (i.e. walking), this cut can be rather lean and tough.
Pros and Cons of the Top Round Roast
Pros
The Top Round Roast is lean and affordable. Because it needs to cook low and slow, you can “set it and forget it,” making it a good option if you don’t have time to stand over the stove.
Cons
It can be tough and lack flavor if not cooked properly. Don’t worry, we’ll show you how to cook it just right below!
Cooking Tips
Are you intimidated by the Top Round Roast because you don’t want it to be tough and dry? The good news is, cooking it properly is actually easier than cooking it wrong!
Here are the three ways we recommend cooking the Top Round Roast:
Slow Cook
Braise
Click the cooking method above to find the recipe.
Nutrition Facts
According to the USDA website, a 6-ounce serving of Top Round Roast contains 278 calories, 51.2 grams of protein, and 8.1 grams of fat.